Hello everyone – Happy cooler weather and first snow!! Abby here with another upcycle project for you!
This month’s post is brought to you by: nesting – It’s getting cooler out, and the will to leave our home is dwindling, not to mention both kiddos were sick this past week, so sprucing up our indoor surroundings just feels necessary.
Along with re-arranging furniture, cleaning, re-accessorizing rooms with different things we have around, adding new wall art is on the list. Specifically, something woven.
I have limited experience with weaving, but have a few inspo images saved to Pinterest, so with a little guidance from this video and this video, some leftover yarn, T-shirt yarn and other scraps, I was able to make a pretty cool looking piece of art for our home!
Keep reading below for how to make your own cozy wall art!
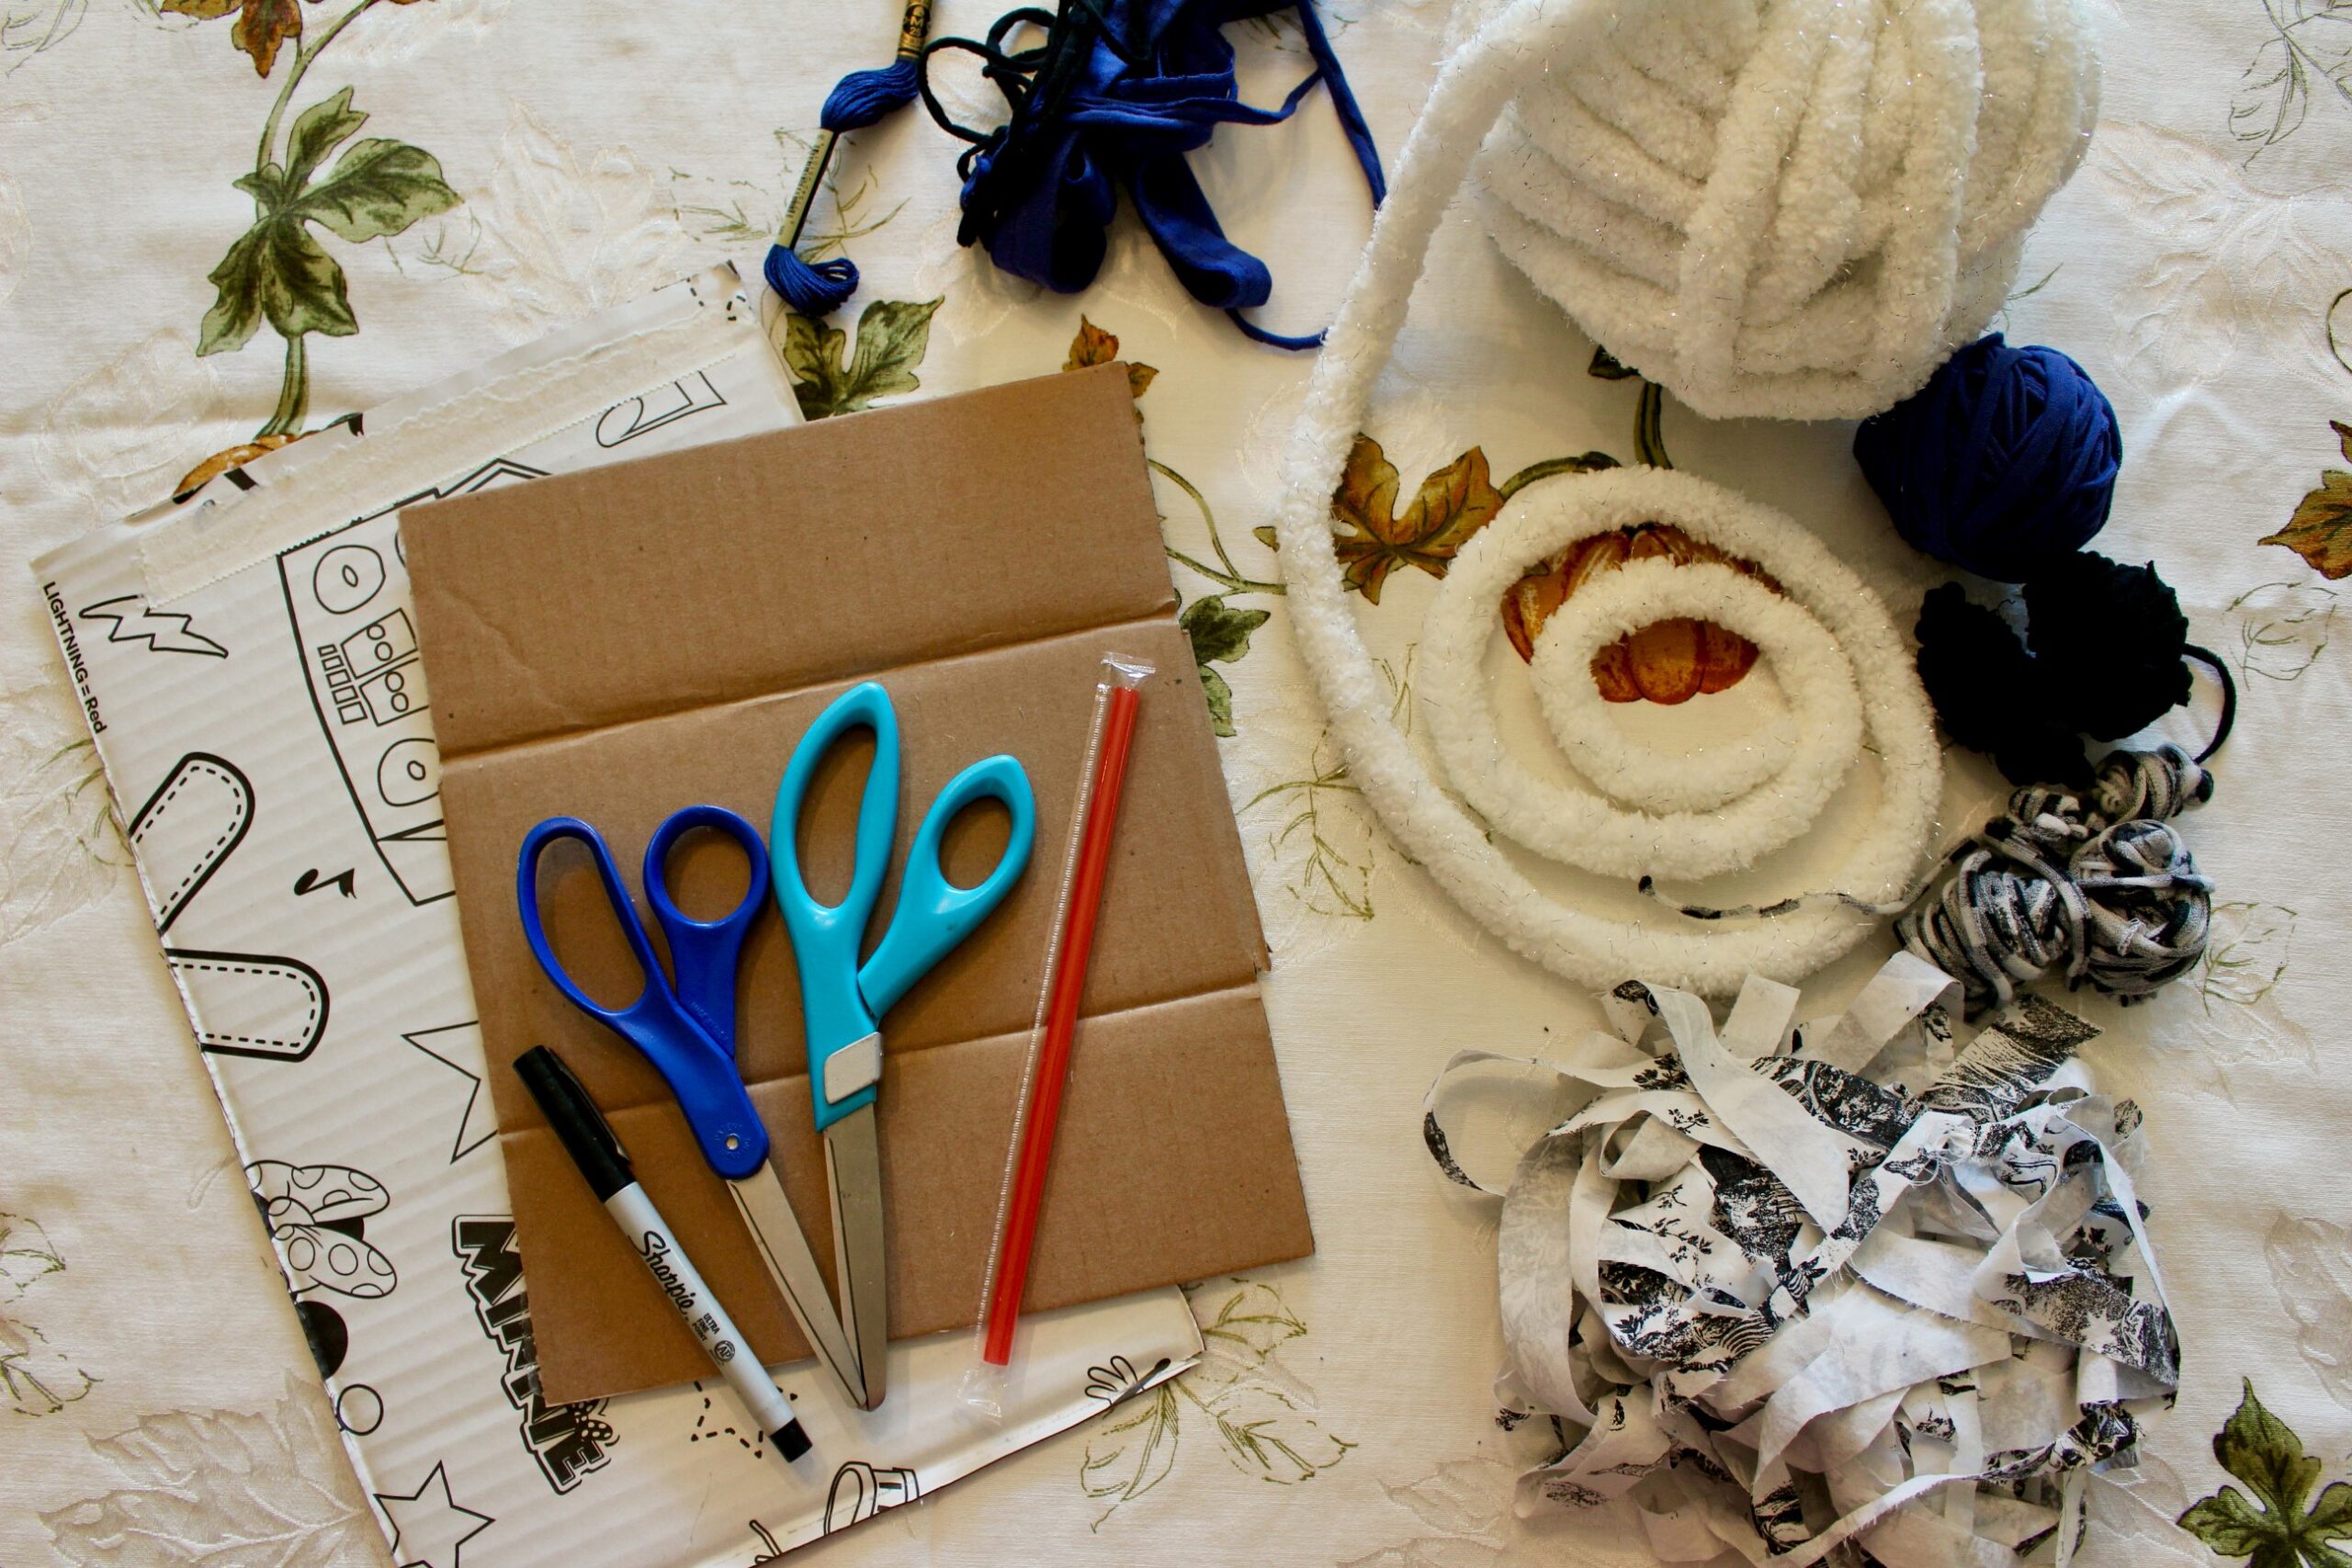
To make your own cozy wall art, you will need:
1. Spare piece of cardboard – to act as your loom
2. Scissors – I used two pairs, one for cardboard, one for fabric
3. Ruler
4. Marker
5. String – to act as the base of your loom
6. Yarn, T-shirt yarn, spare fabric
7. Something to hold your finished weaving – I used a straw
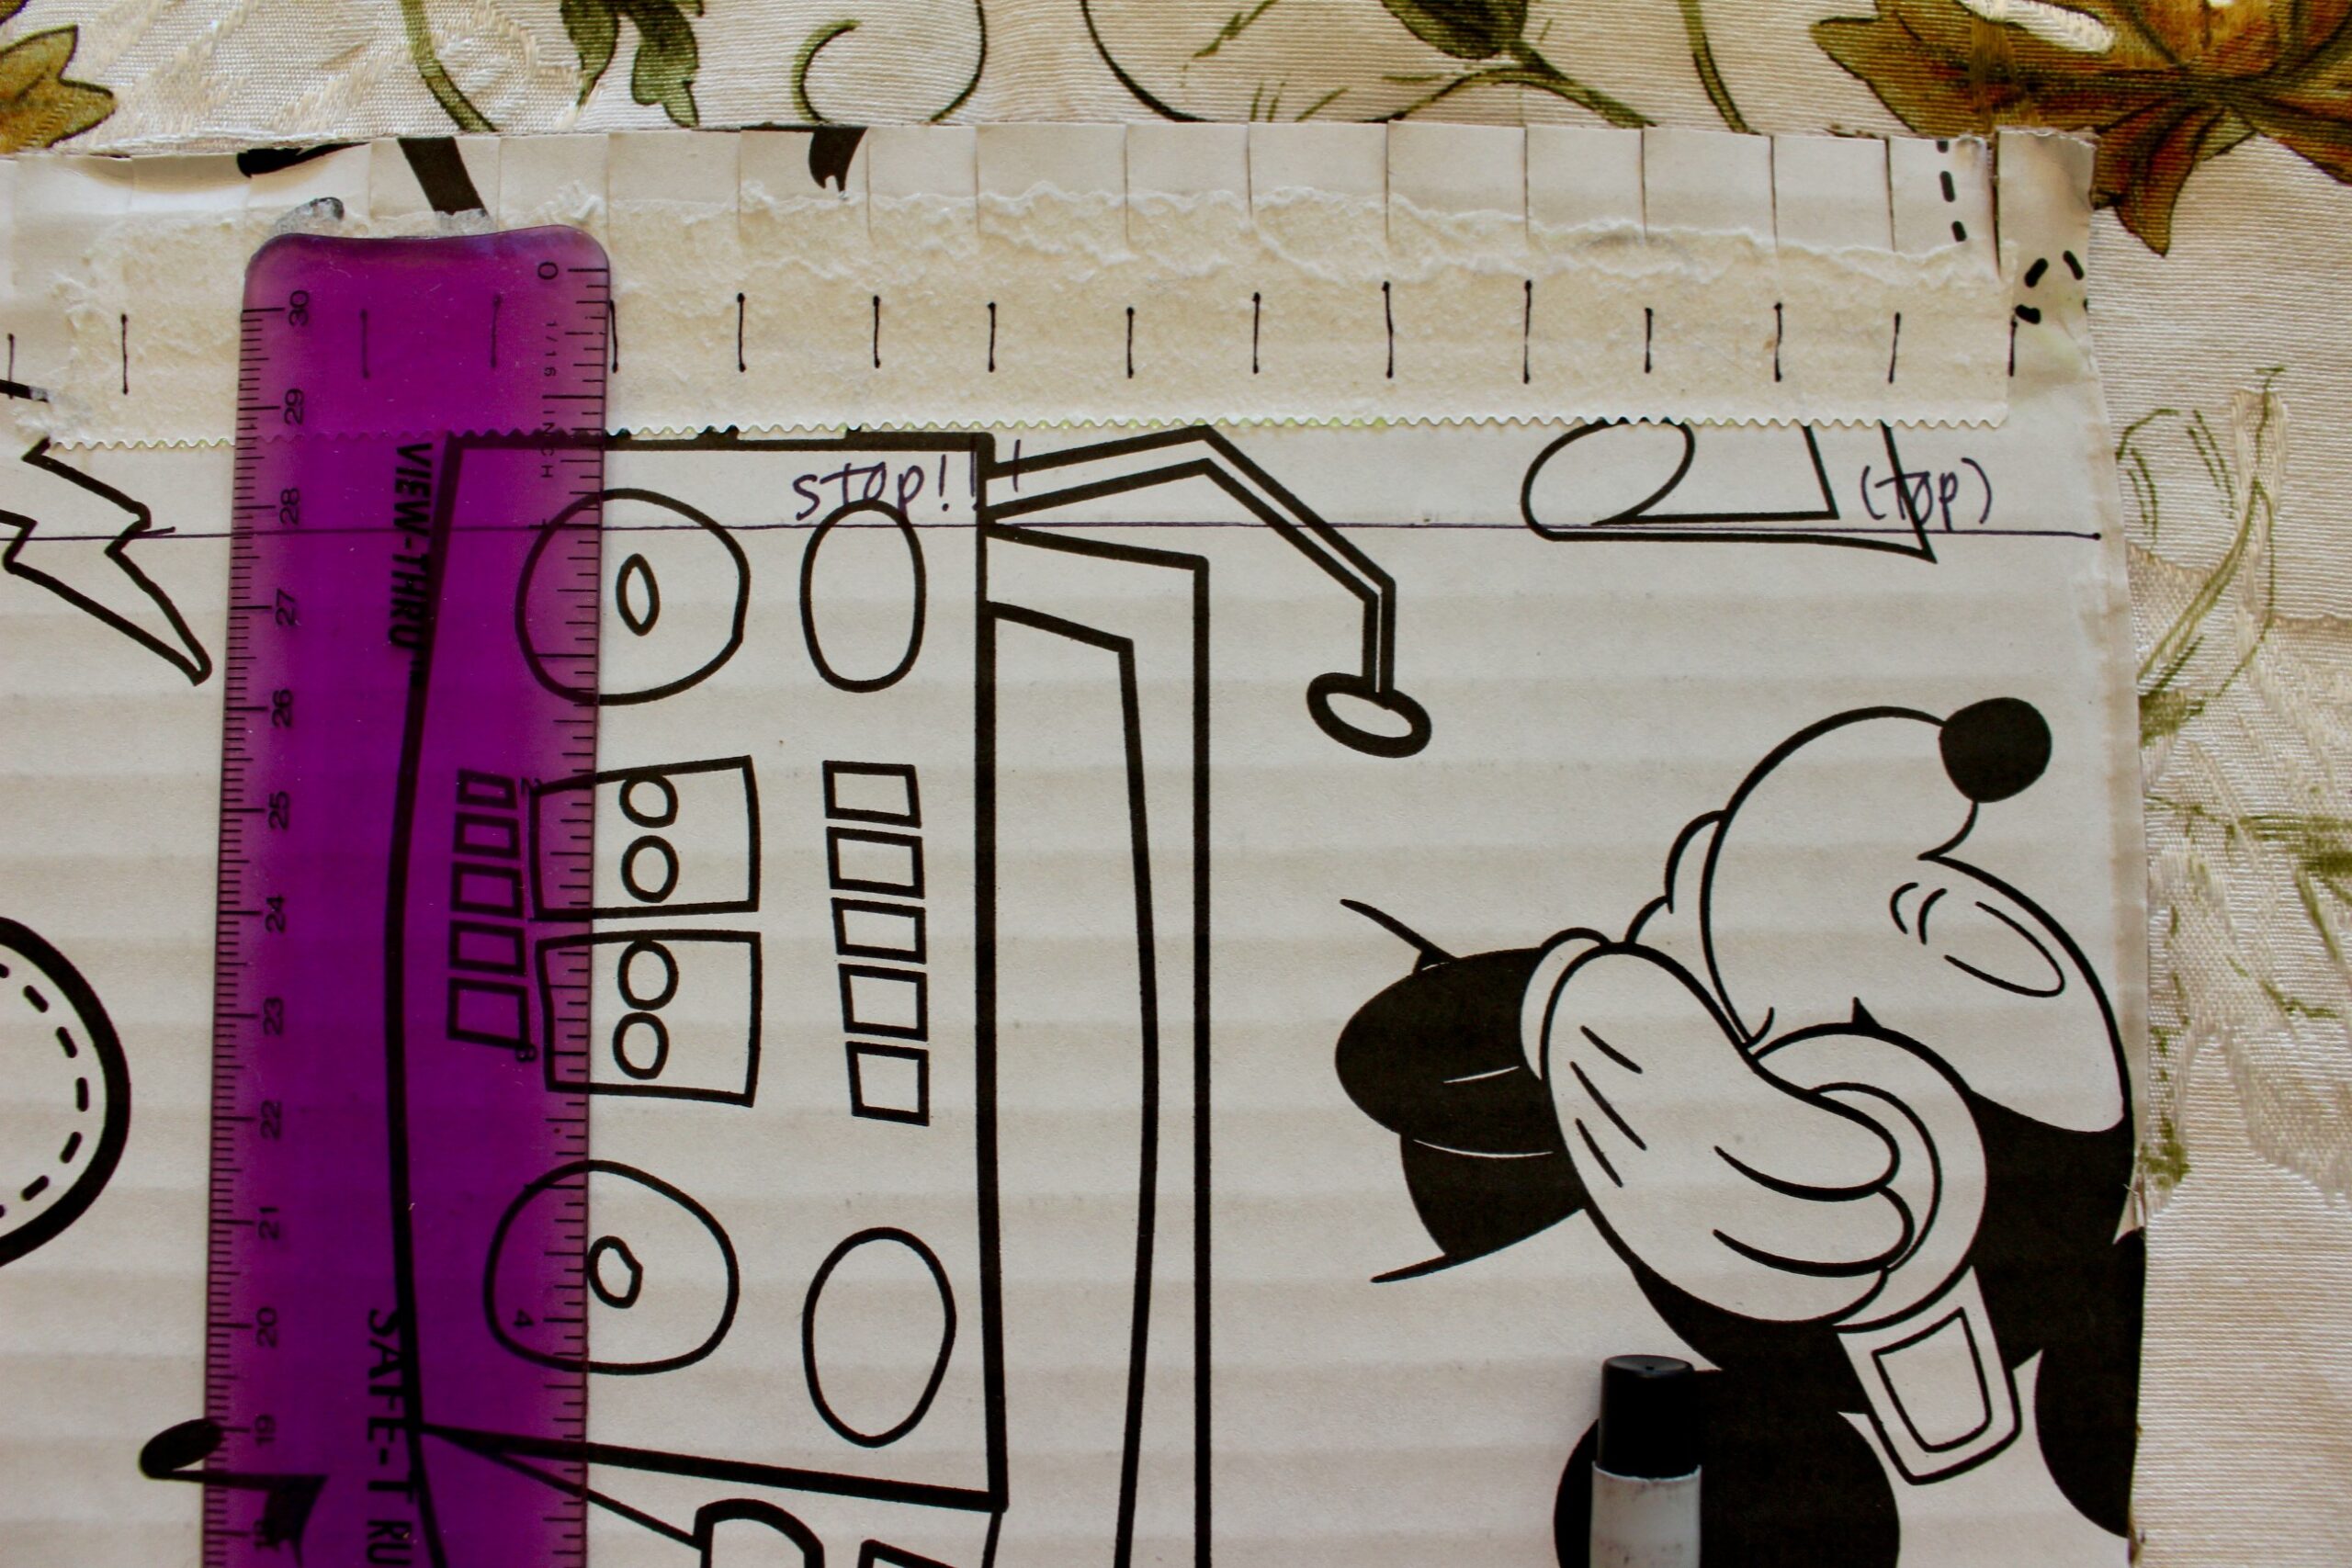
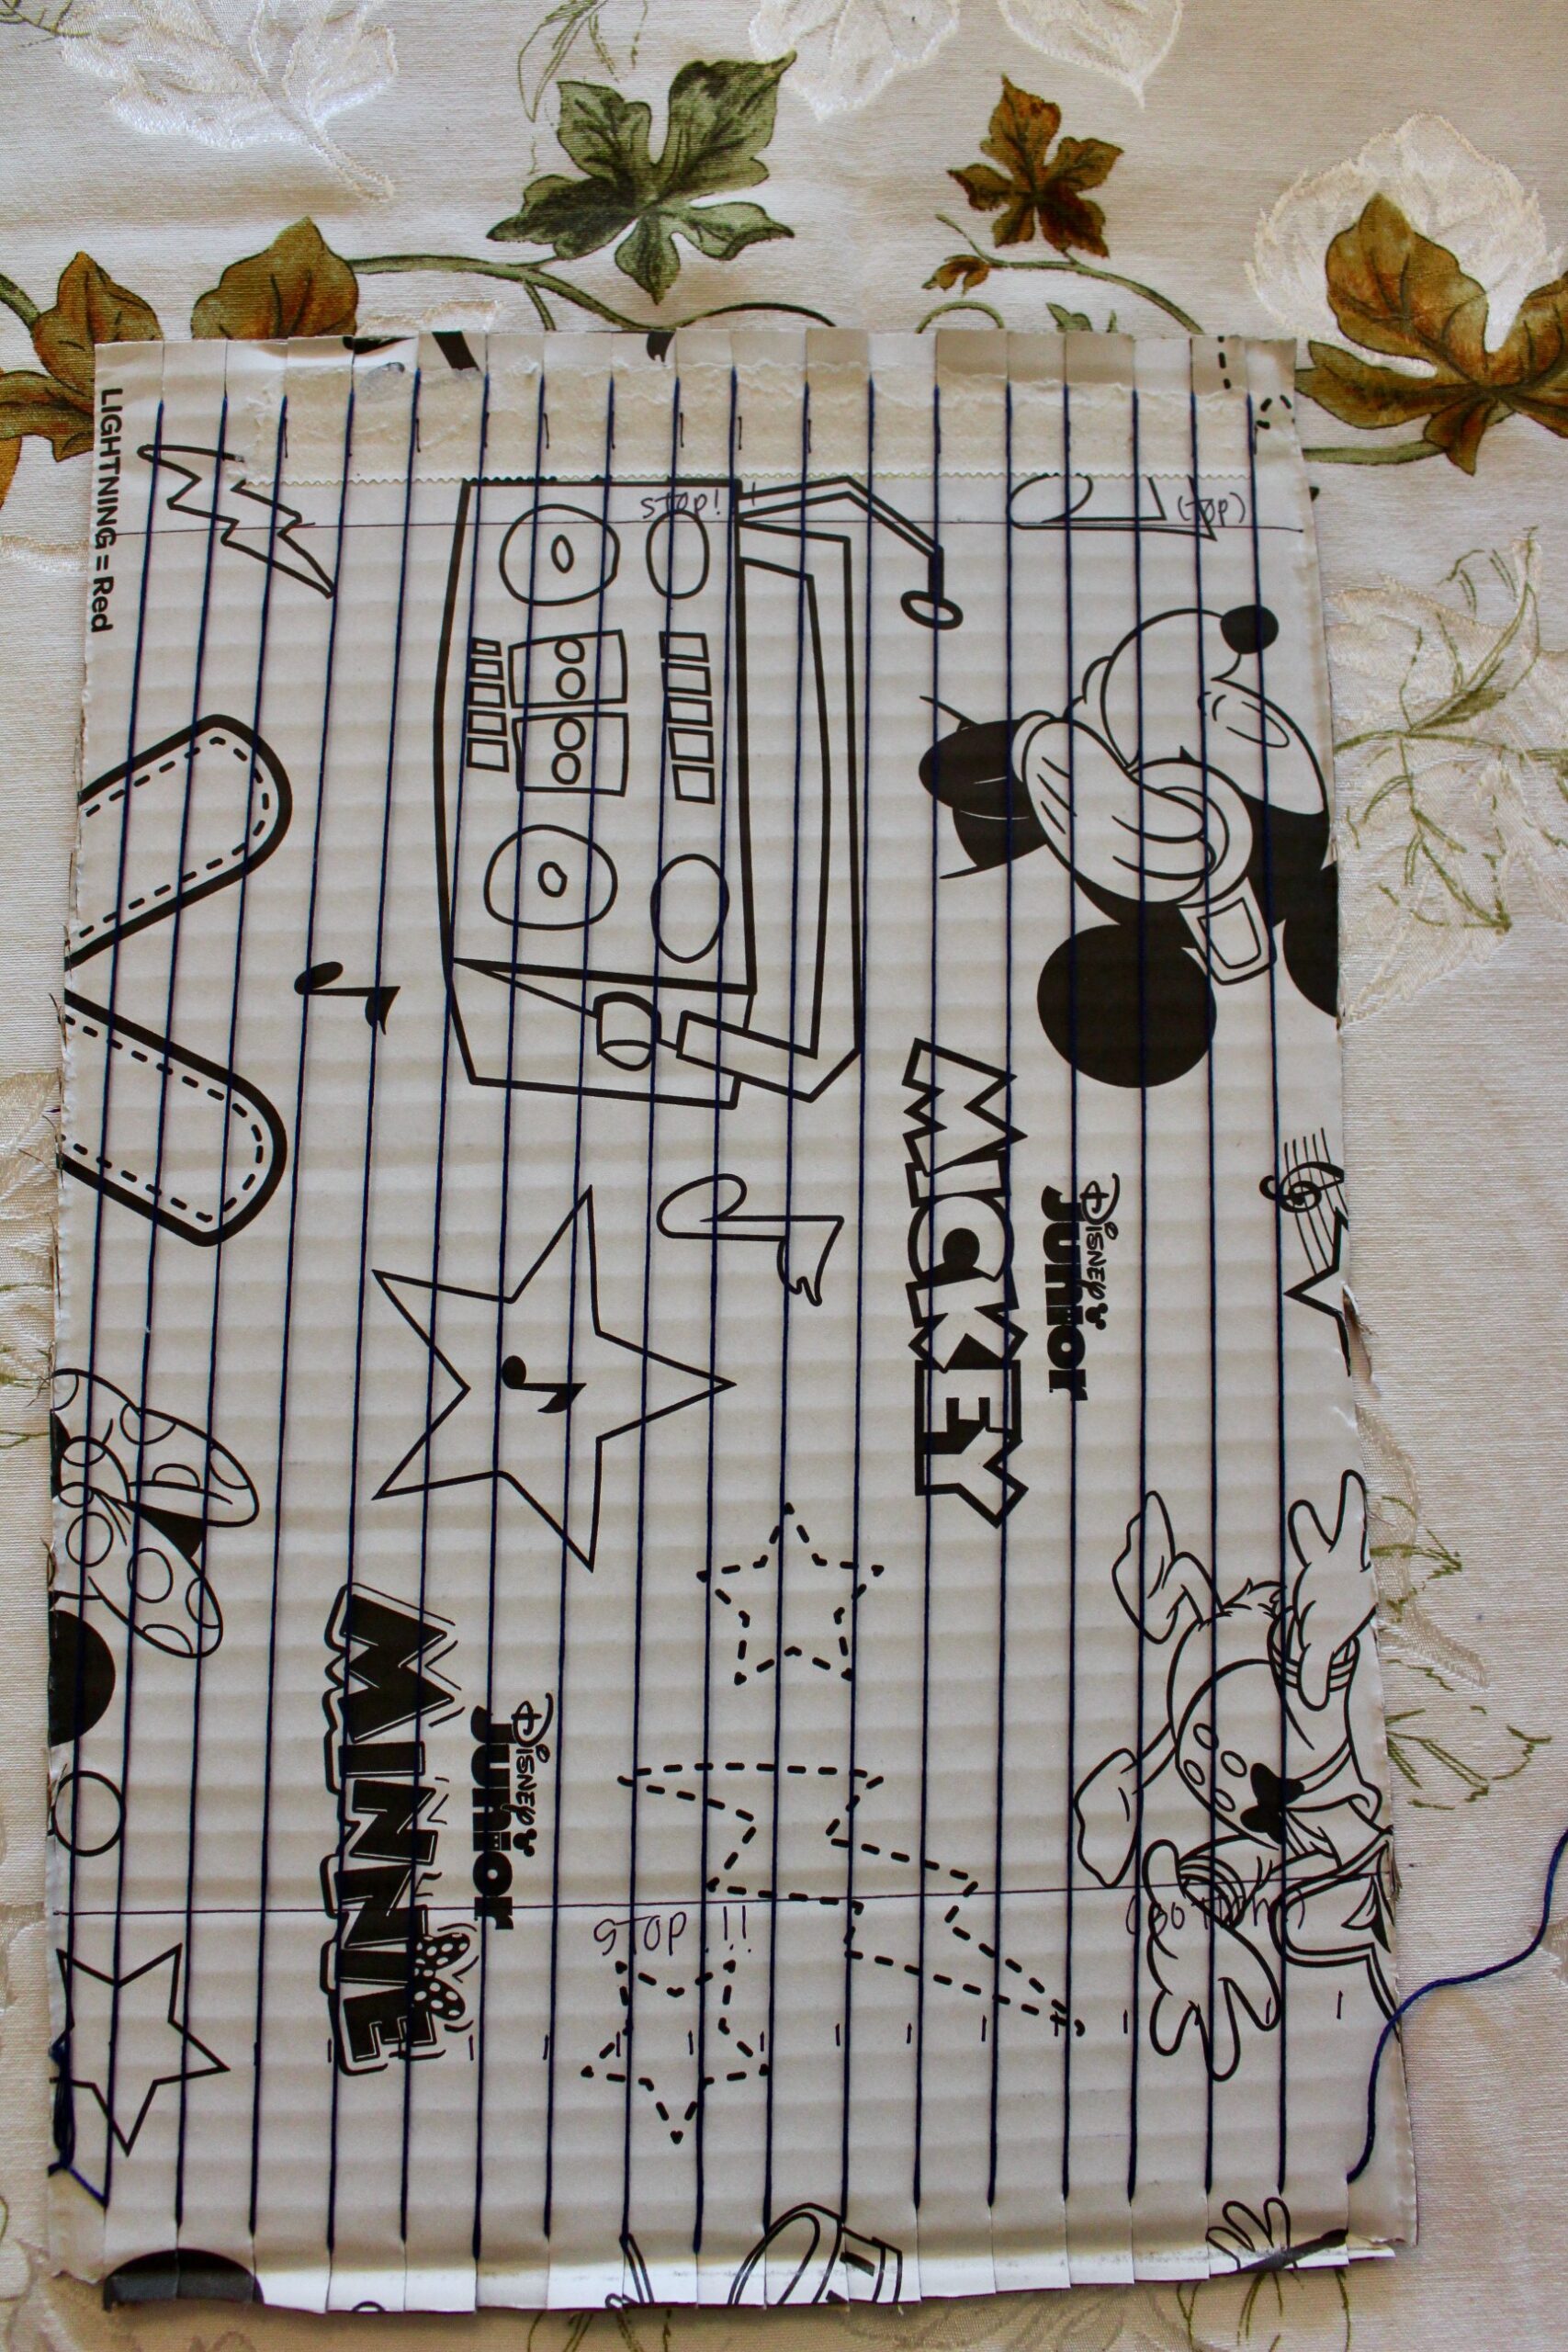
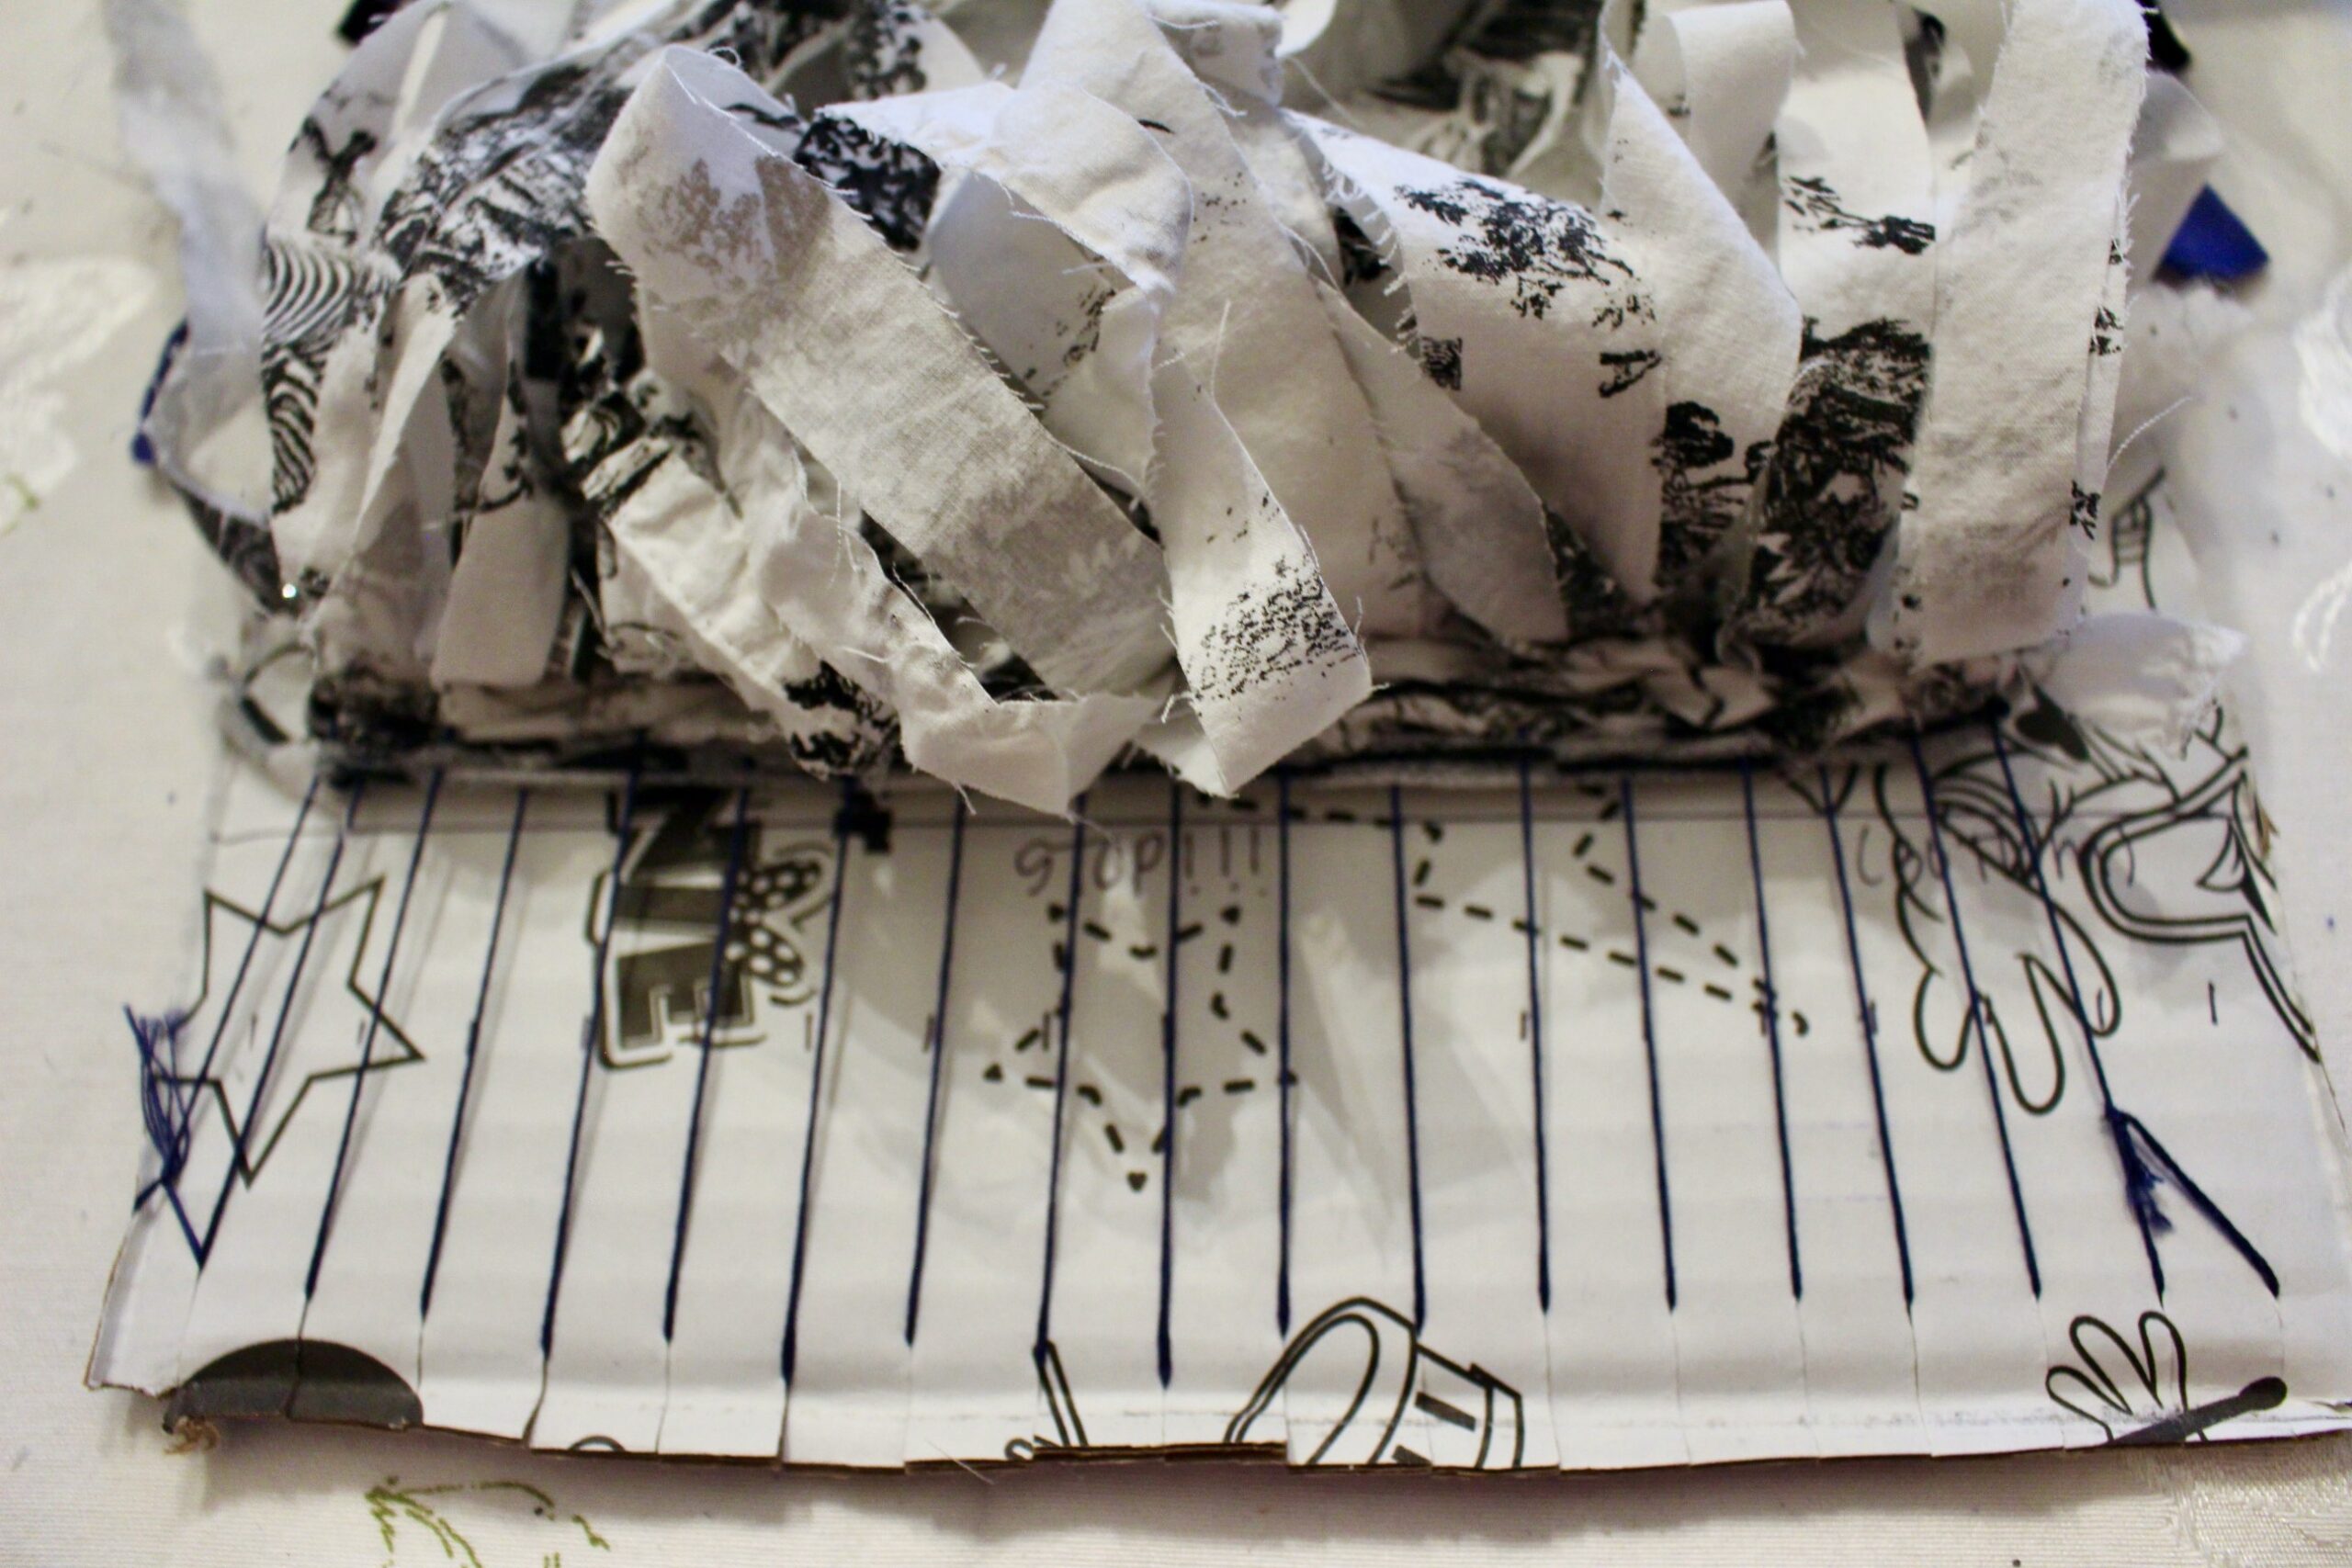
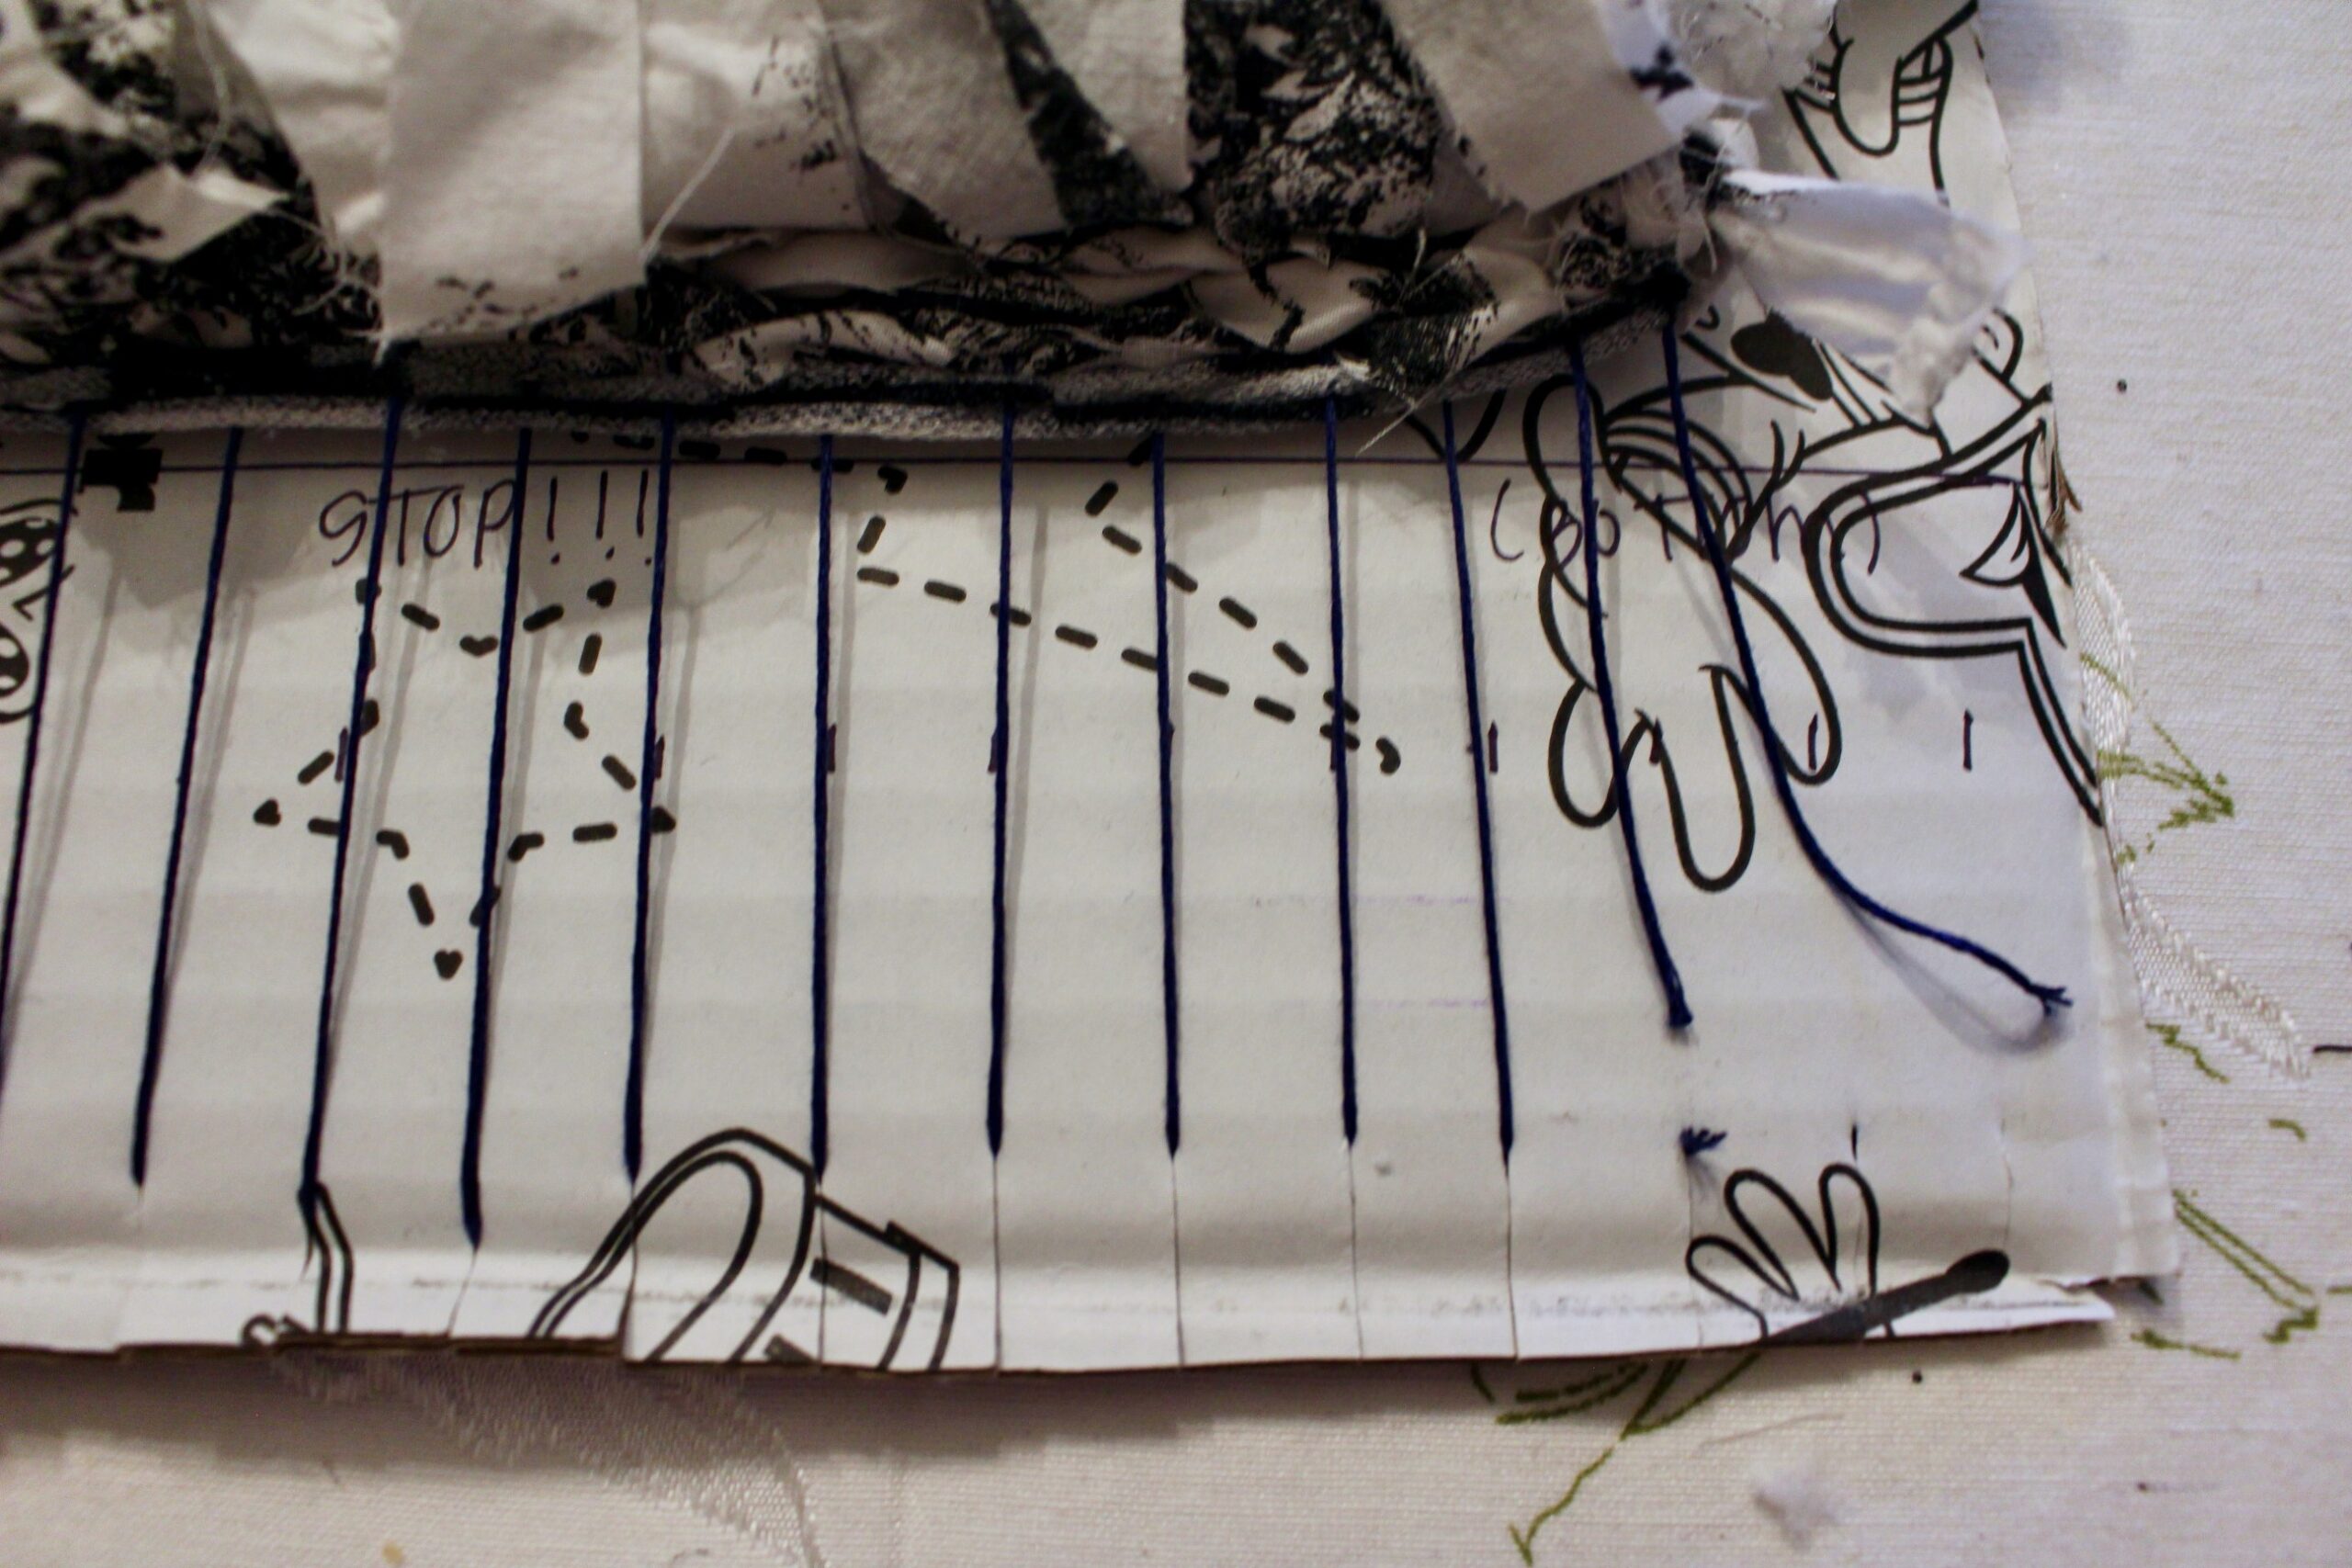
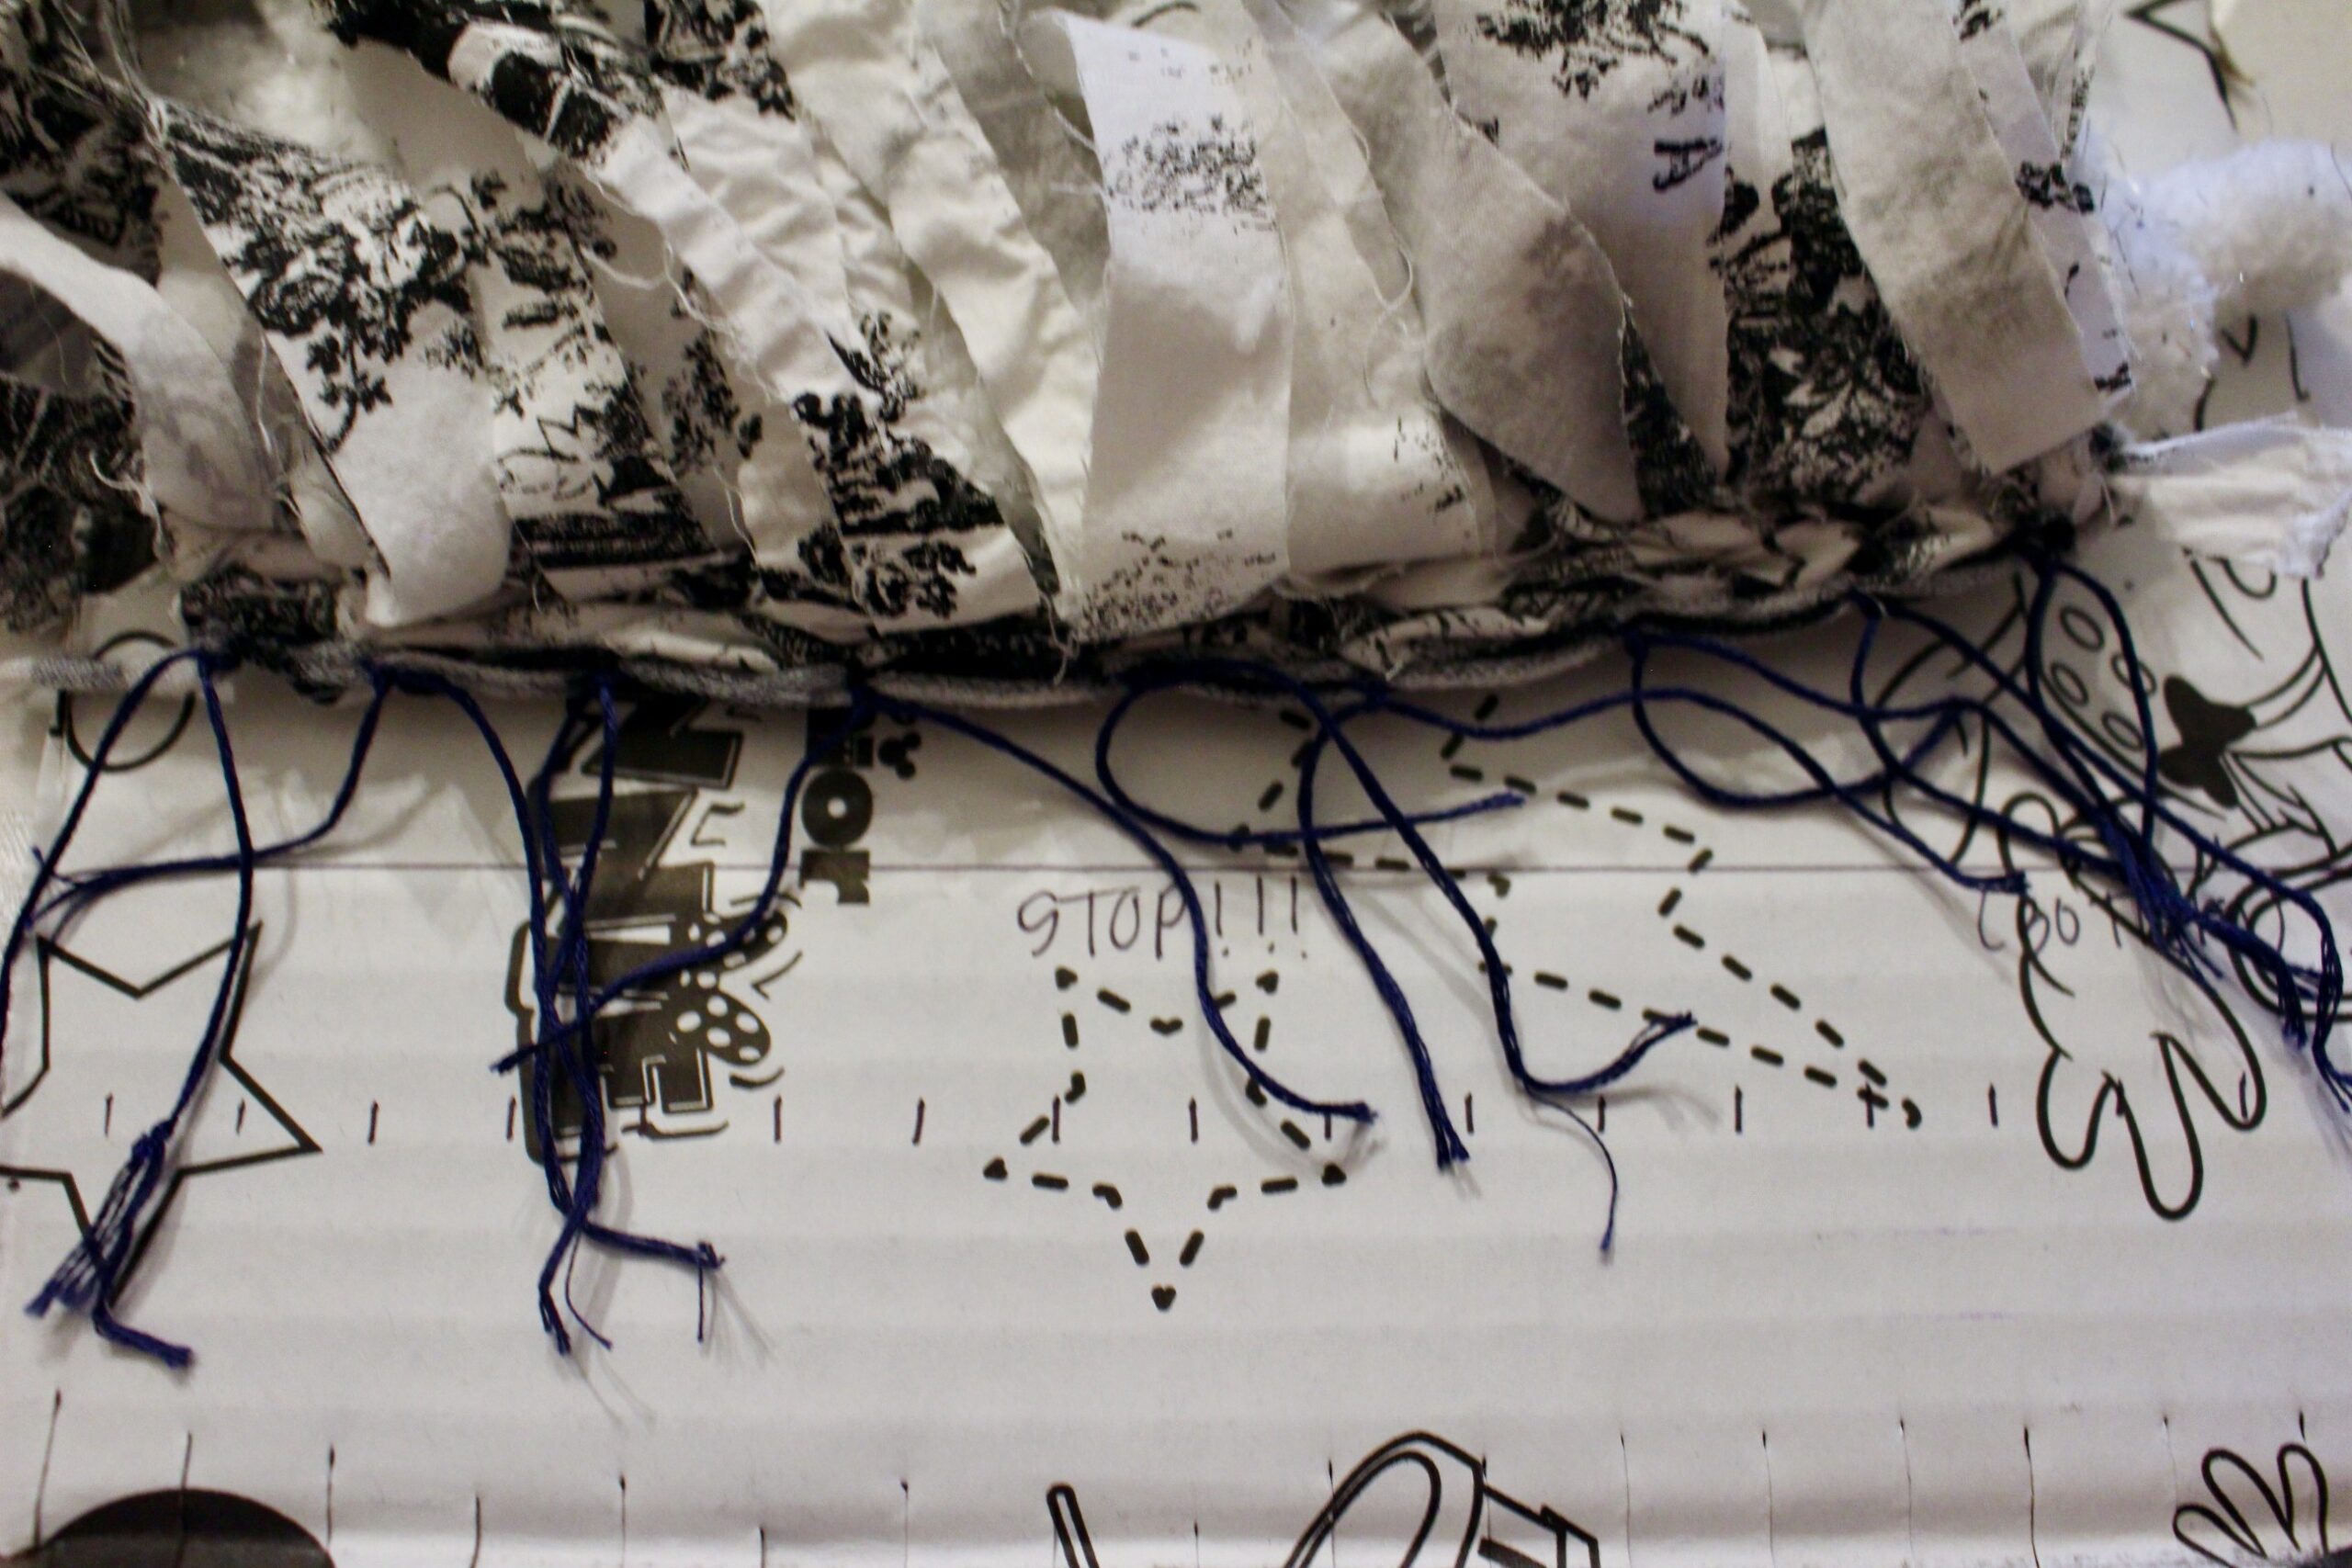
First things first, we’ll make our loom! You’ll measure 1/2 inch marks along the top and bottom of your piece of cardboard. Make sure you have an even number of marks. Then, you’ll make cuts on these marks. Probably about a 1/2 inch tall.
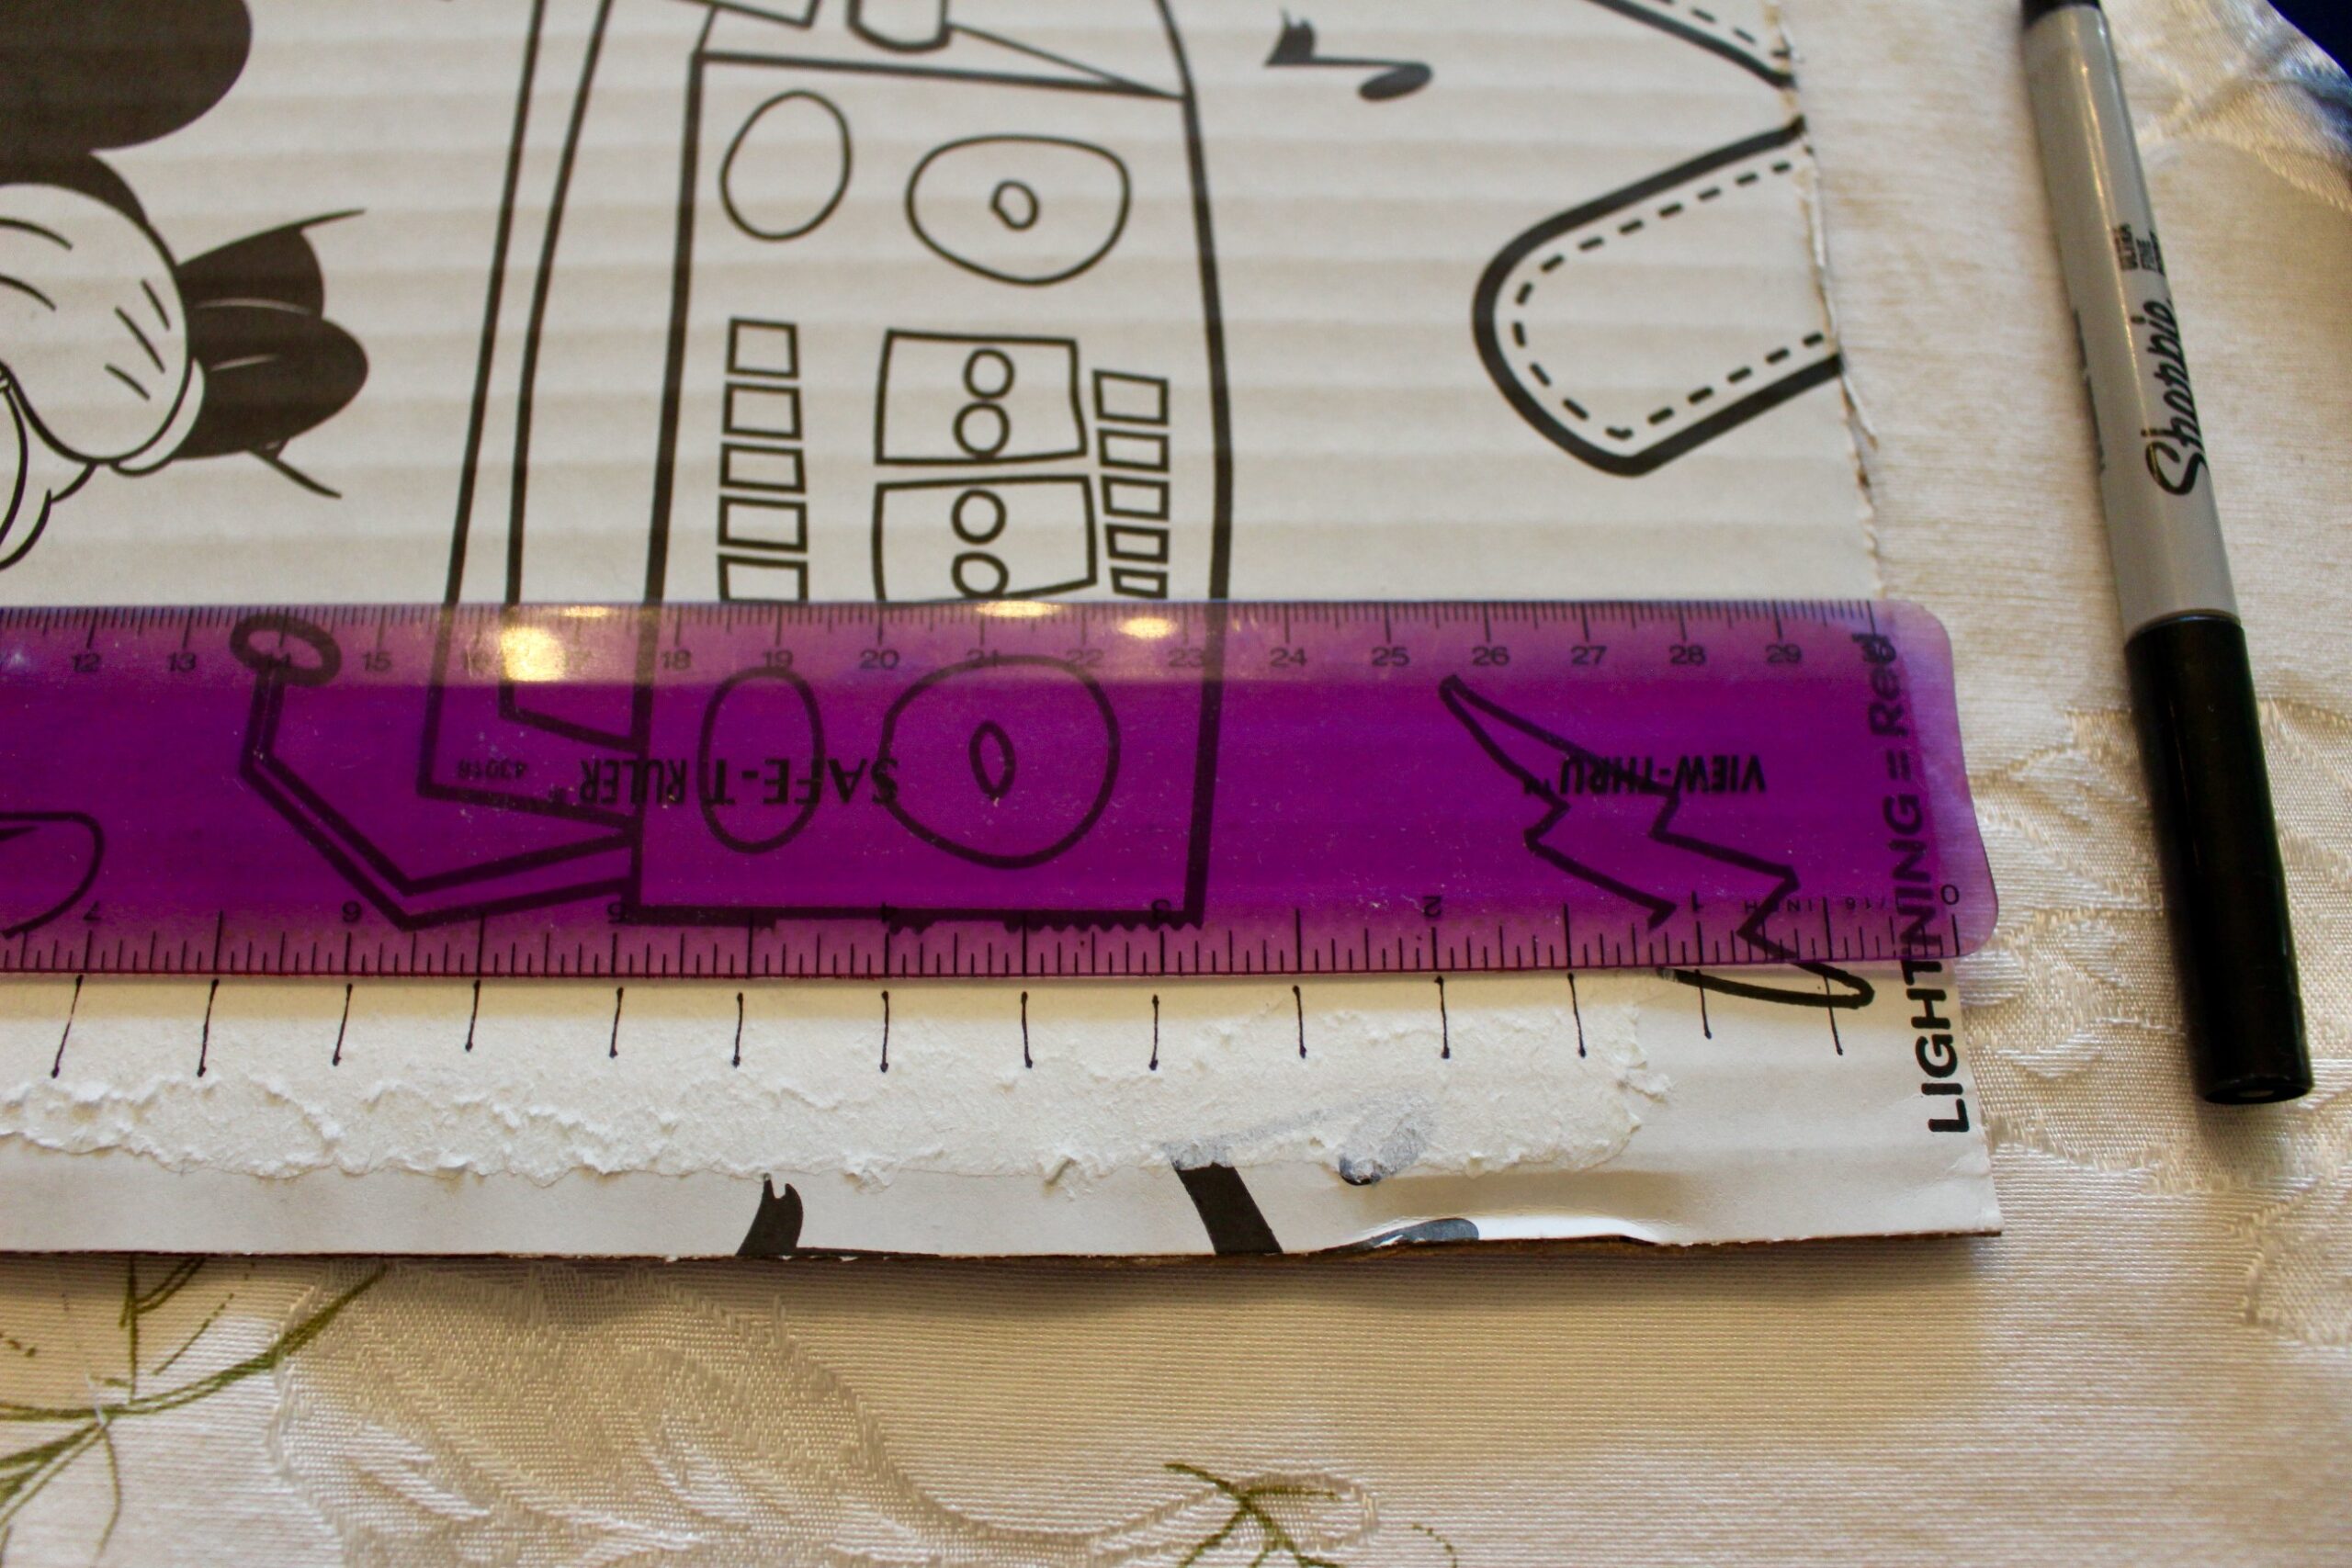
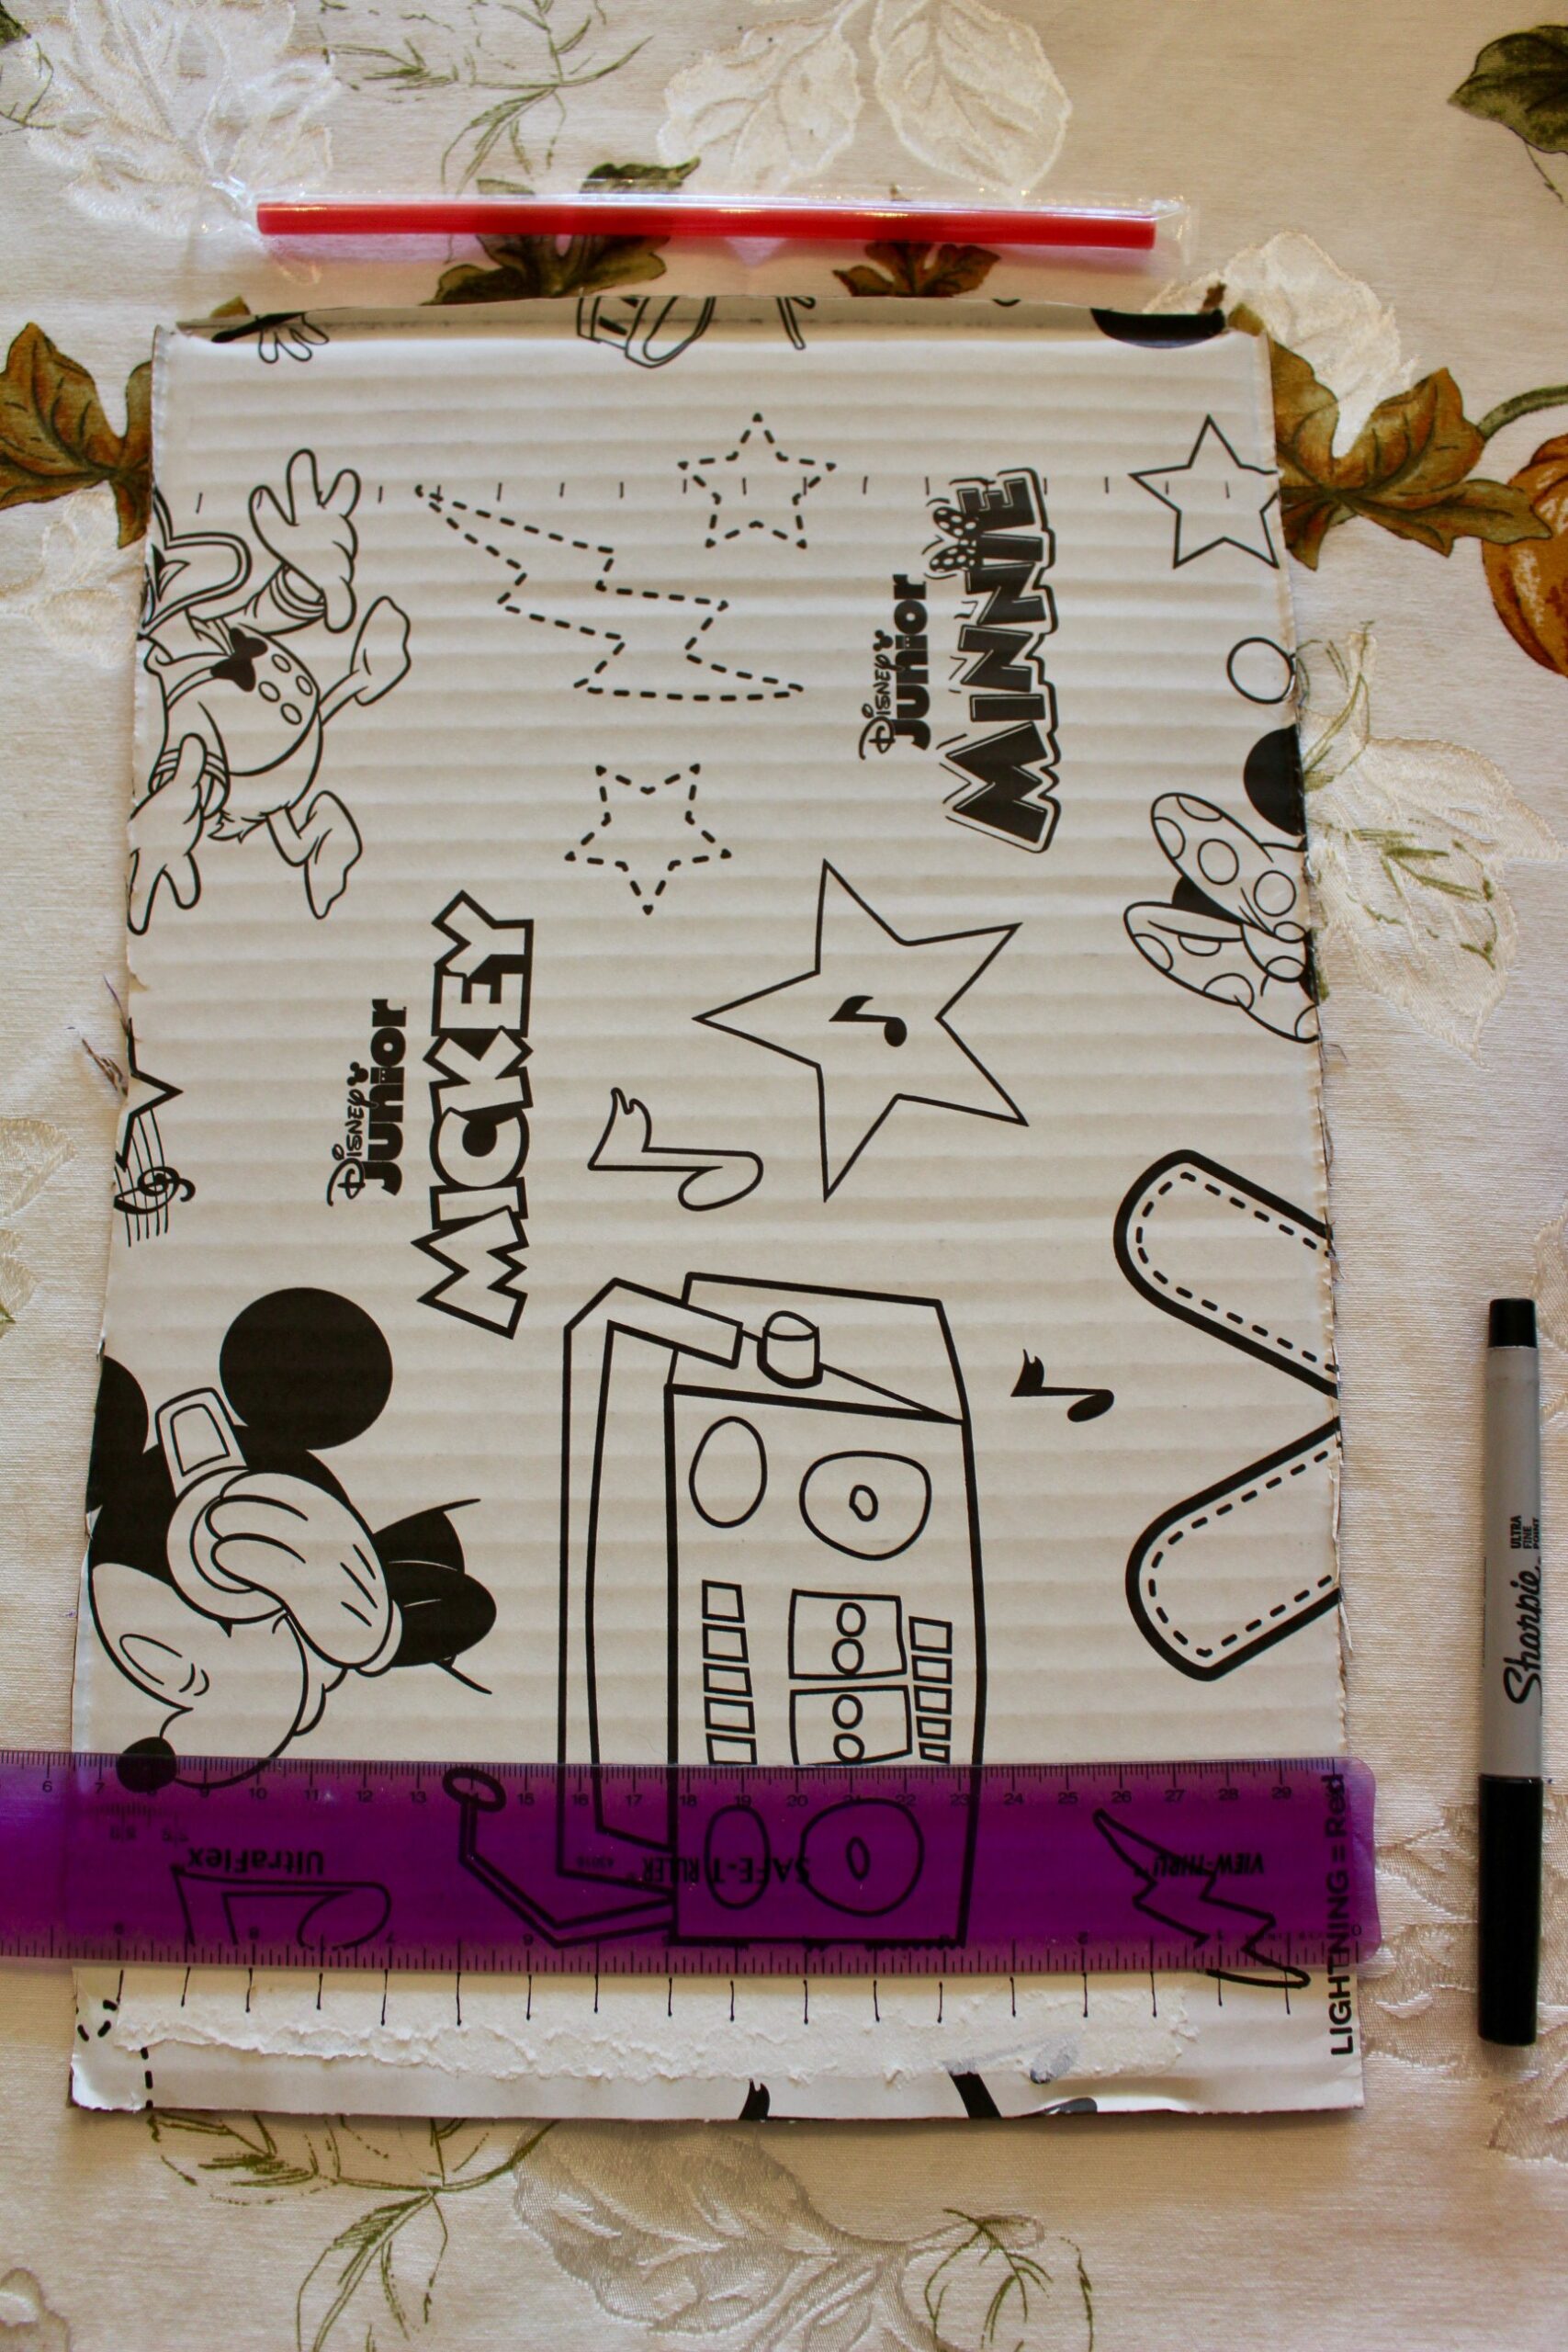
Then you’ll mark up 1-2 inches from the top of your 1/2 inch marks, which will likely be cuts by now. These will be your reminders of where to start and stop your weaving. You’ll need this at the end of the project to finish your weaving. As a preview, you’ll be tying two strings together, so leave however much room you think you’ll need to do this. 2 inches was perfect for me.


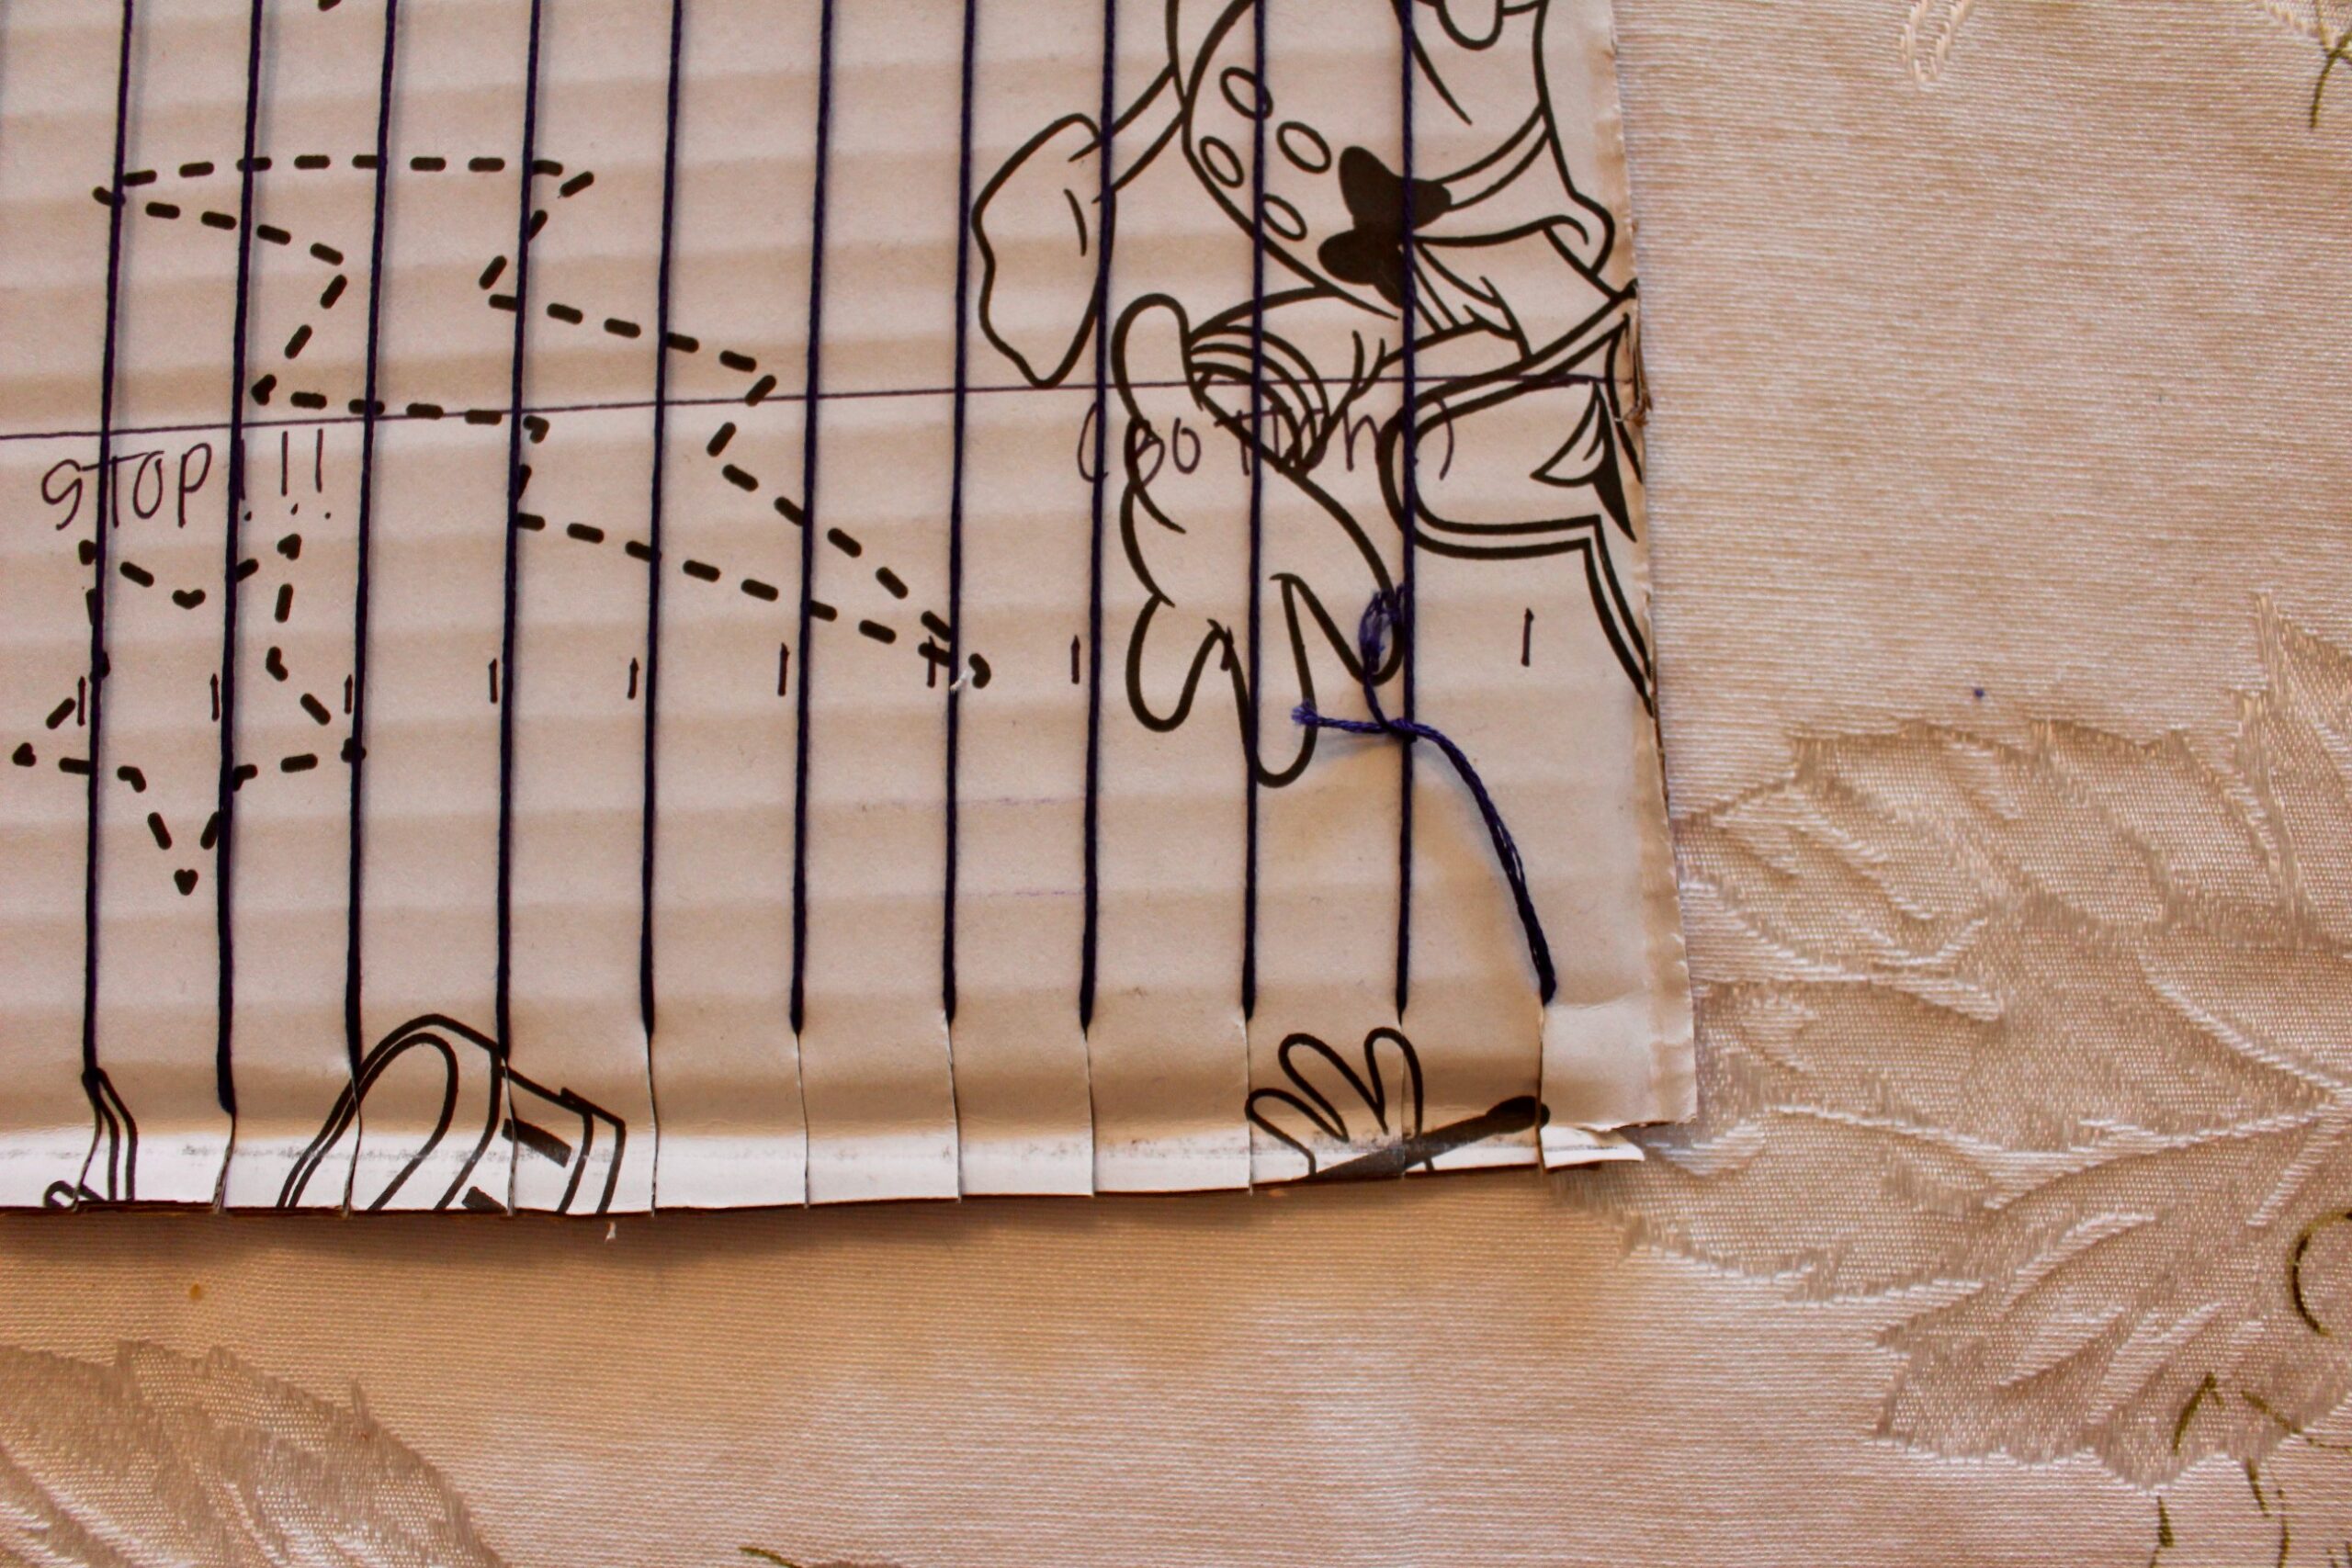
Once your cardboard is all cut and measured and marks are made, you’ll add the string for the base of your loom. Start by tying a piece of string around the bottom left “tab” of your loom.
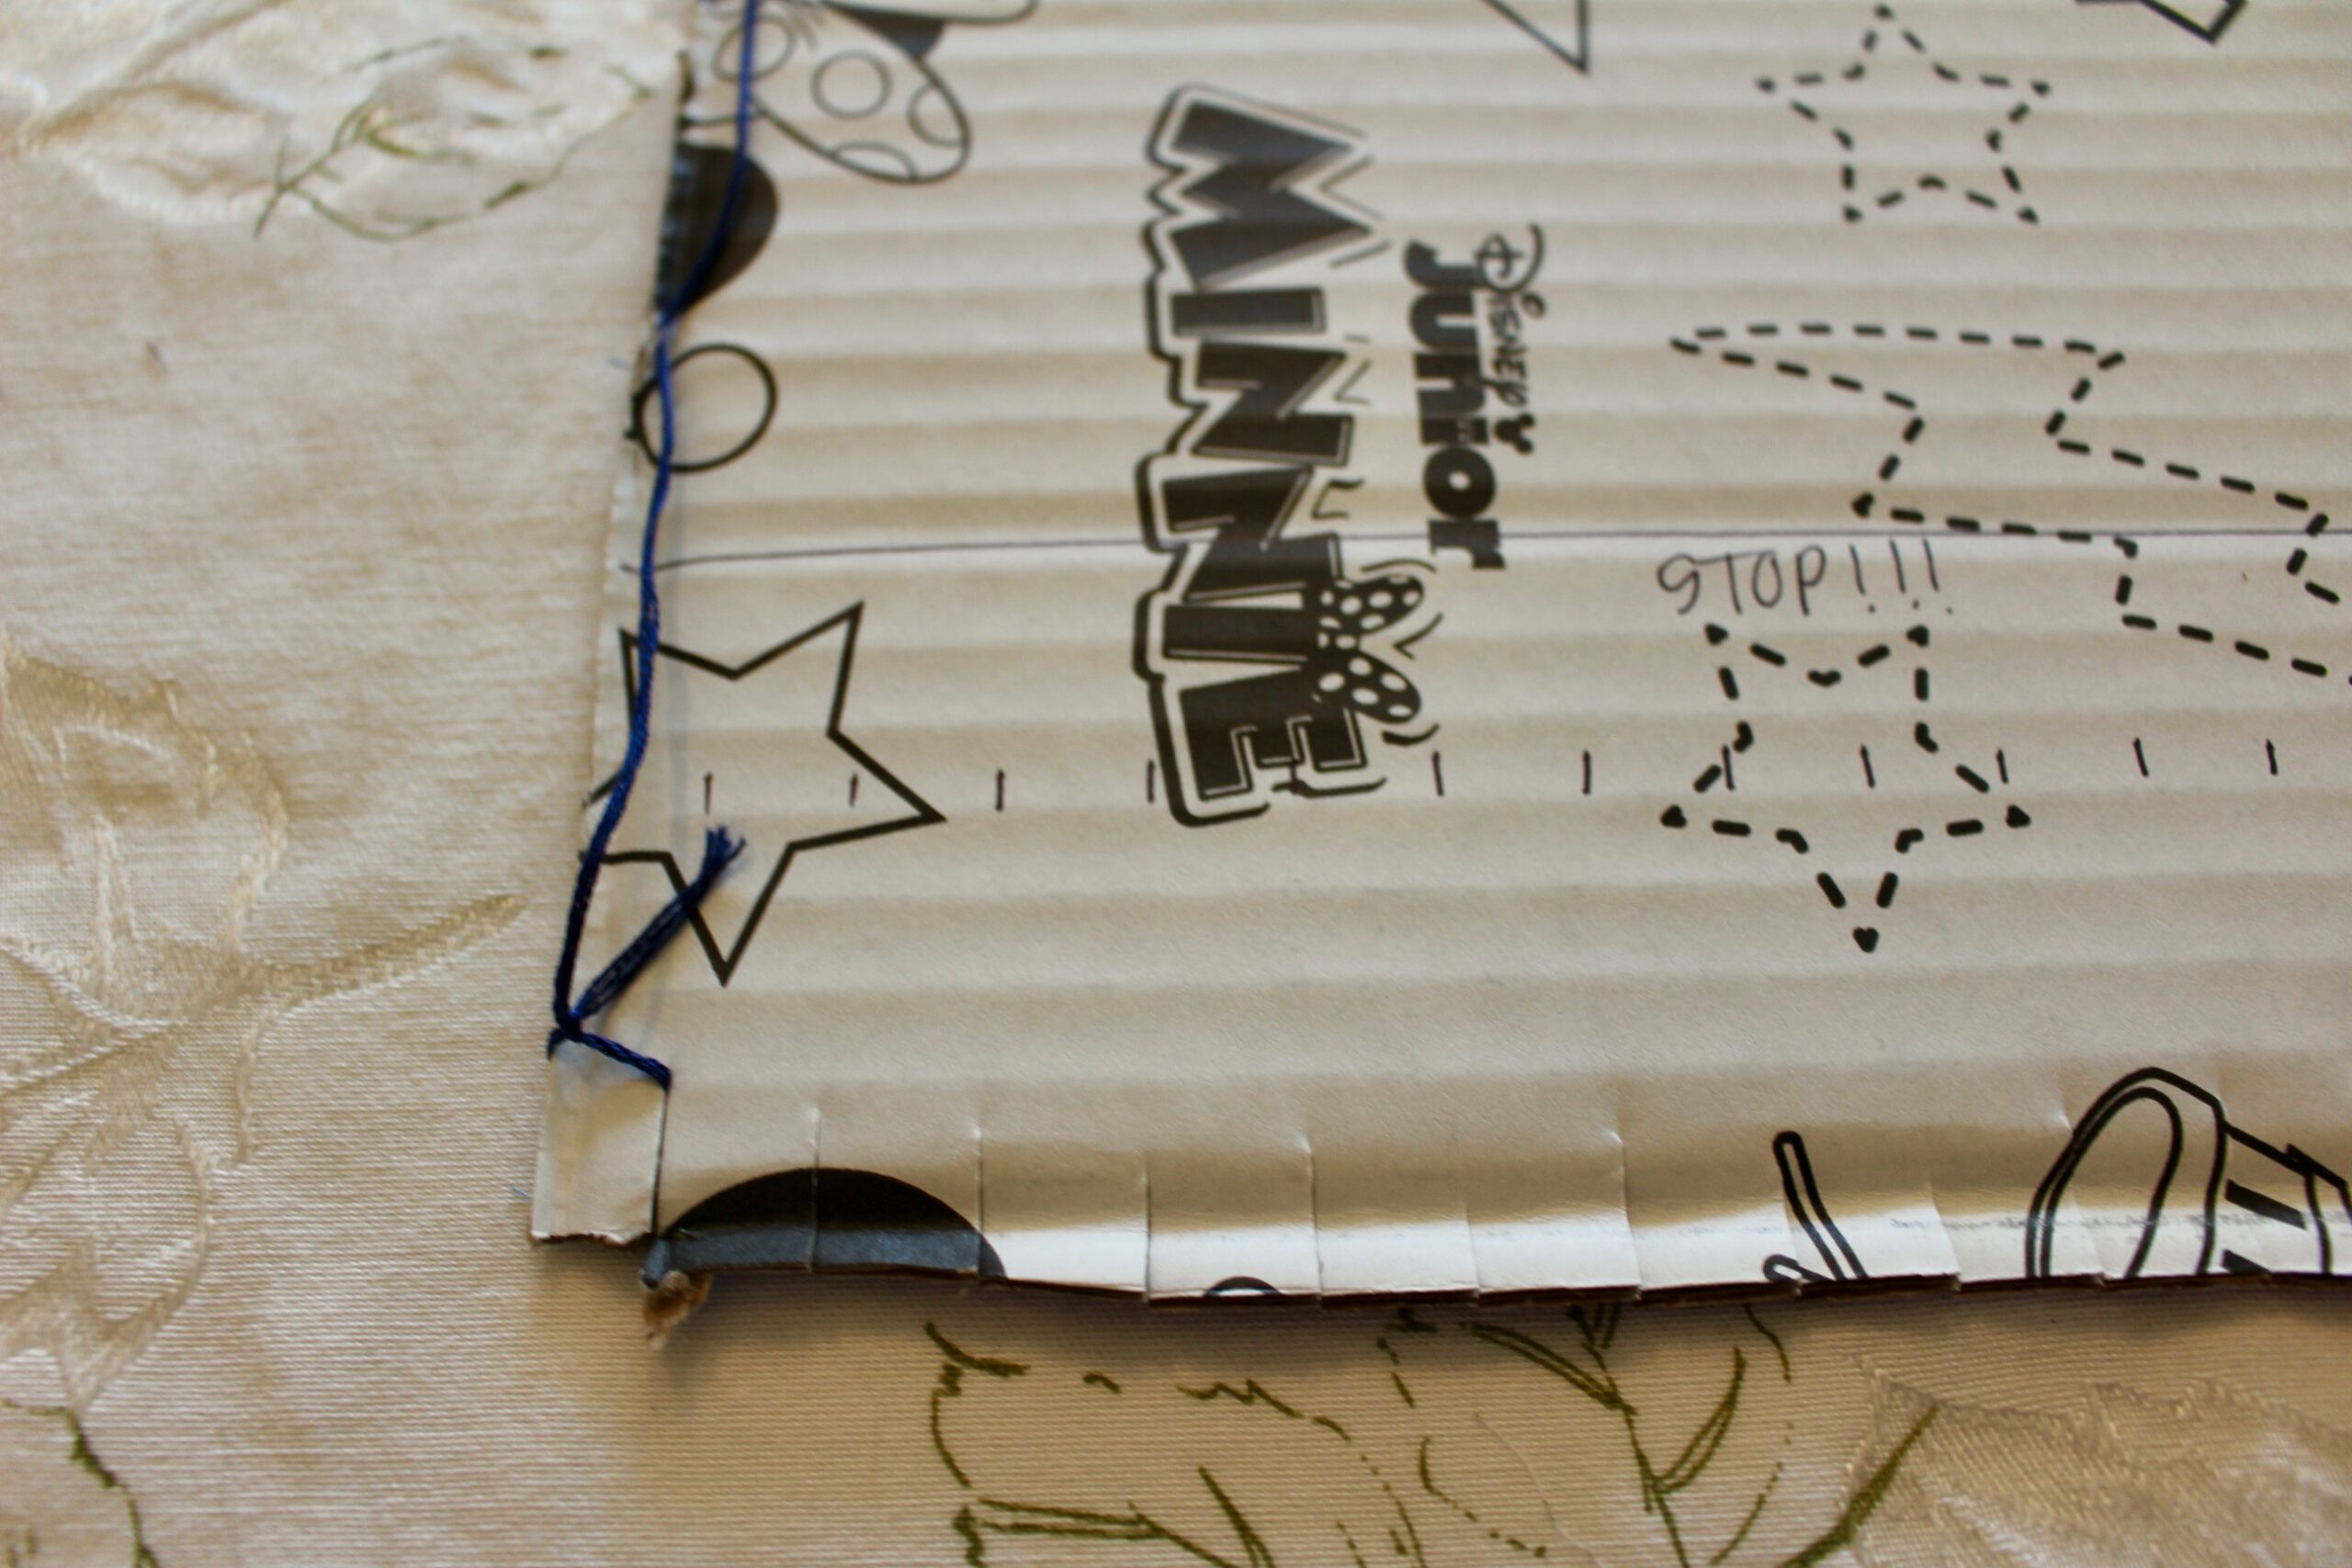
Then you’ll pull this thread up and hook it around the top tabs, alternating up, around, down, around and up. Then you’ll tie the end of your string on the bottom right tab of your loom.
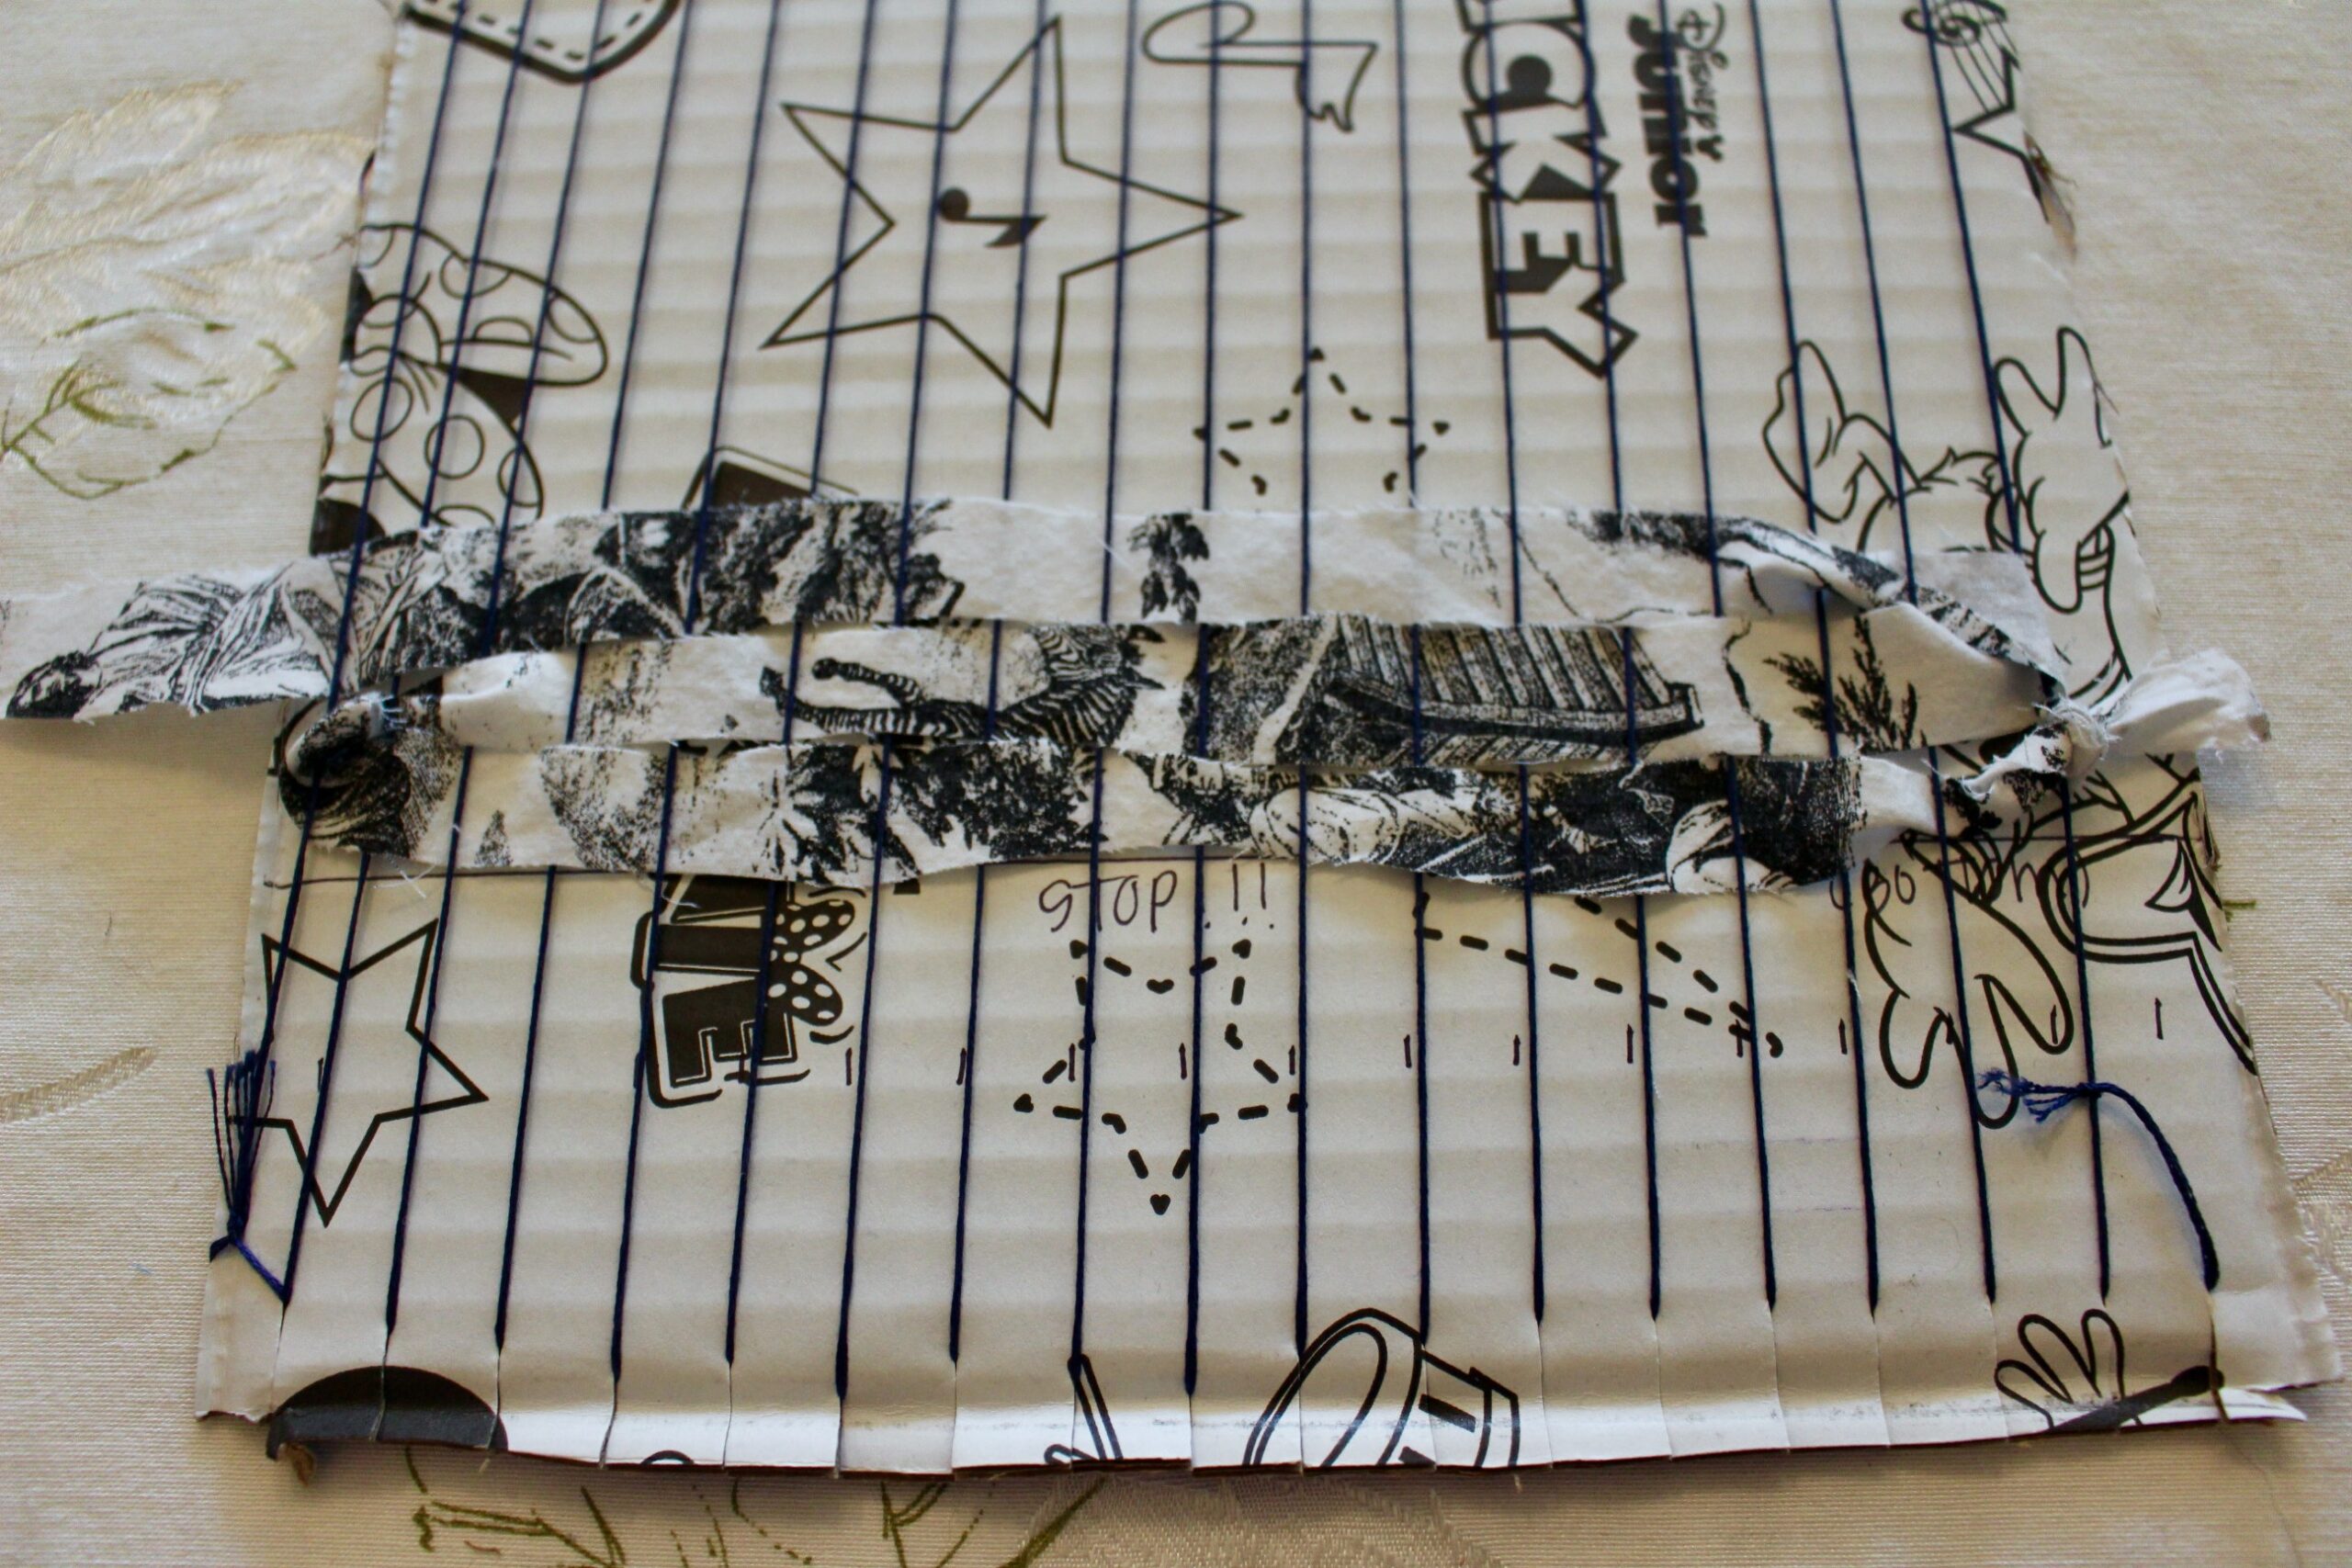
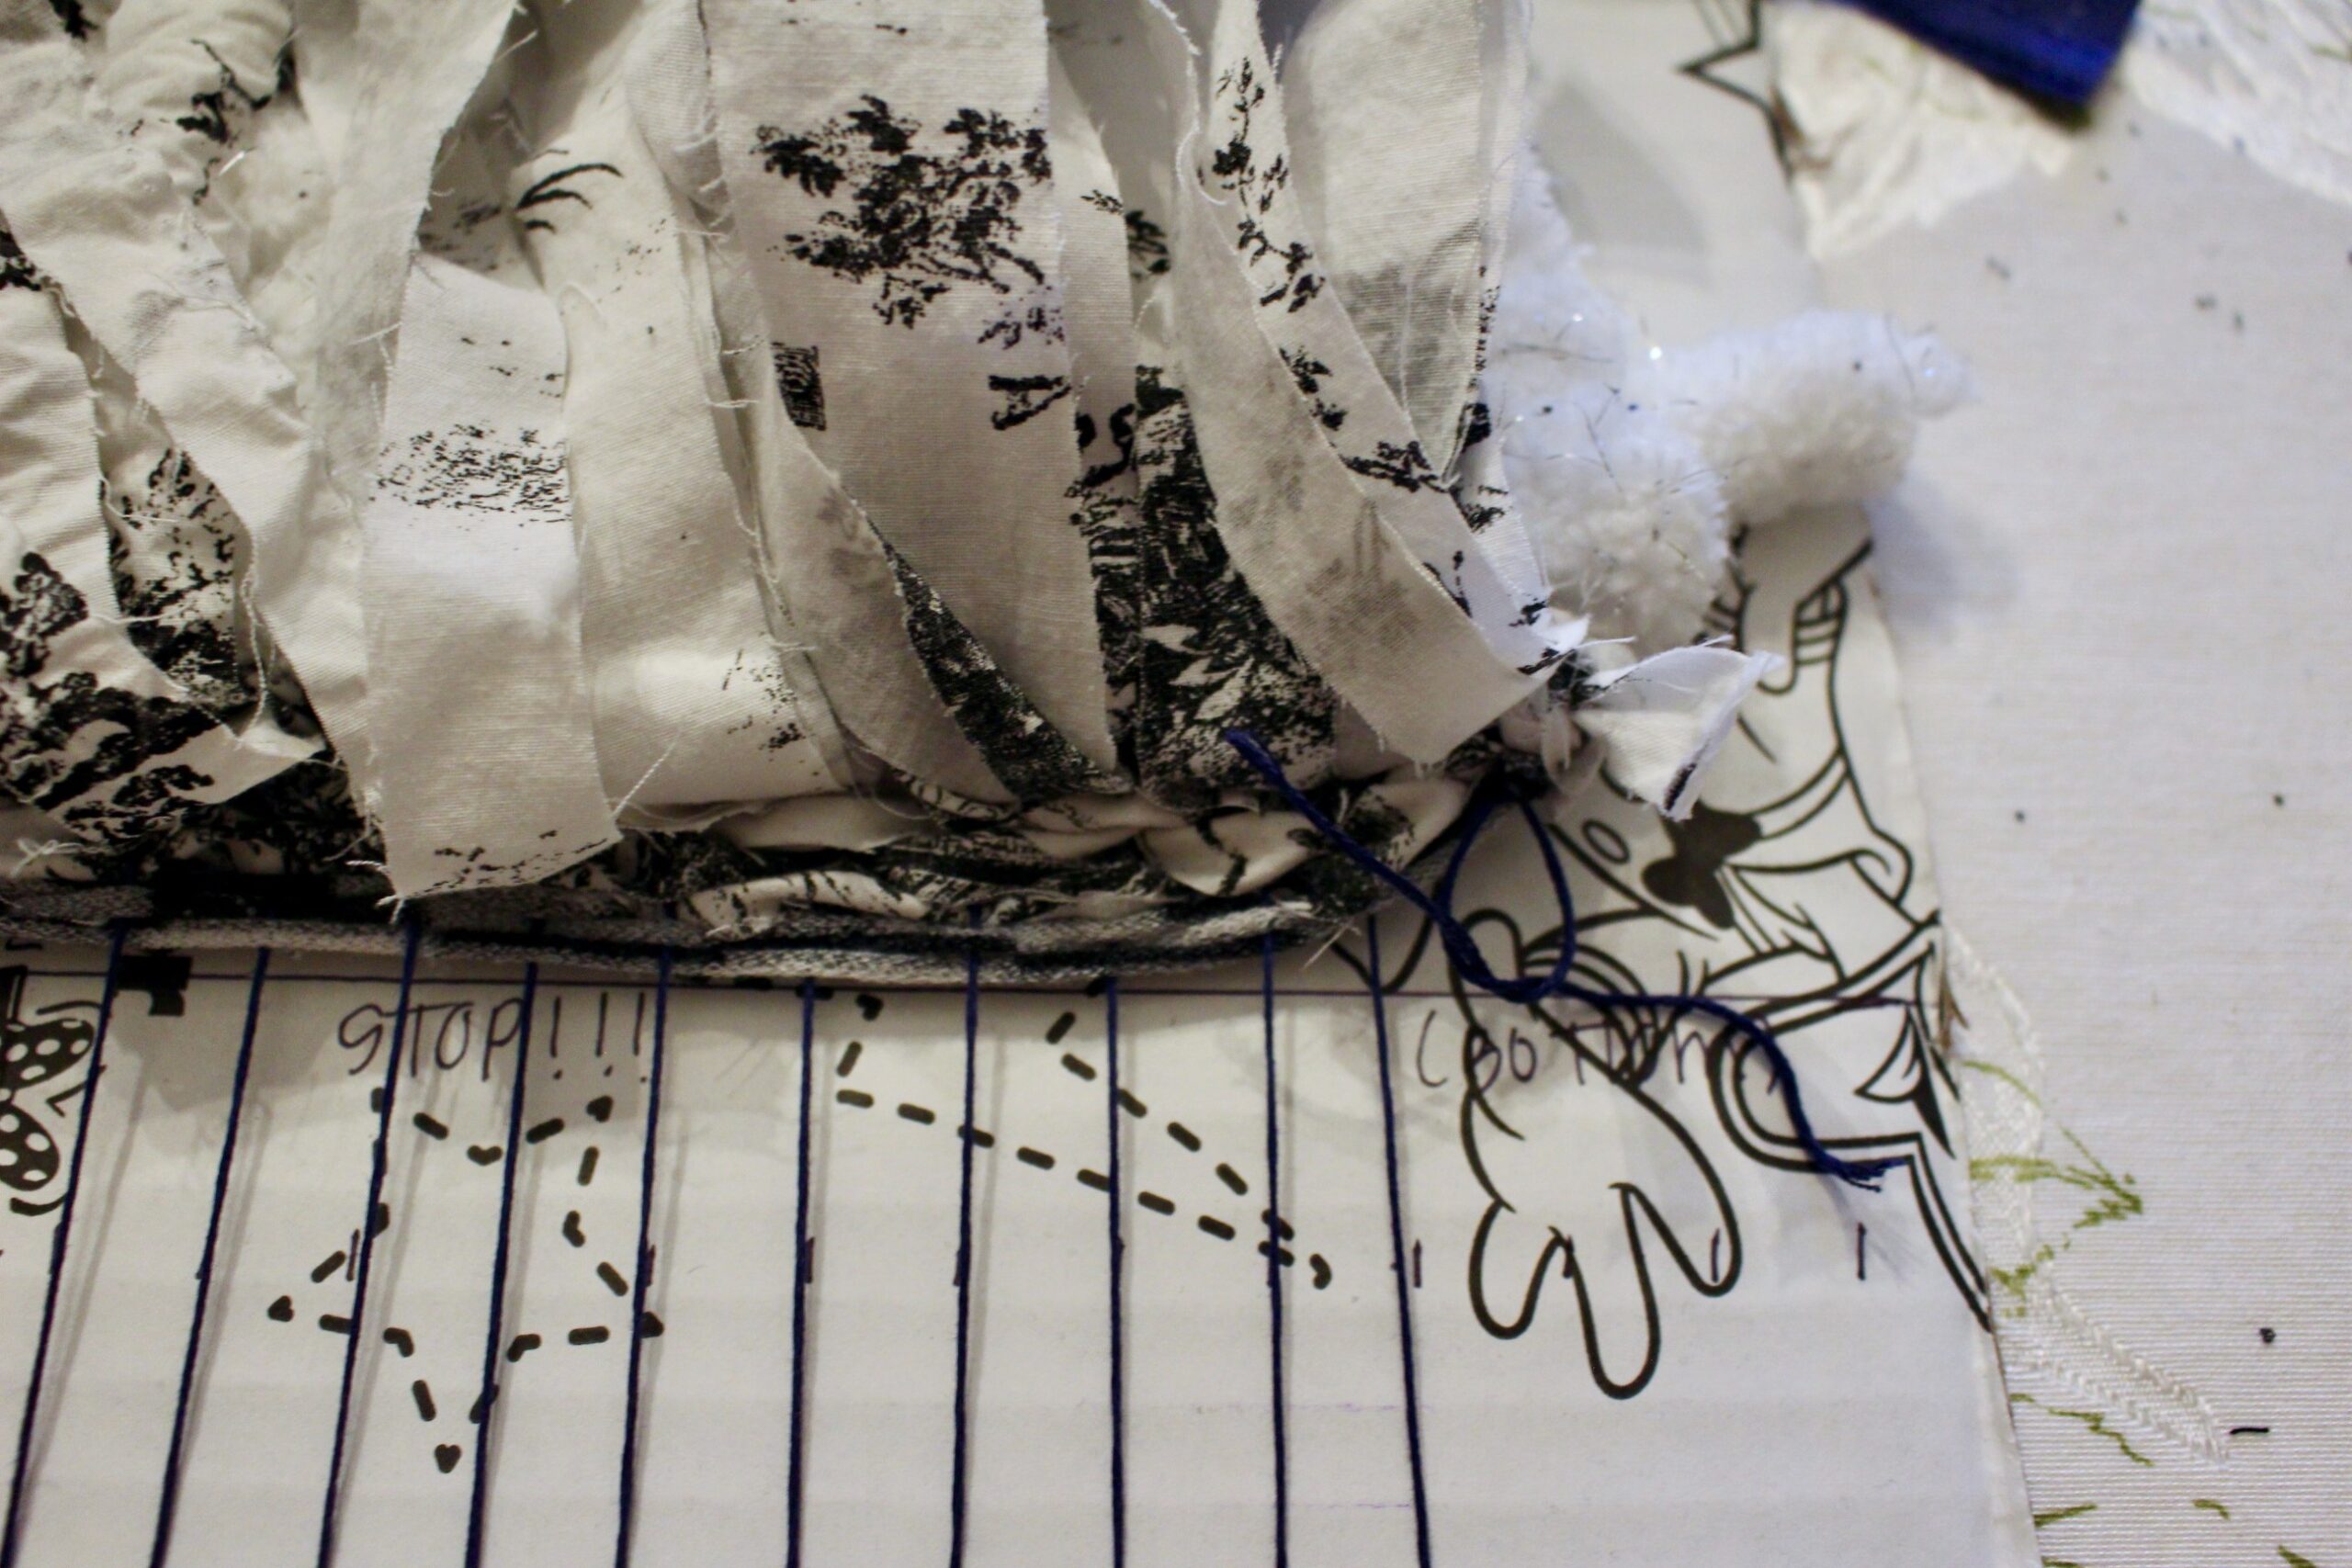
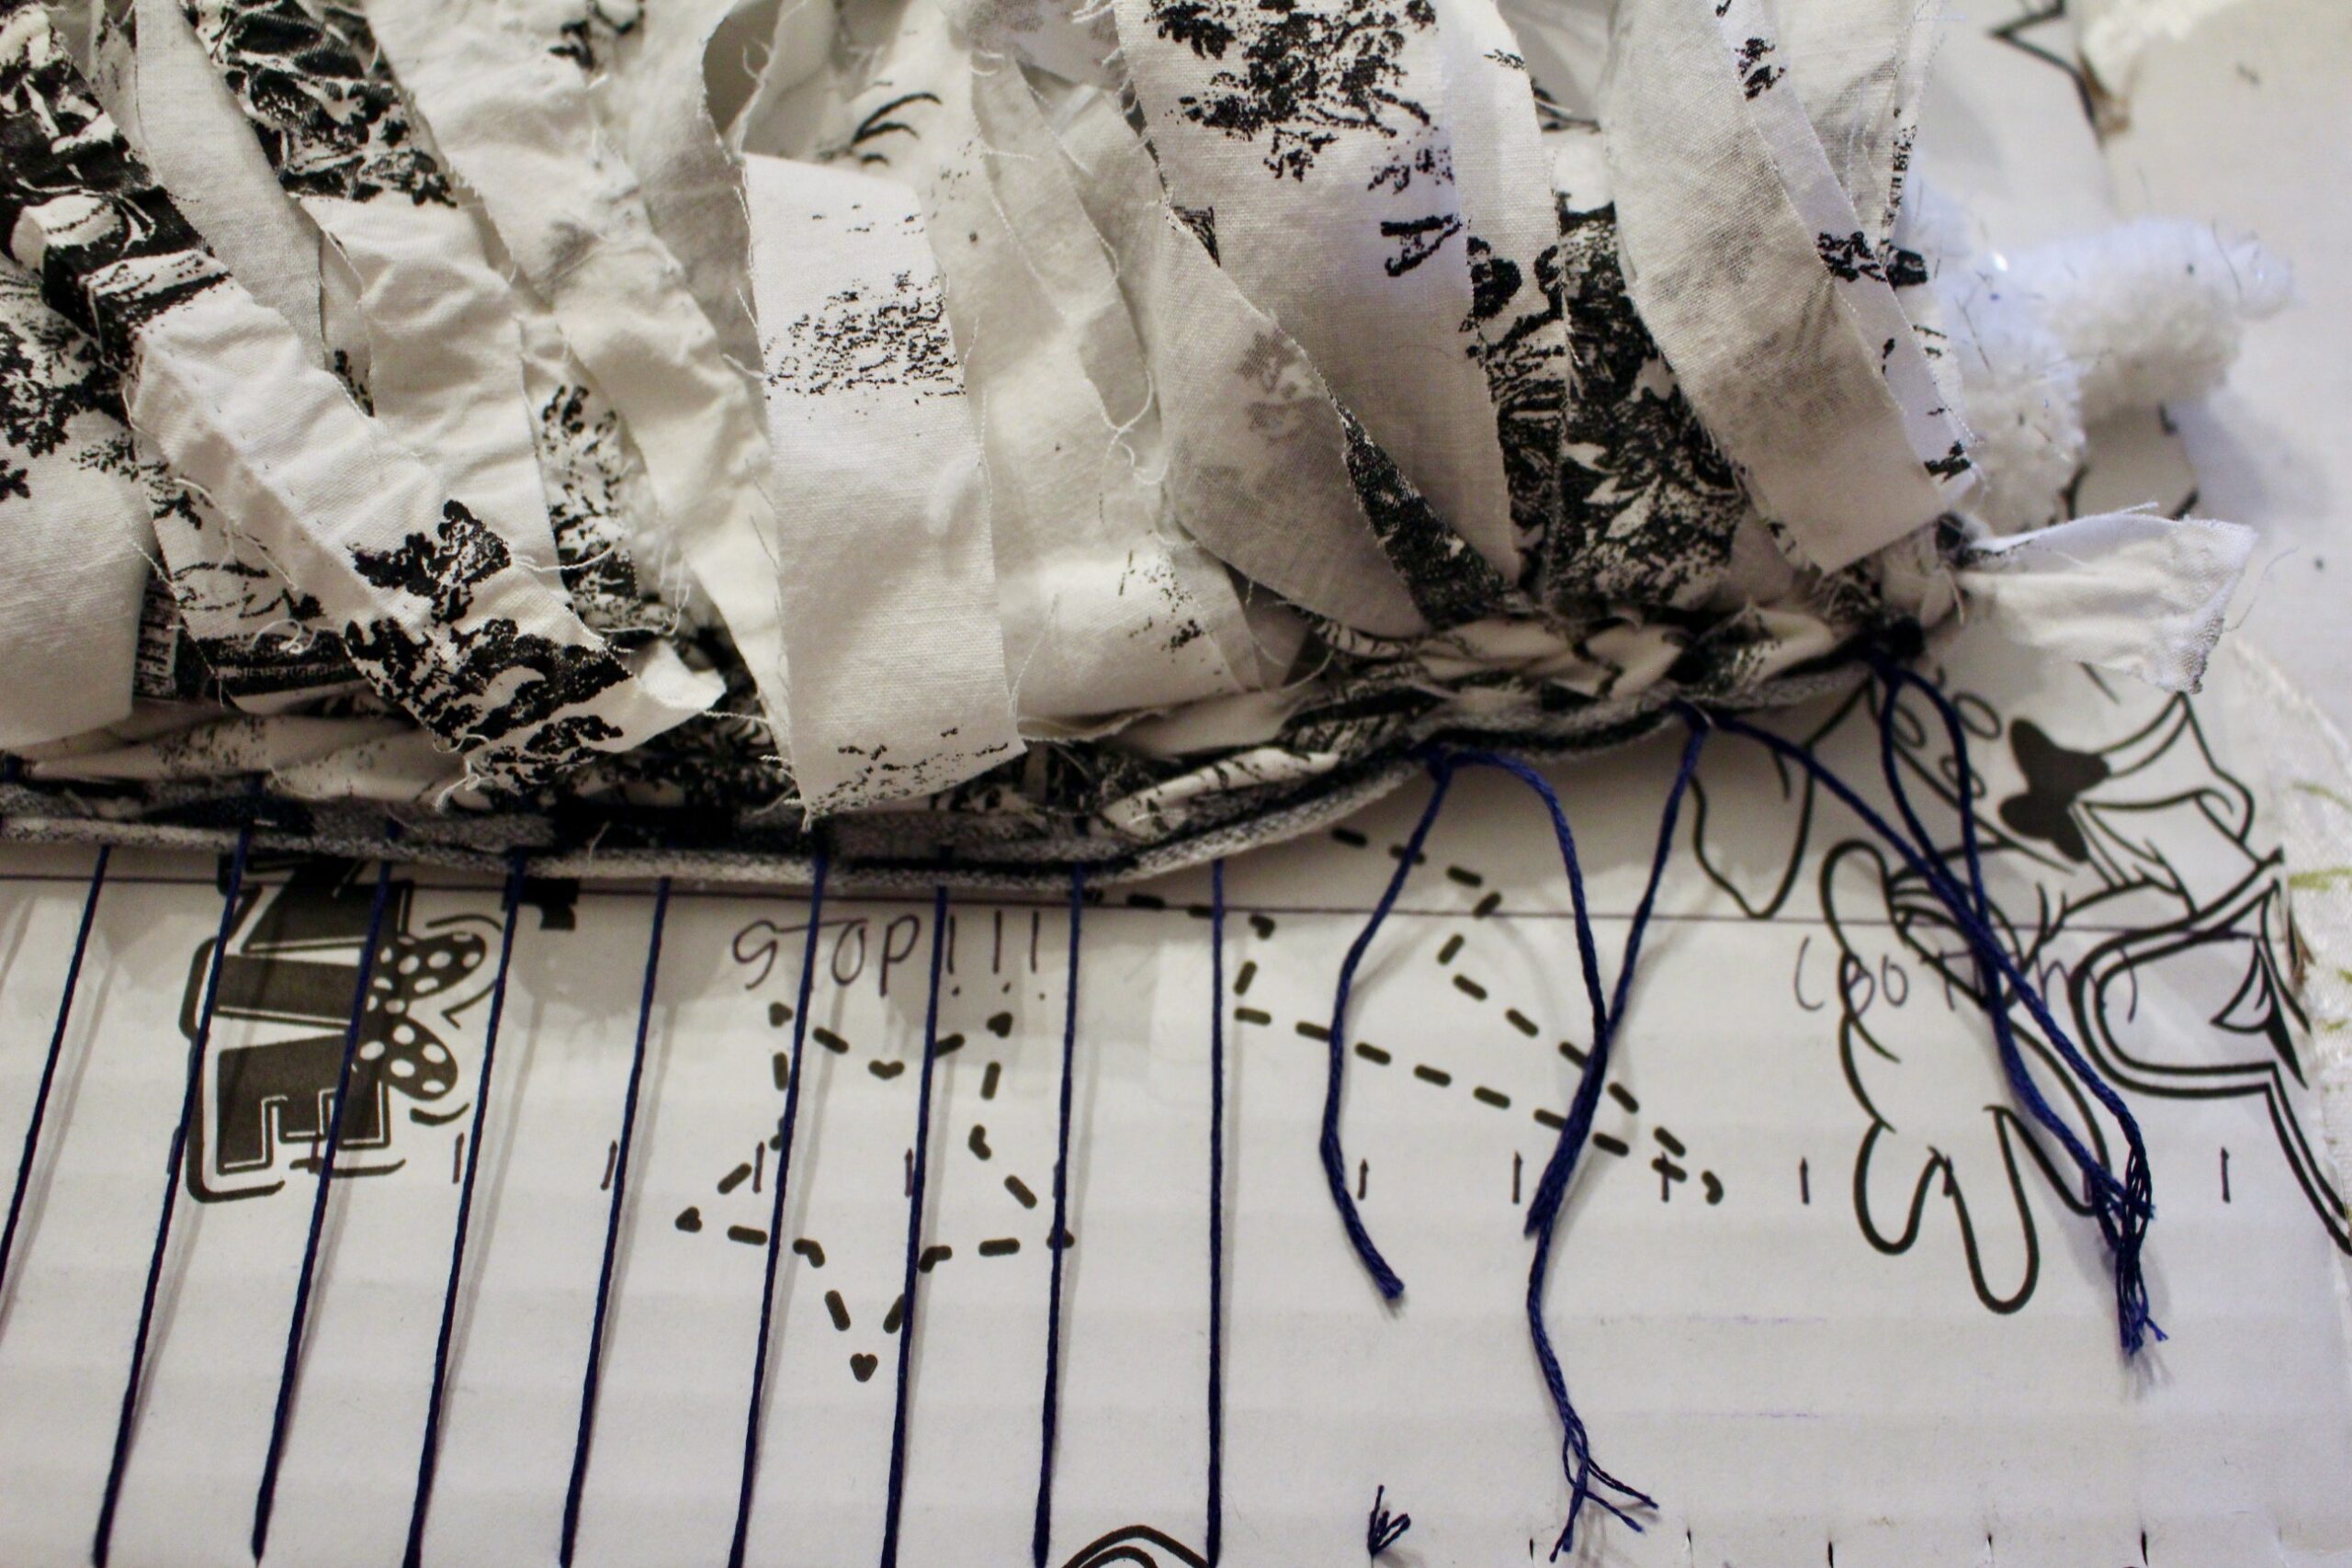
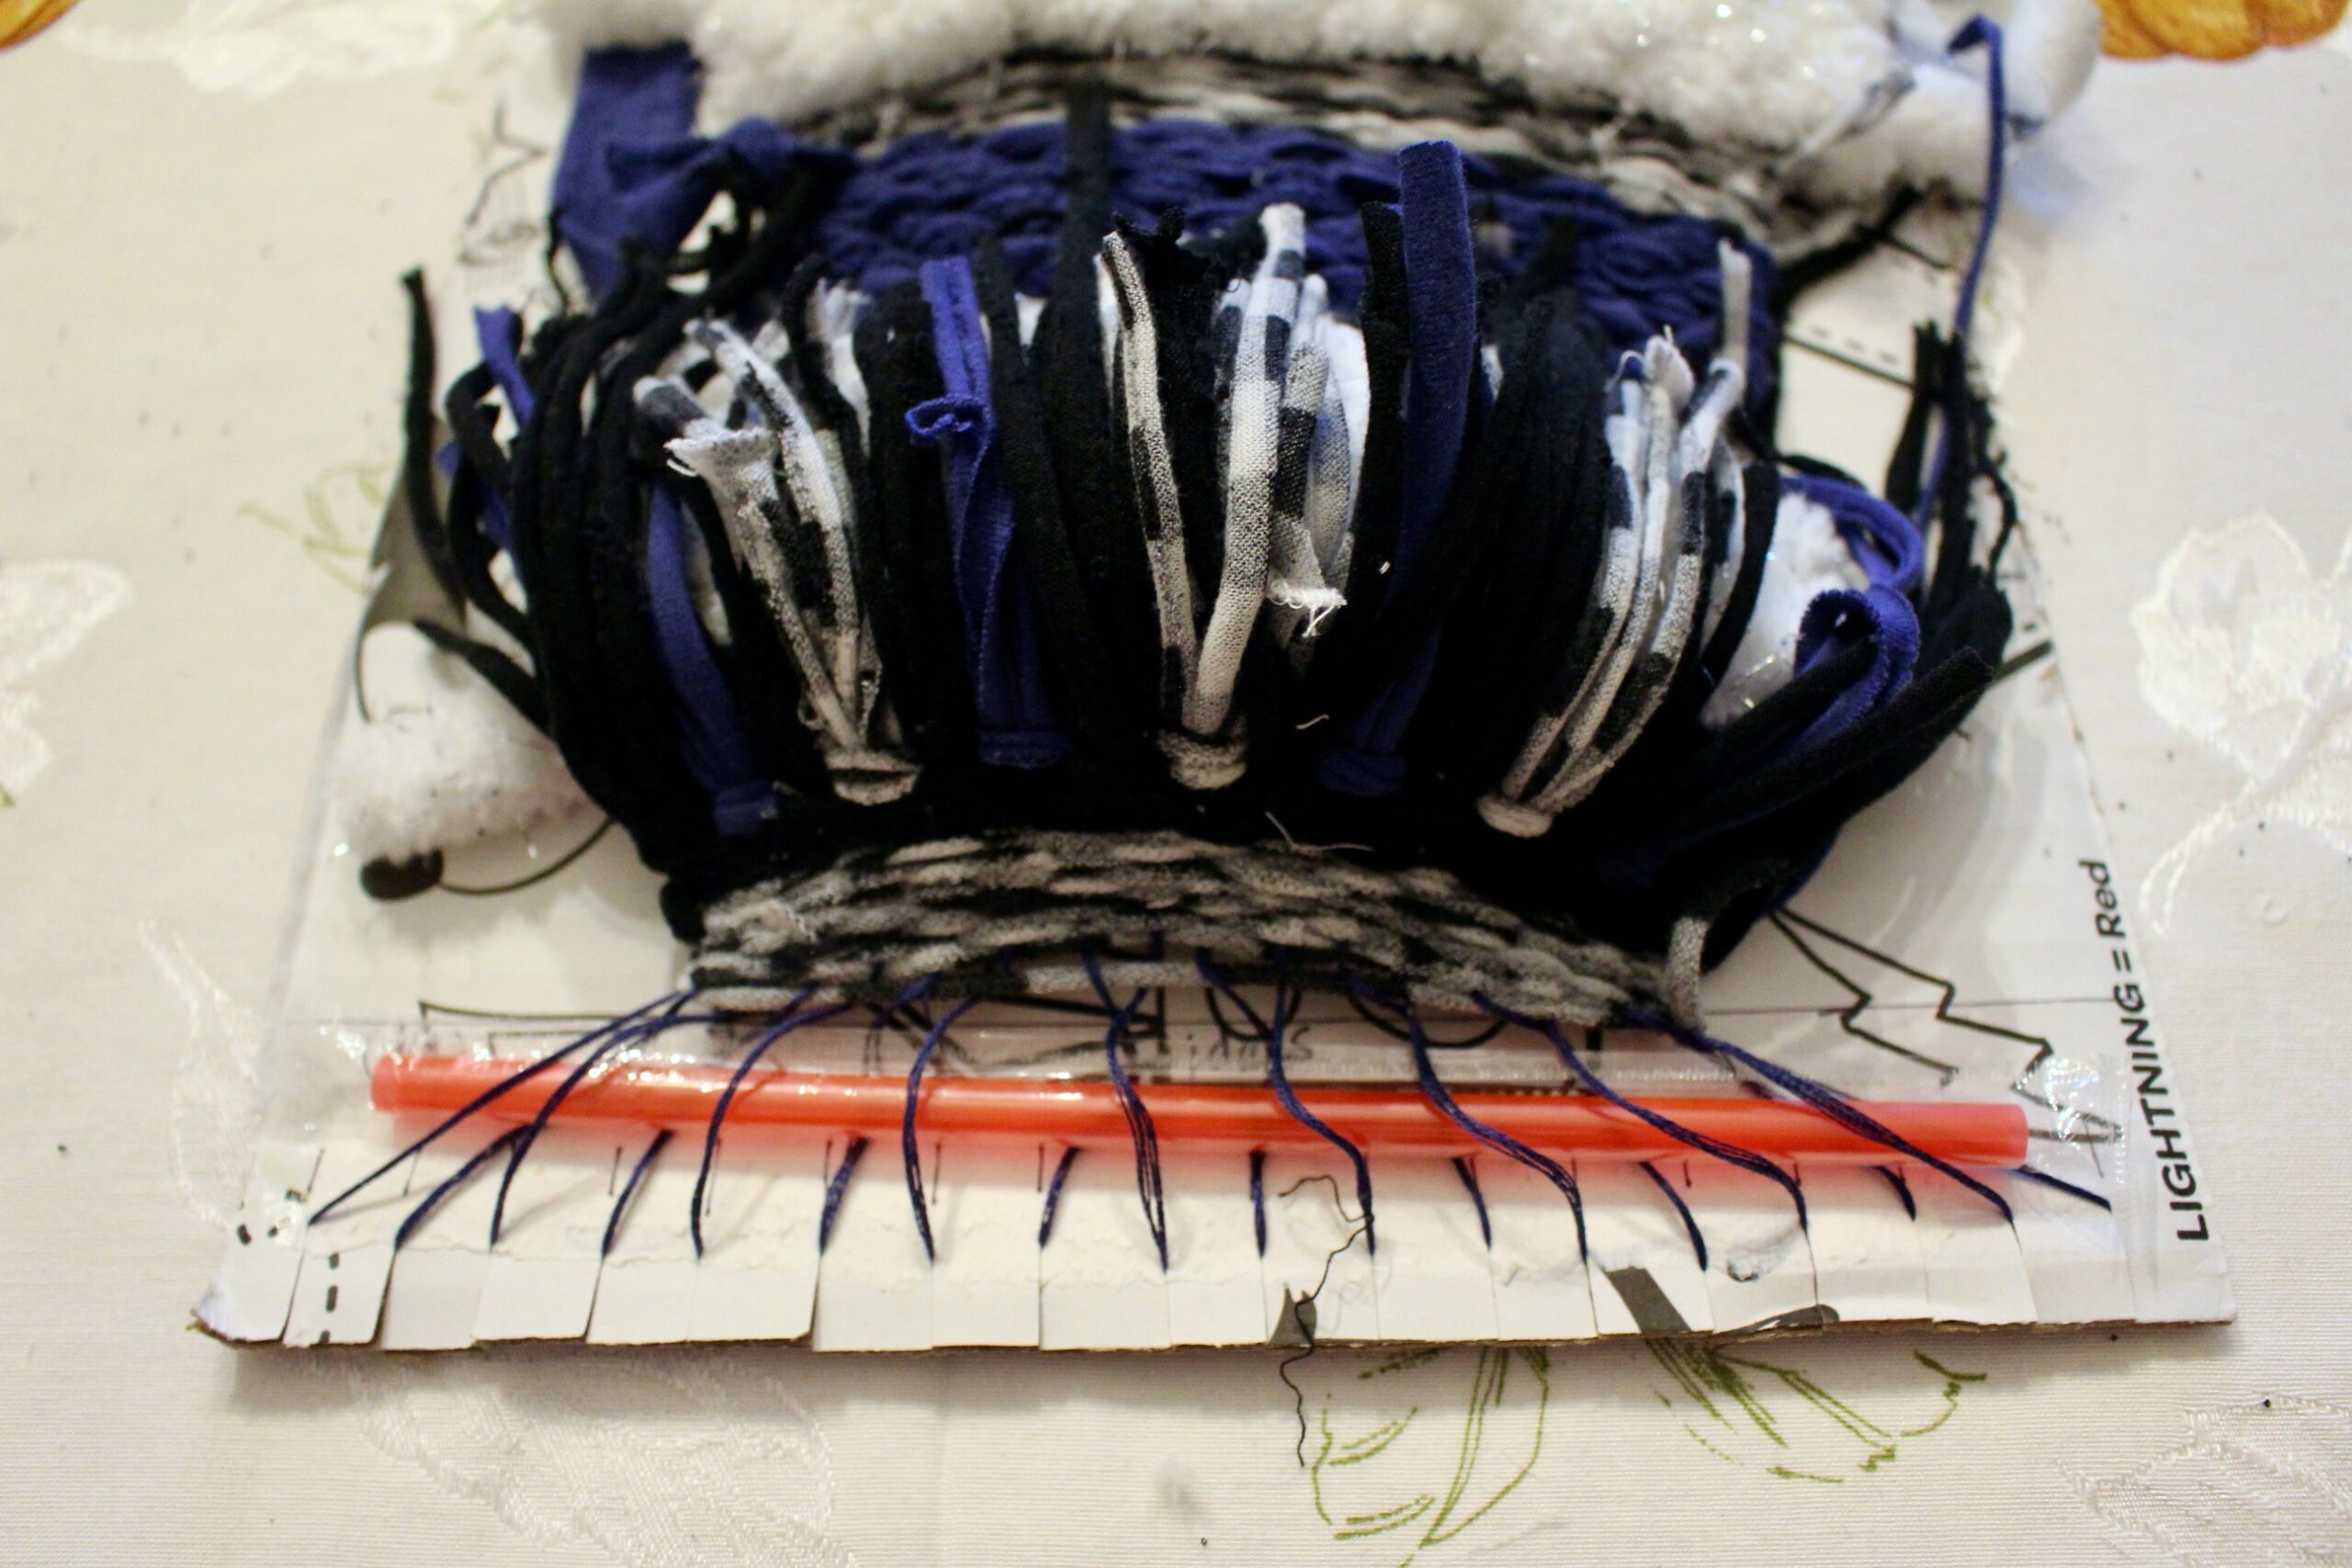
Now you can start weaving! I started with some strips of fabric, but went back and added some T-shirt yarn under to firm things up. I used a tabby stitch, which basically just ties one end of yarn to the far-right string of the loom and then weaves over, under, over, and on. When you get to the end of the weave/piece of yarn, you’ll just tie it off to the piece of string in the loom (either far left or far right).
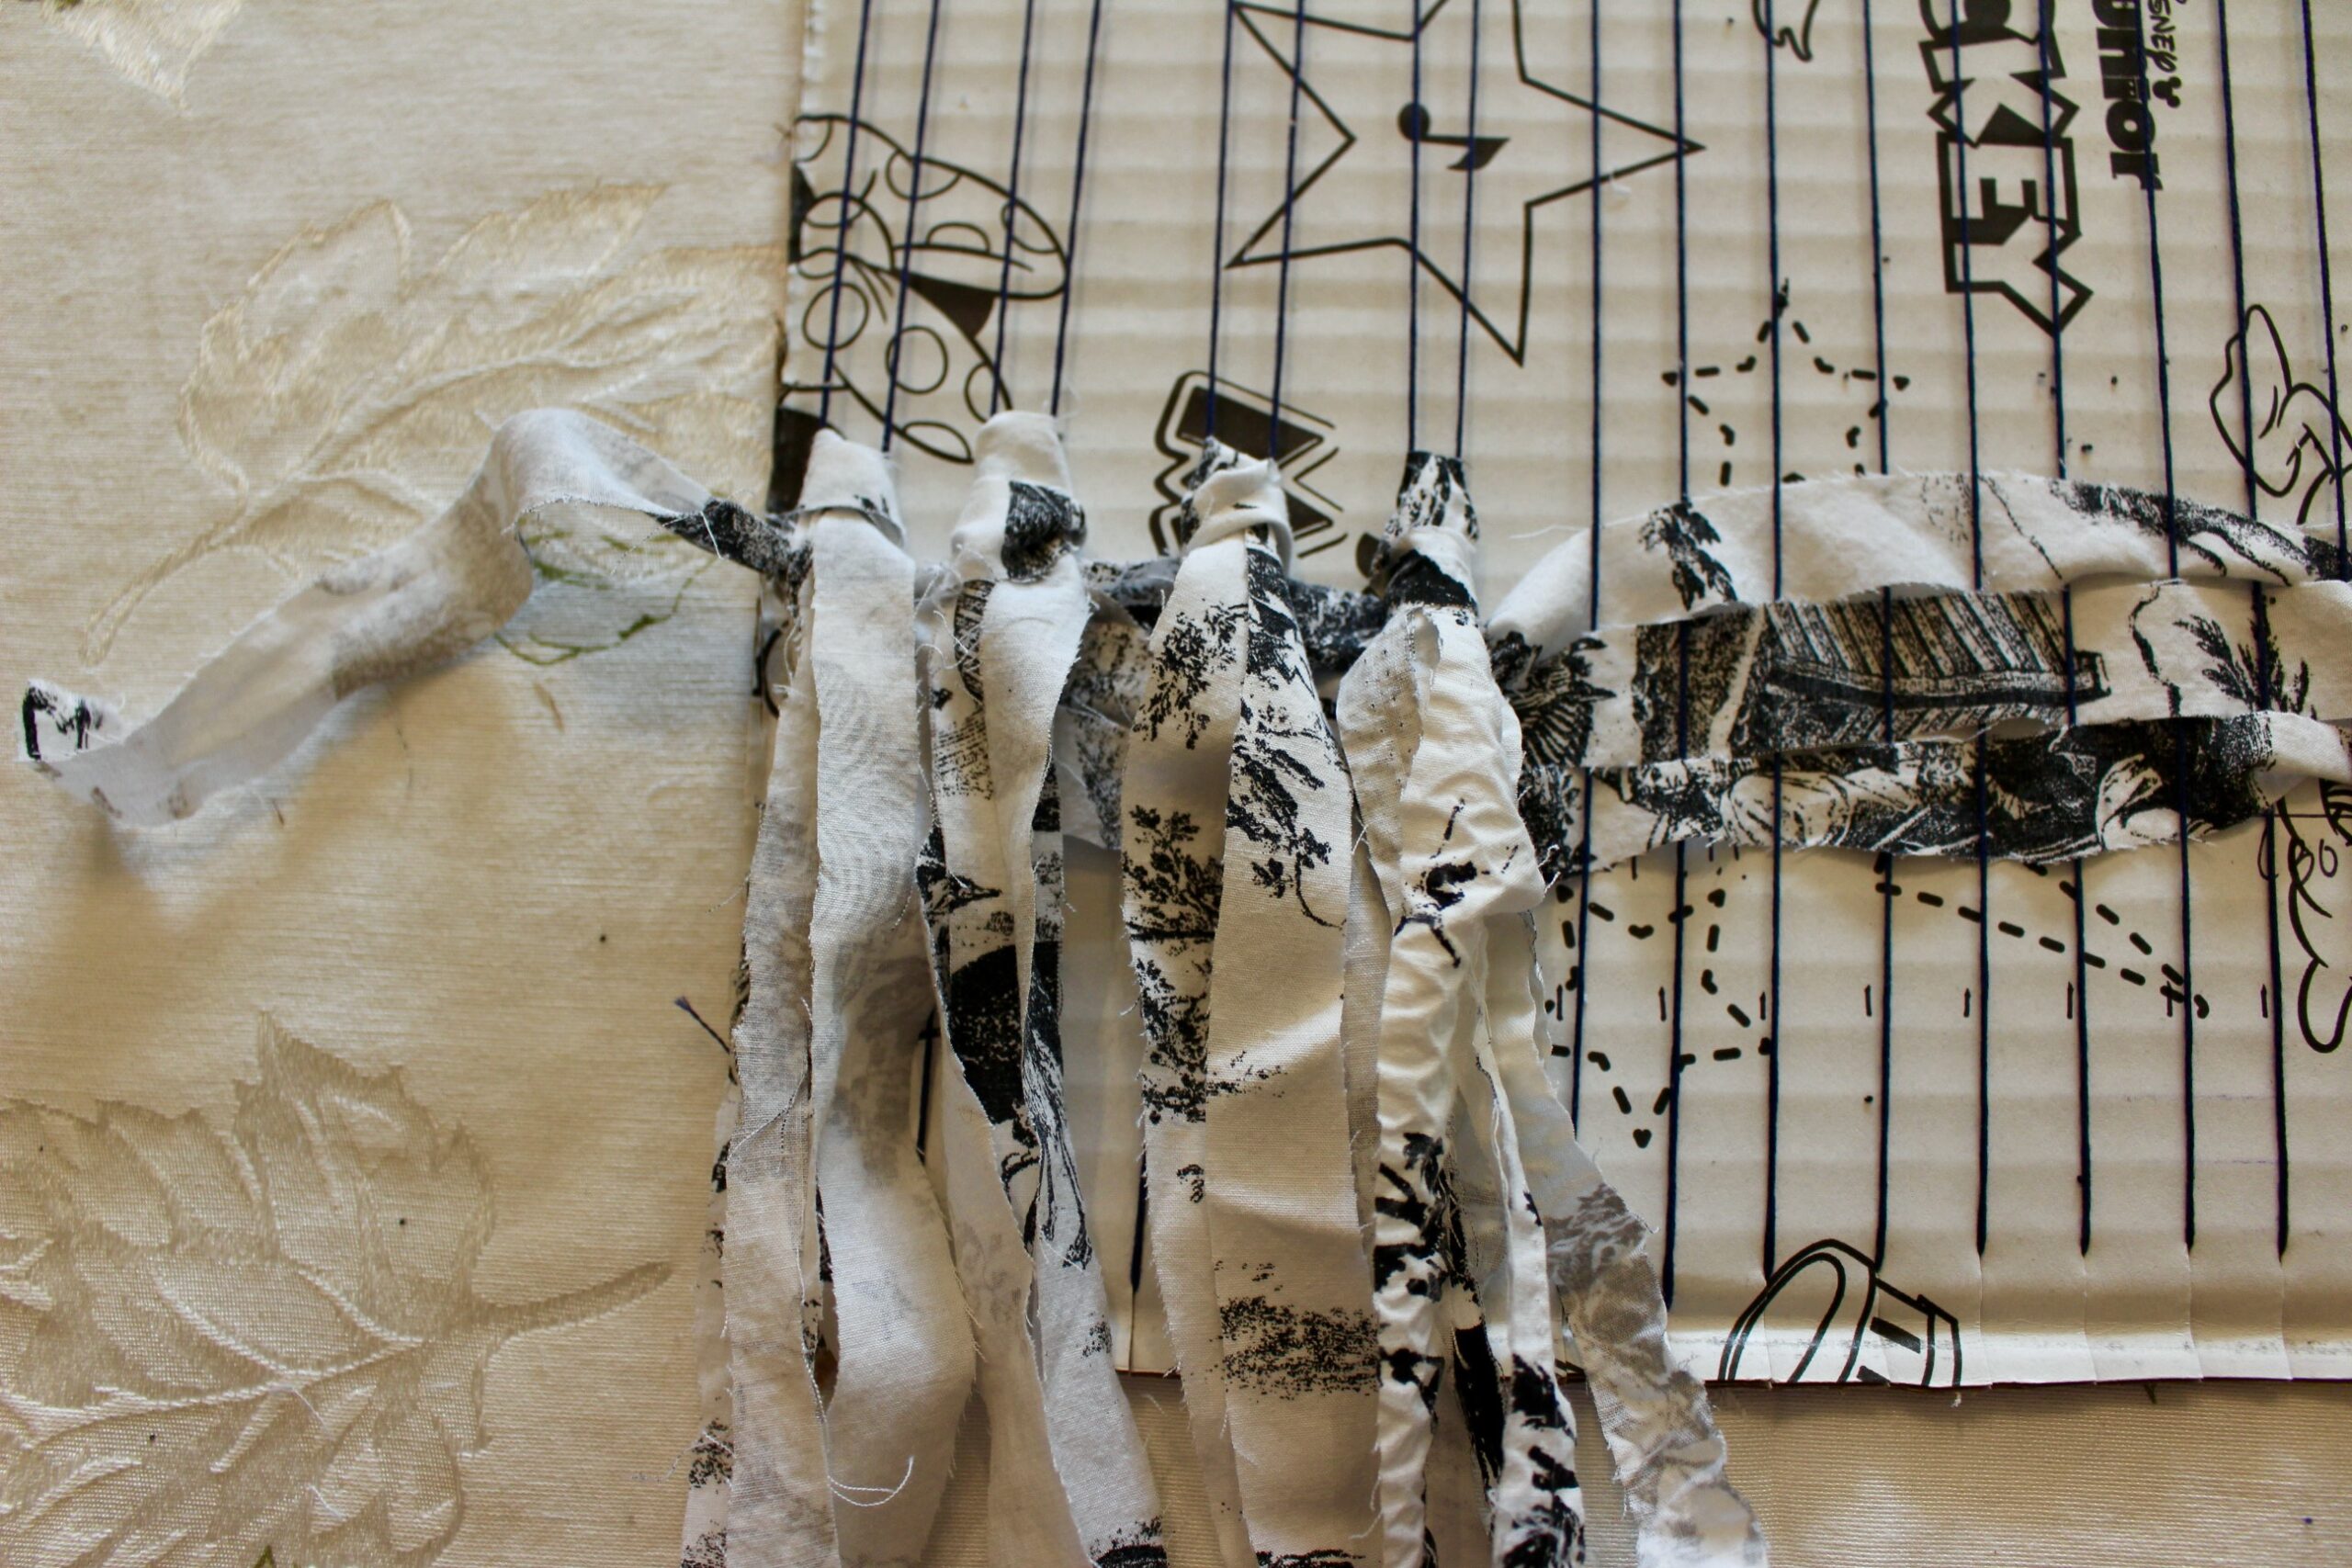
I was really intrigued by the rya knots shared in the above video, so I did some of those after a bit of weaving. They looked like fringe, so I was a big fan. You’ll overlay a few strips of fabric, yarn, whatever over two of the loom strings, and then pull one side under the string on the left, and the other side under the string on the right, and pull them tight.


Then keep on weaving! One note: I put my straw under all the strings in my loom at the top of my loom to help with weaving, but this is totally optional.


I added some smaller rya knots at the top of my weaving for some added texture, but not sure how I feel about them.
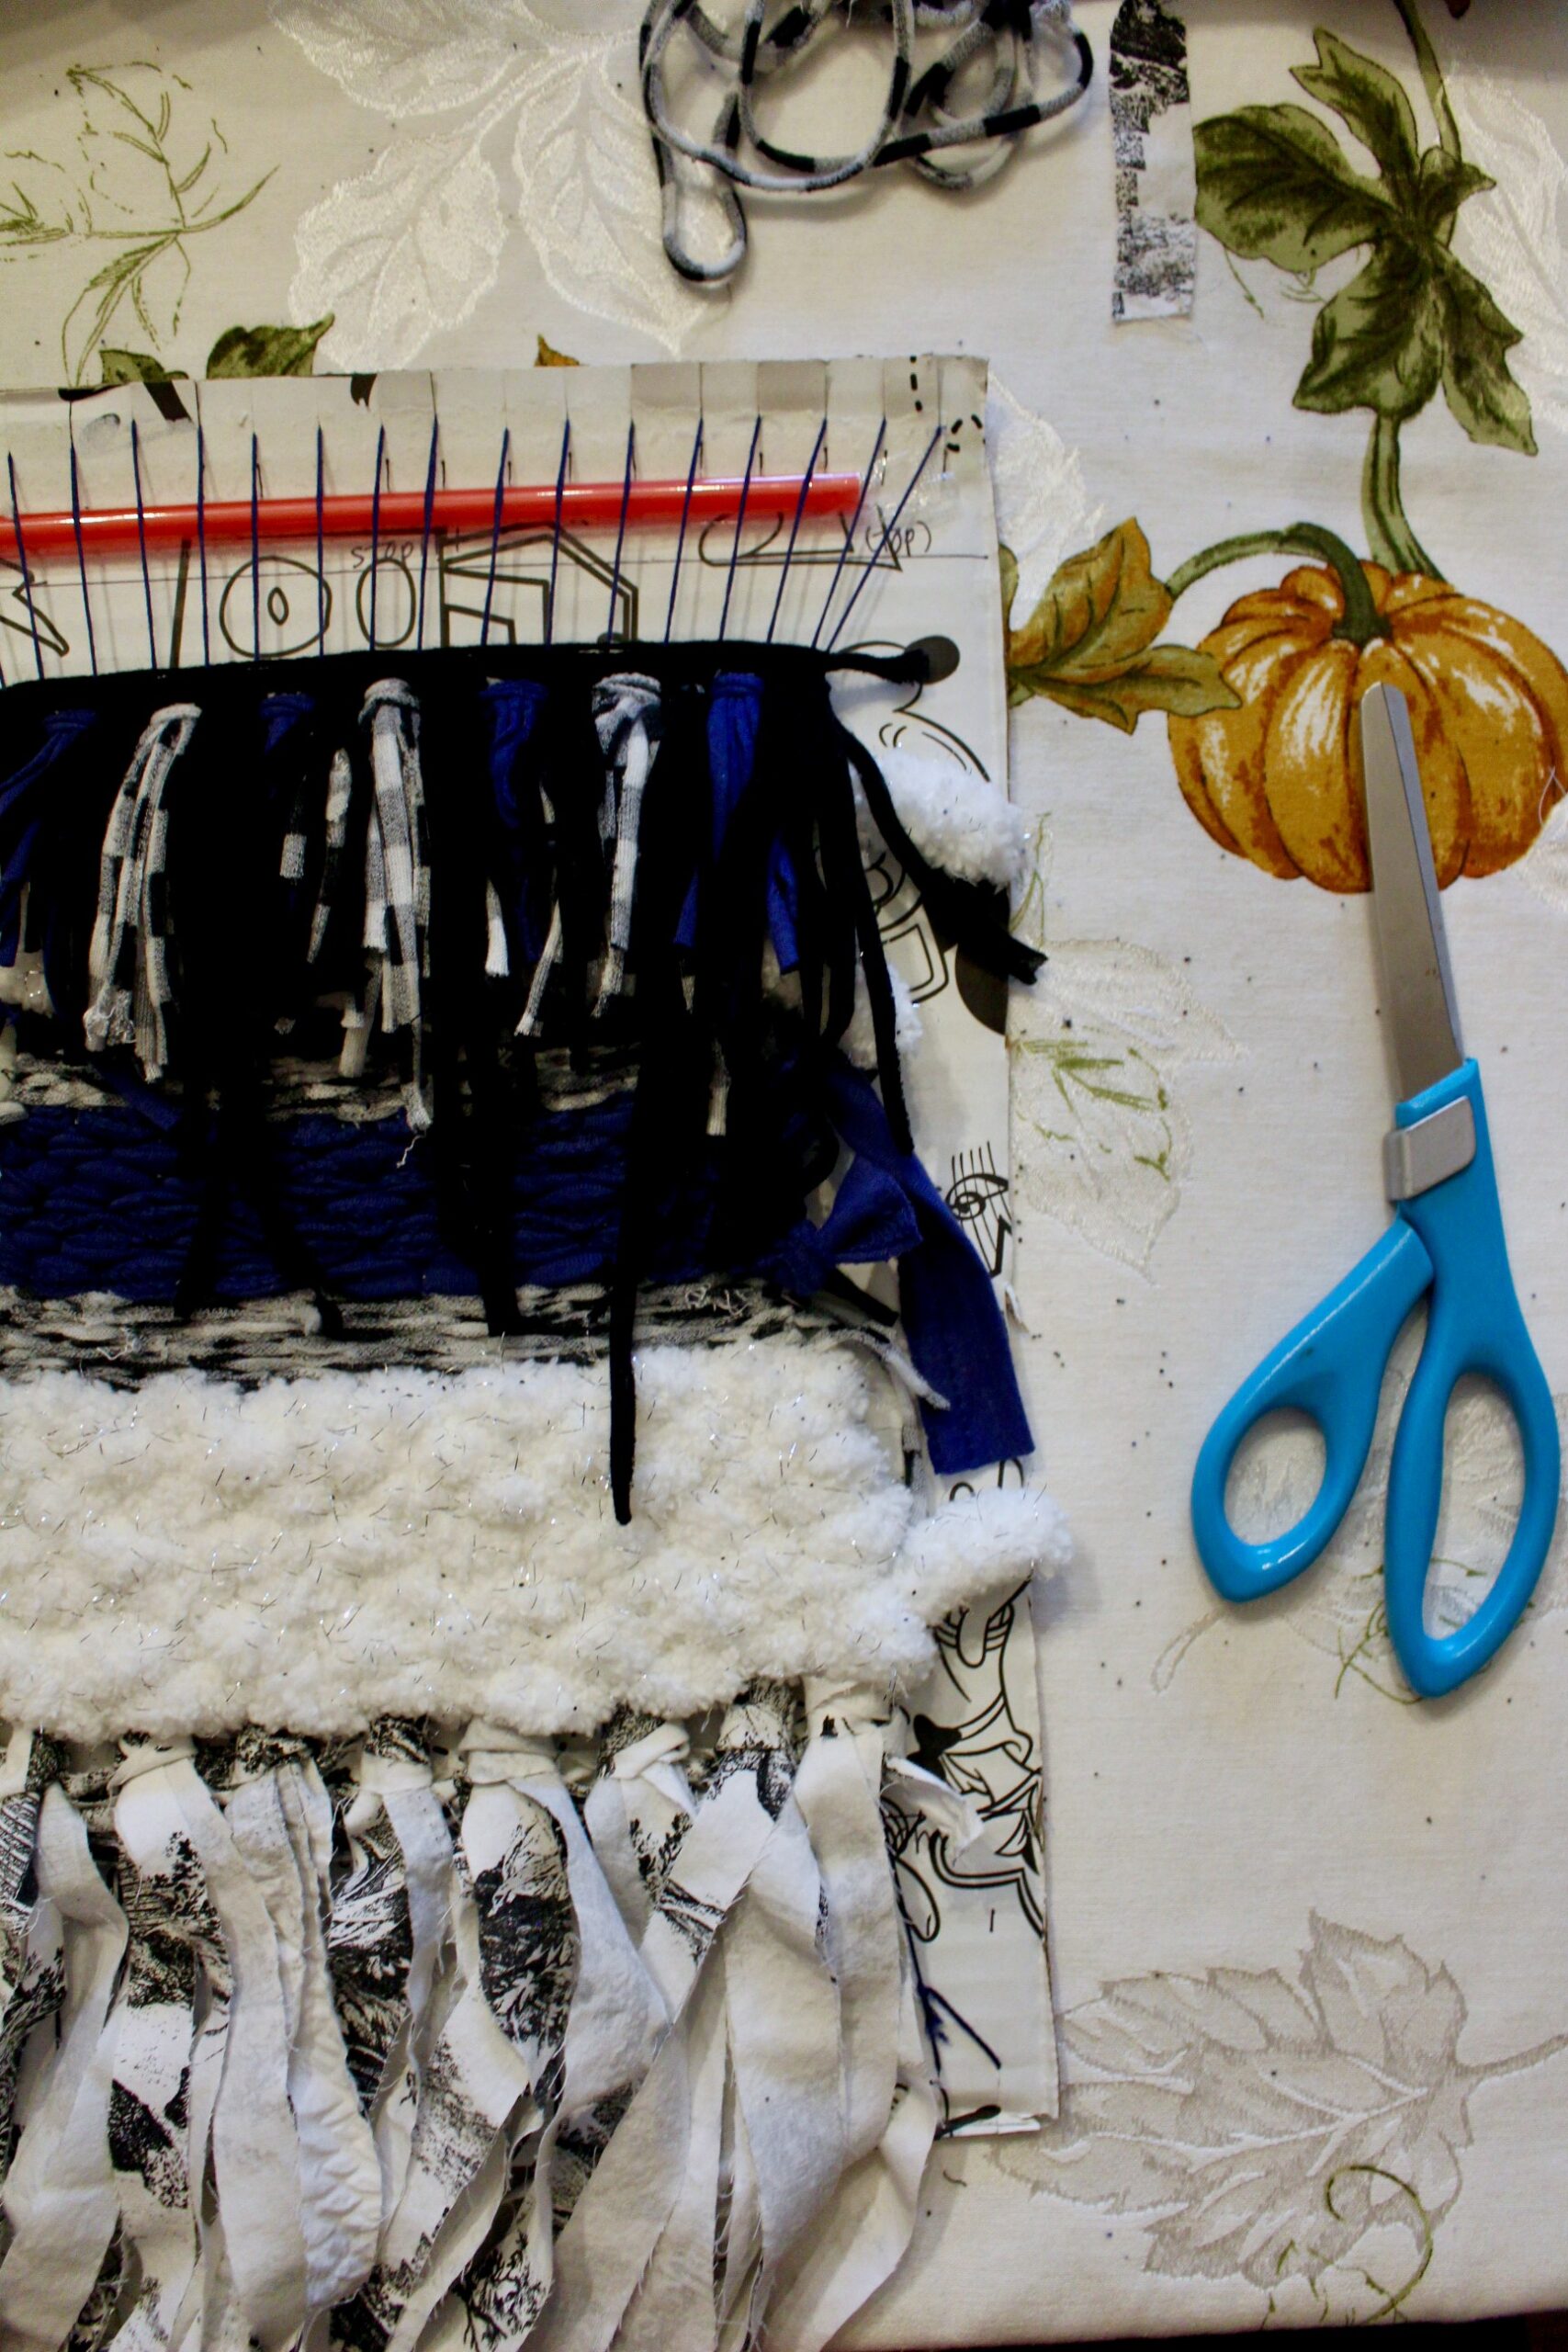
To finish your weaving, you’ll cut the strings on the bottom and tie two strings next to each other together close up to the bottom of your weaving. Until you make your way all the way across.
For the top of your weaving, you can use this same technique OR just weave your dowel/whatever you are using to hang your art through the loops at the top.
Once you’ve got your weaving off your loom, you’re all done – Hang up your work of art wherever you’d like!


What do you think? Will you upcycle your own weaving/cozy wall art? If you do, we’d love to see what creative creations you come up with! Share with us on social, @goodwillakron or @_abigaildrennen!
Happy crafting!
_Abby