
Hello everyone – Happy New Year!! Abby here with another upcycle project for you!
This month’s post is brought to you by: found objects! I love doing artwork and craft projects with found objects, you know random stuff you have lying around or find along the way. Normally, when we do found art projects around our house, we end up with collages or simple sculptures, but I recently realized that I could make these objects I’ve found along the way into charms and make some fun jewelry! This is also a great project to repurpose mis-matched jewelry or spruce up something you already have!
Keep reading below for how to make your own found object charms!
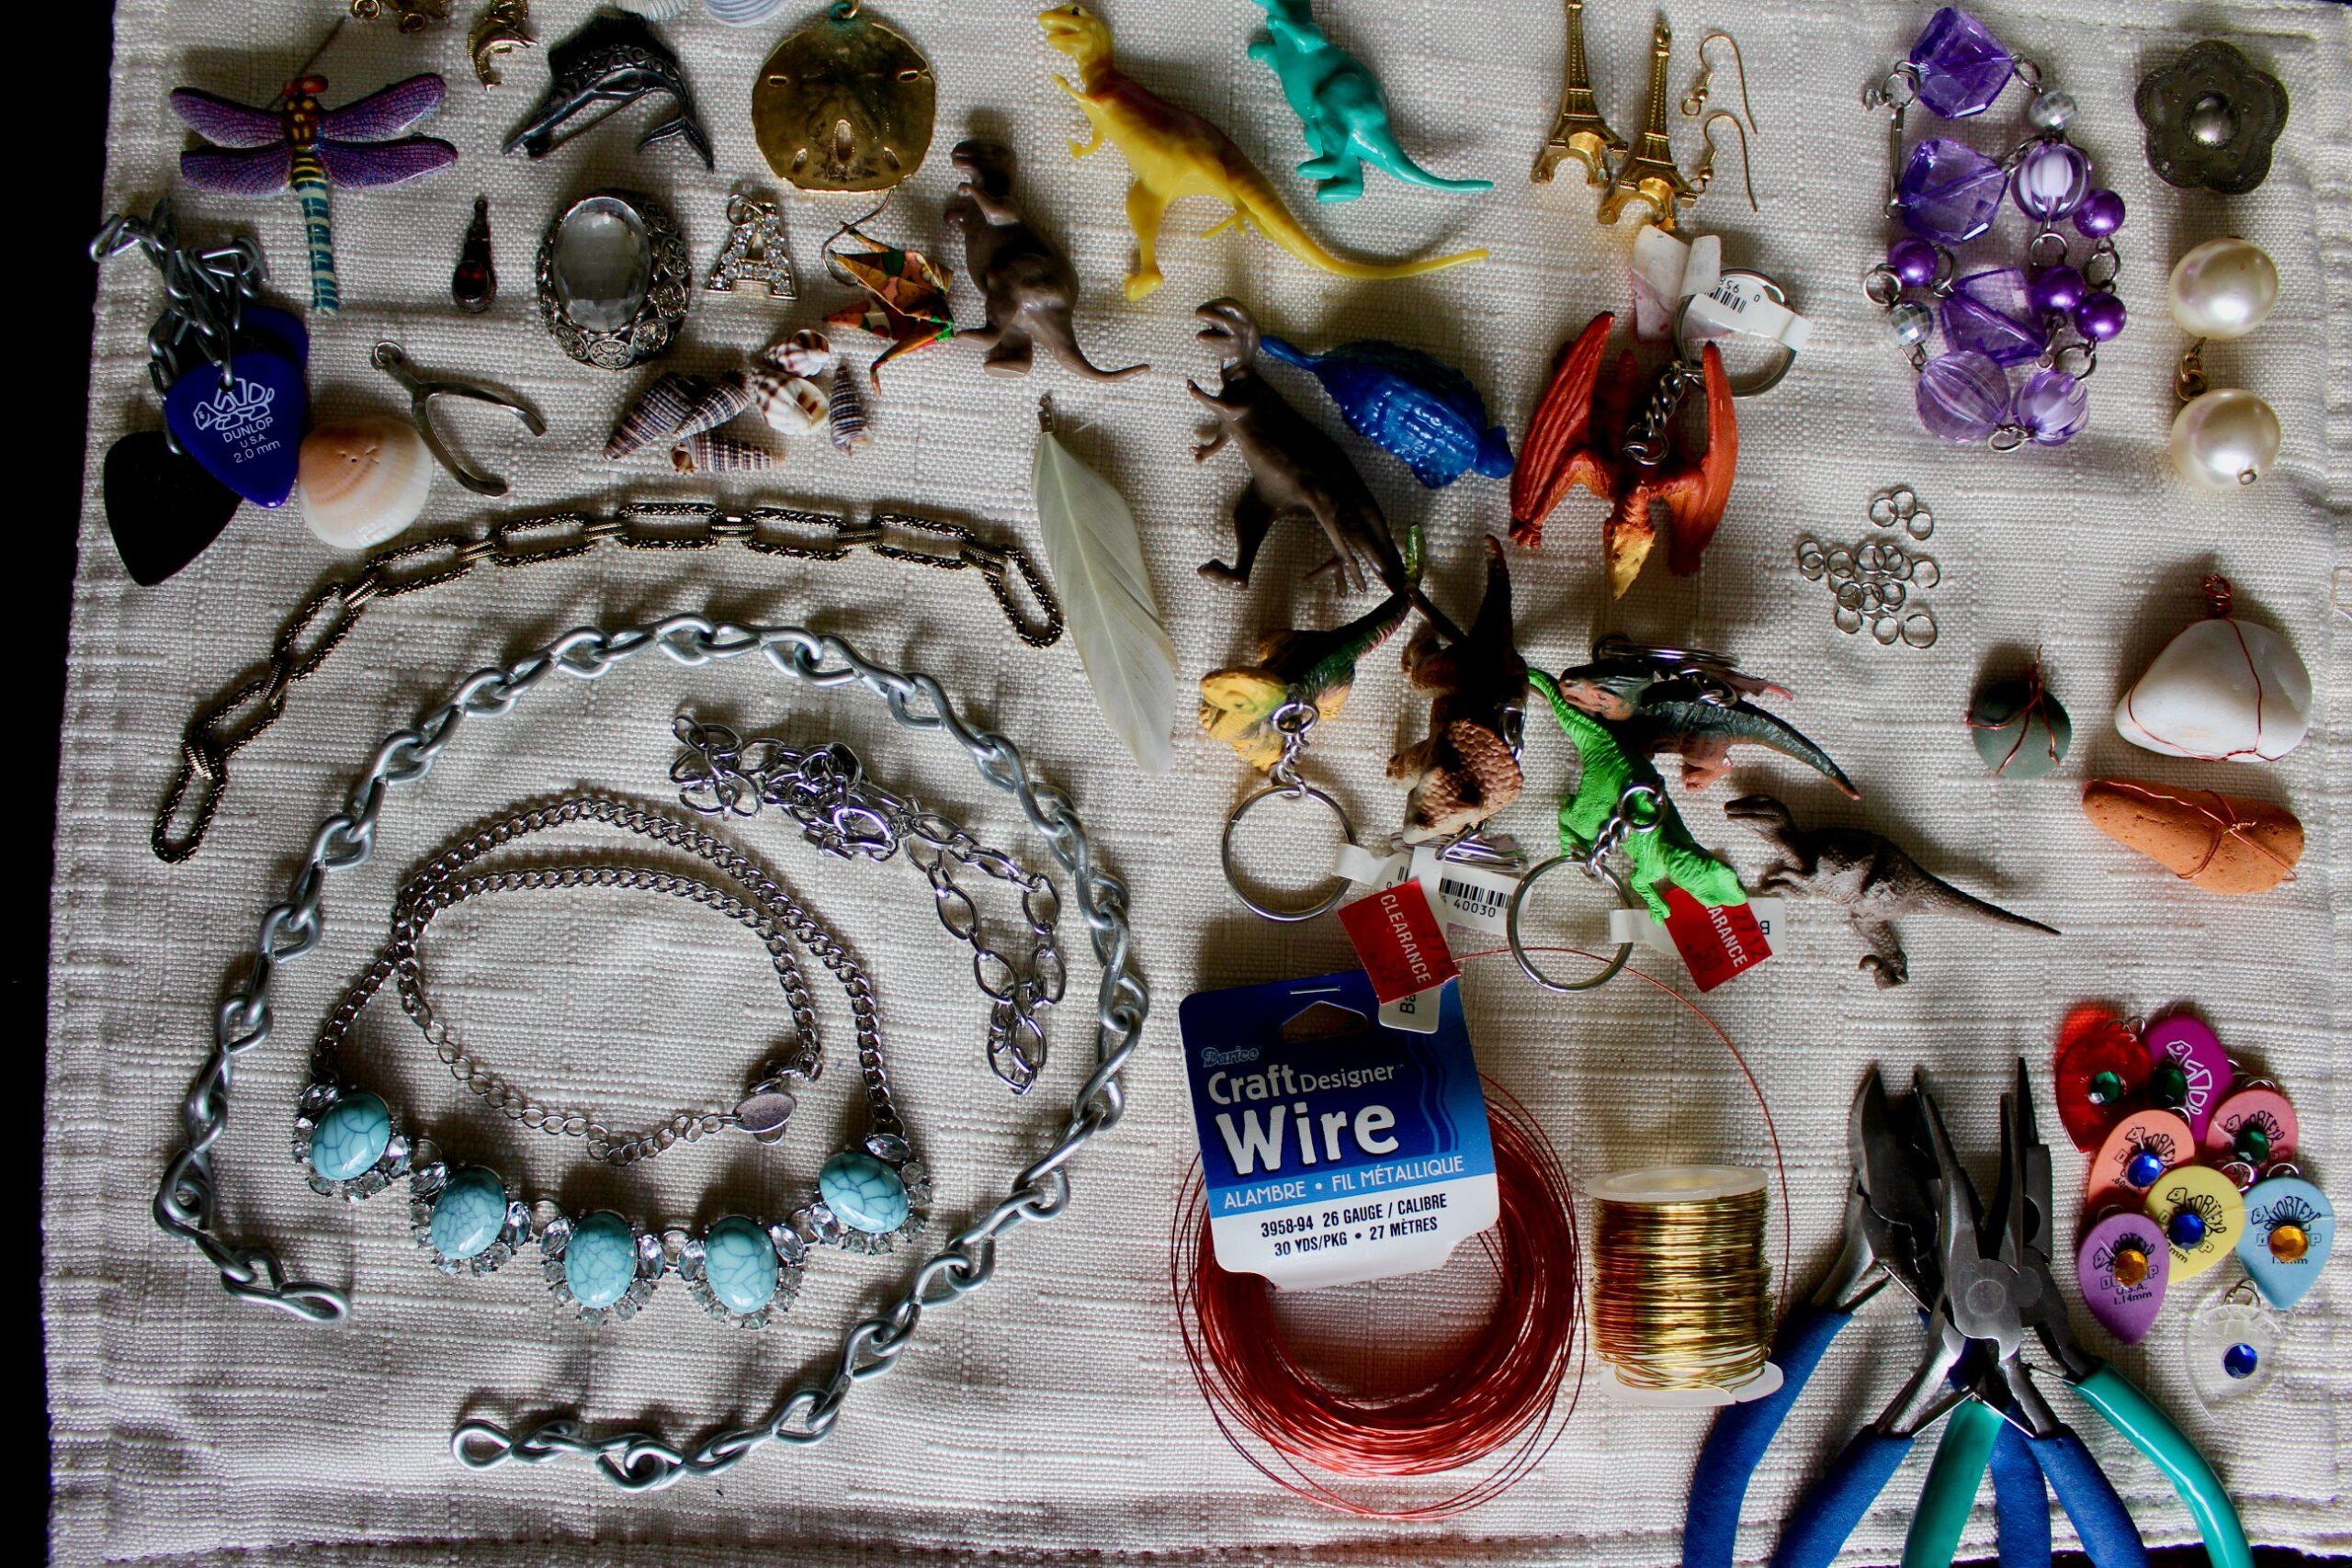
To make your own found object charms, and jewelry you will need:
1. Found objects! Try old keychains, seashells, actual charms, little toys, etc
2. Chain
3. A light gauge wire or string (optional)
4. Jump rings and other jewelry-making fasteners
5. Pliers
6. Extra embellishments – beads, spare bits of chain, etc
I used a lot of the techniques I shared in this post from early 2022 and made a few different things with my found objects – I started with this random, odd clip (the back clips on to things) and added a few found objects to it: two seashells and a feather. I attached some jump rings, and then attached those jump rings to the clip.


I’m looking forward to clipping this to scarves, button-downs, etc for different styling options!
Next up are a few different necklaces! I made two using some chain I had lying around, another by adding some charms to a necklace I got at a clothing swap and another with beads and some charms. Using the same technique as above, I laid out my designs/patterns and attached everything!
If you are having a hard time landing on which items to use, one option is to stick to a color palette. Below I used a lot of purple found objects: old guitar picks, beads and a dragonfly pin that was broken, but became an excellent charm.


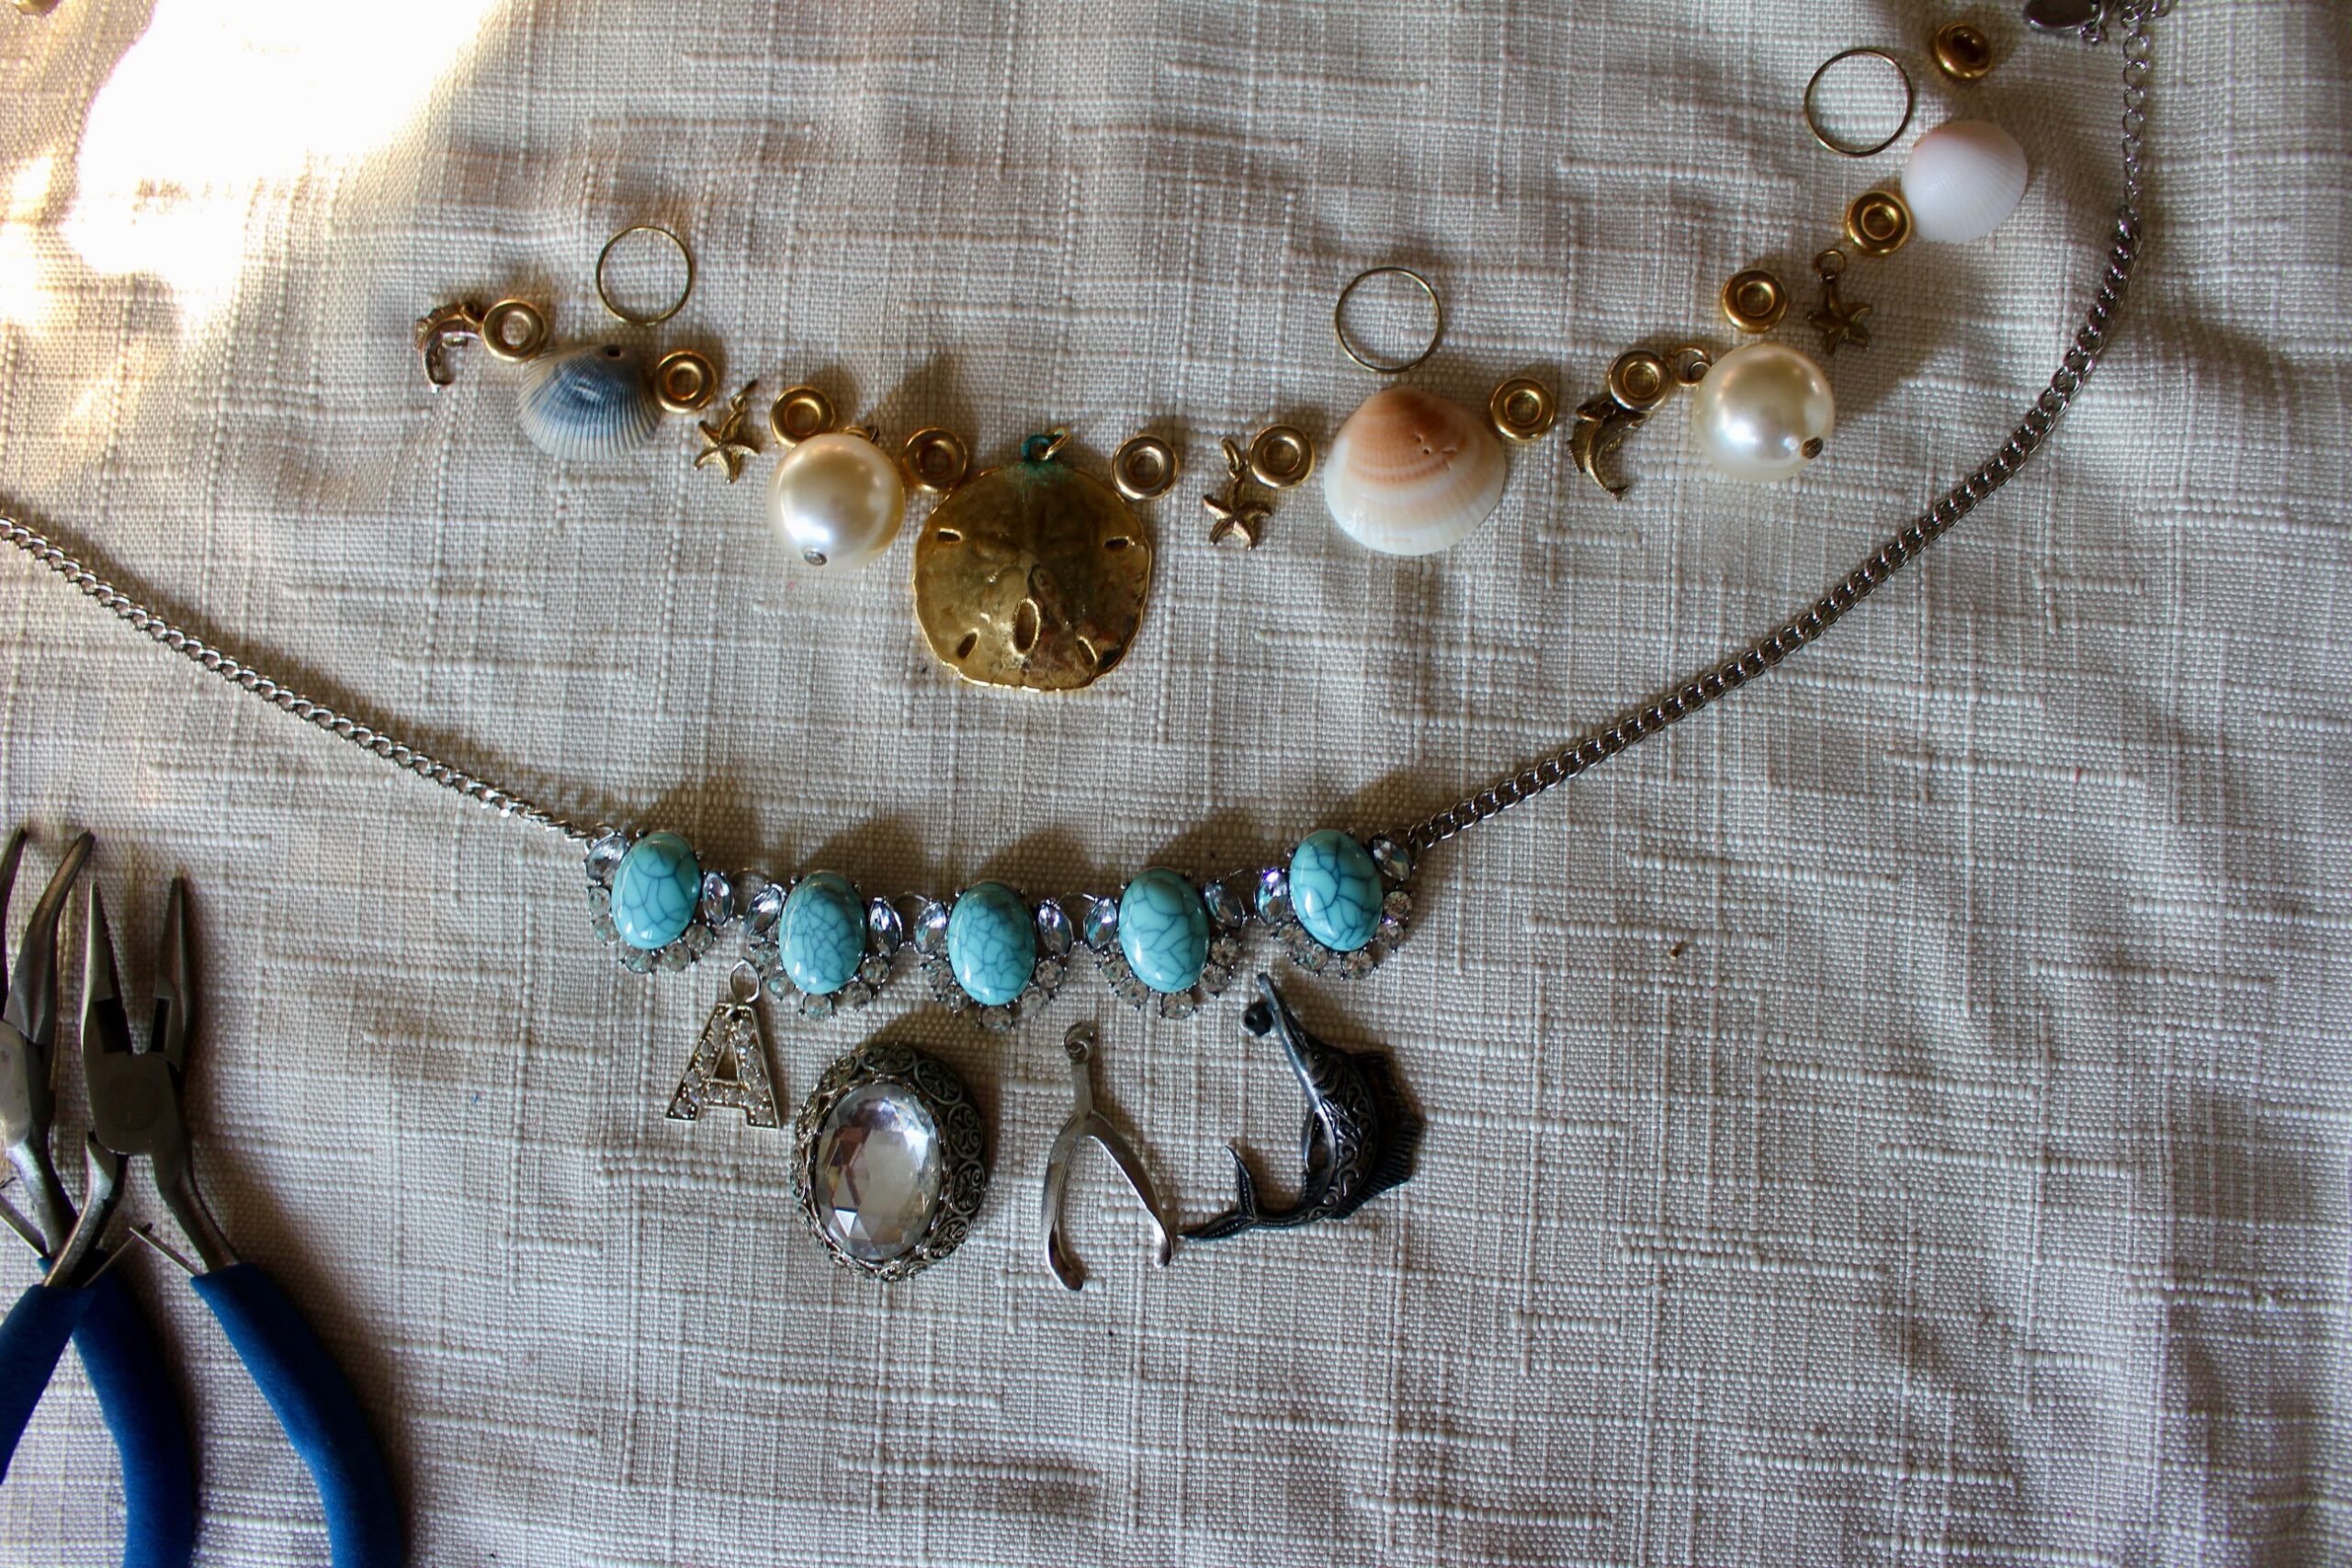
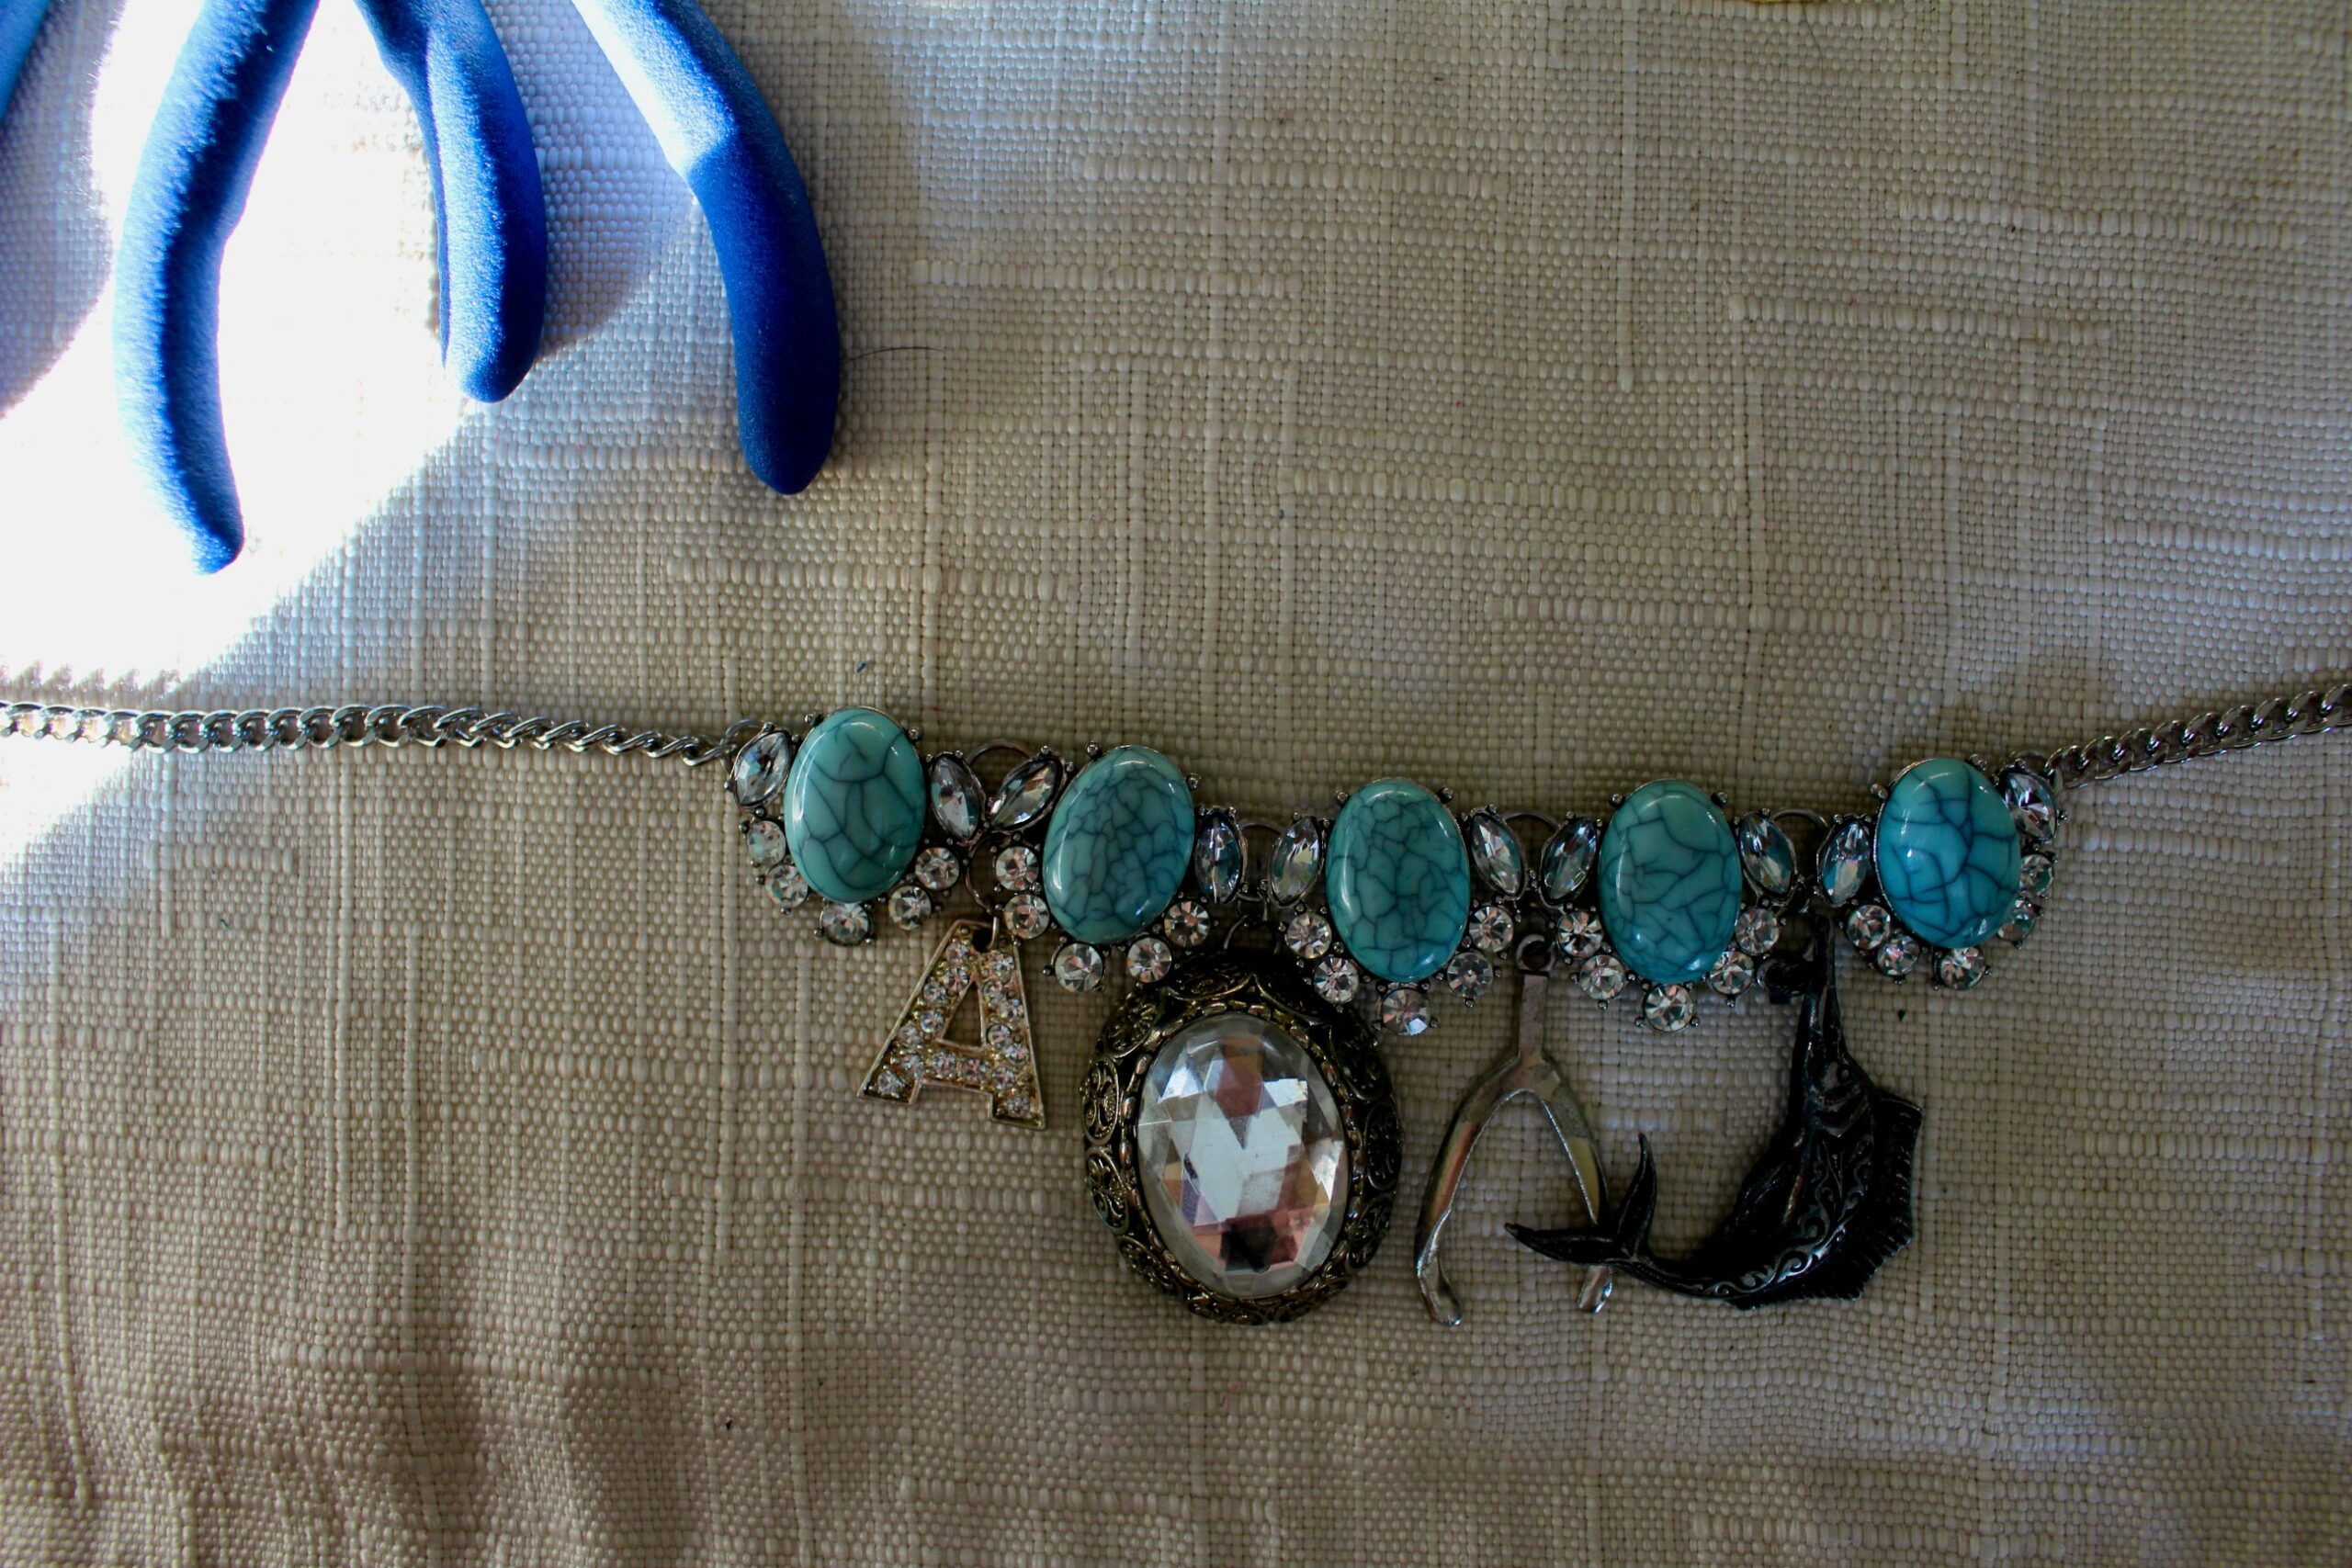
Another idea, is to add charms in a similar theme or metal to something you already have, like a statement necklace that could use some more statement, like a rhinestone charm, a jewel from a broken piece of jewelry, a wishbone charm from a different piece of jewelry and another broken pin.
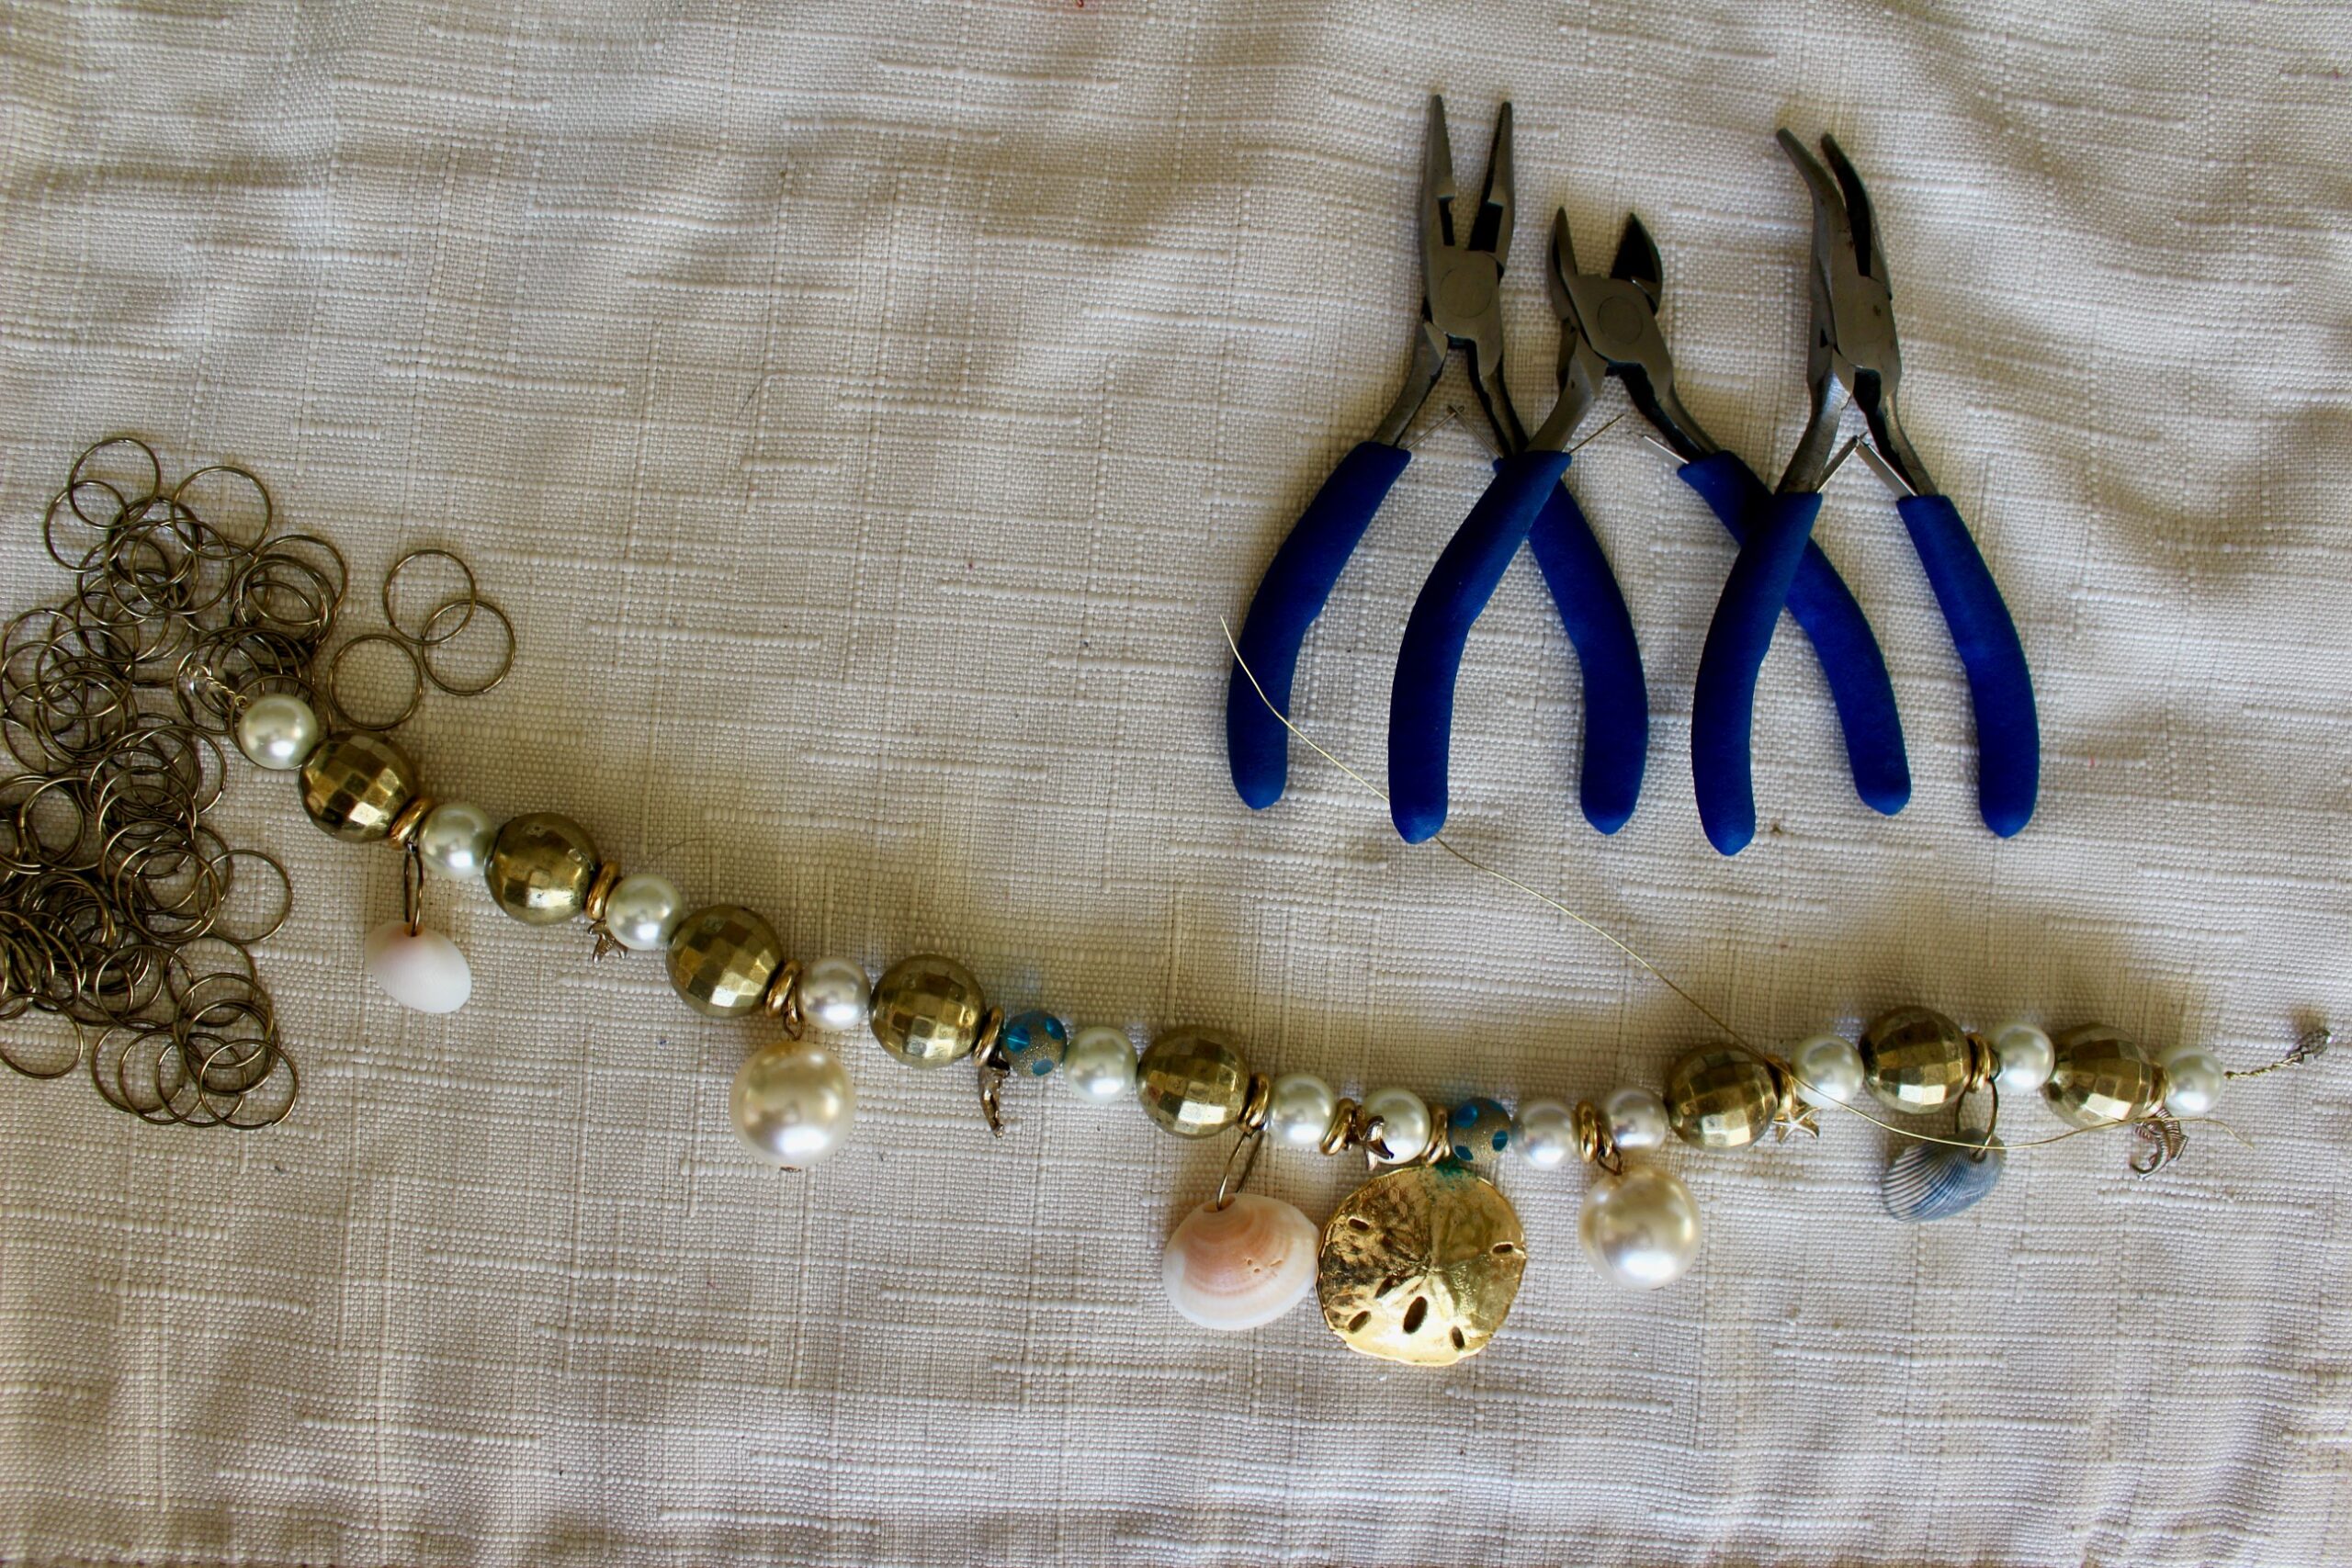
Because my instinct is to attach charms to chain, I wanted to challenge myself with making a fully beaded version. I laid out a few options, and then decided to string some beads and charms on some wire for a different option.
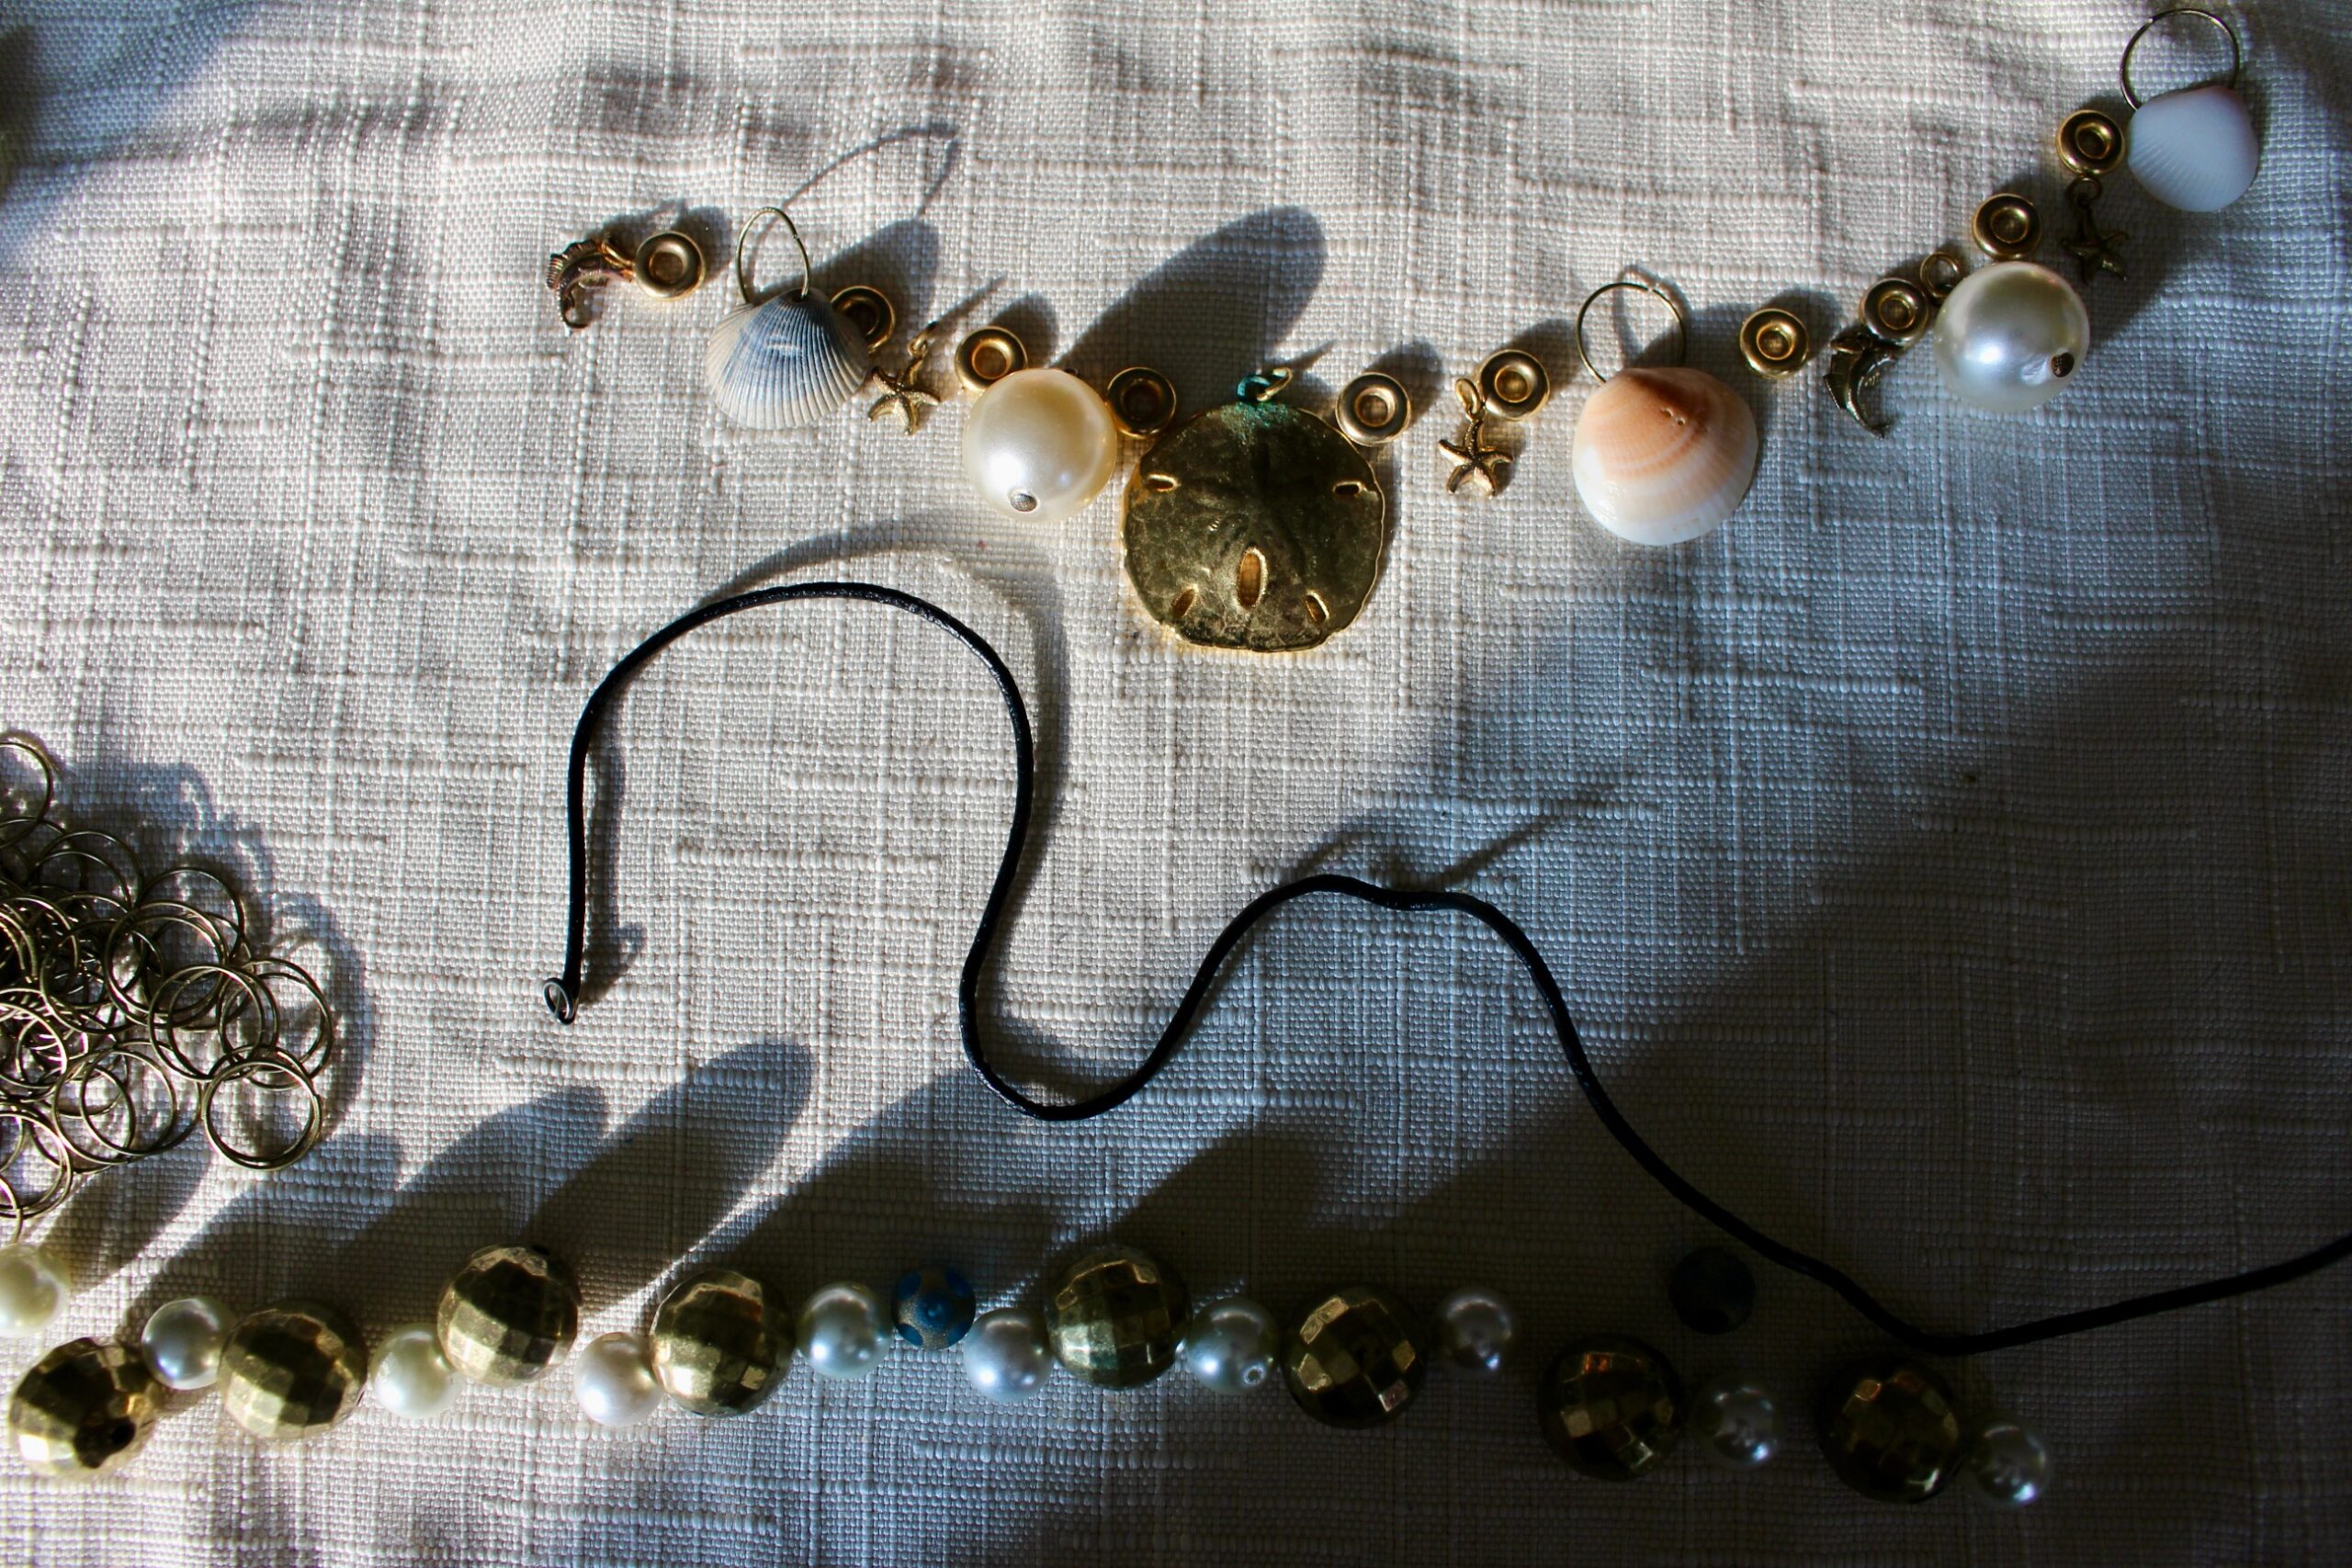
I played with a few different patterns, but ended up with the below mix of pearl beads, gold beads, seashells I made into charms, dangly pearl beads from a broken piece of jewelry and little starfish and sailfish charms (I think from a bracelet that broke).
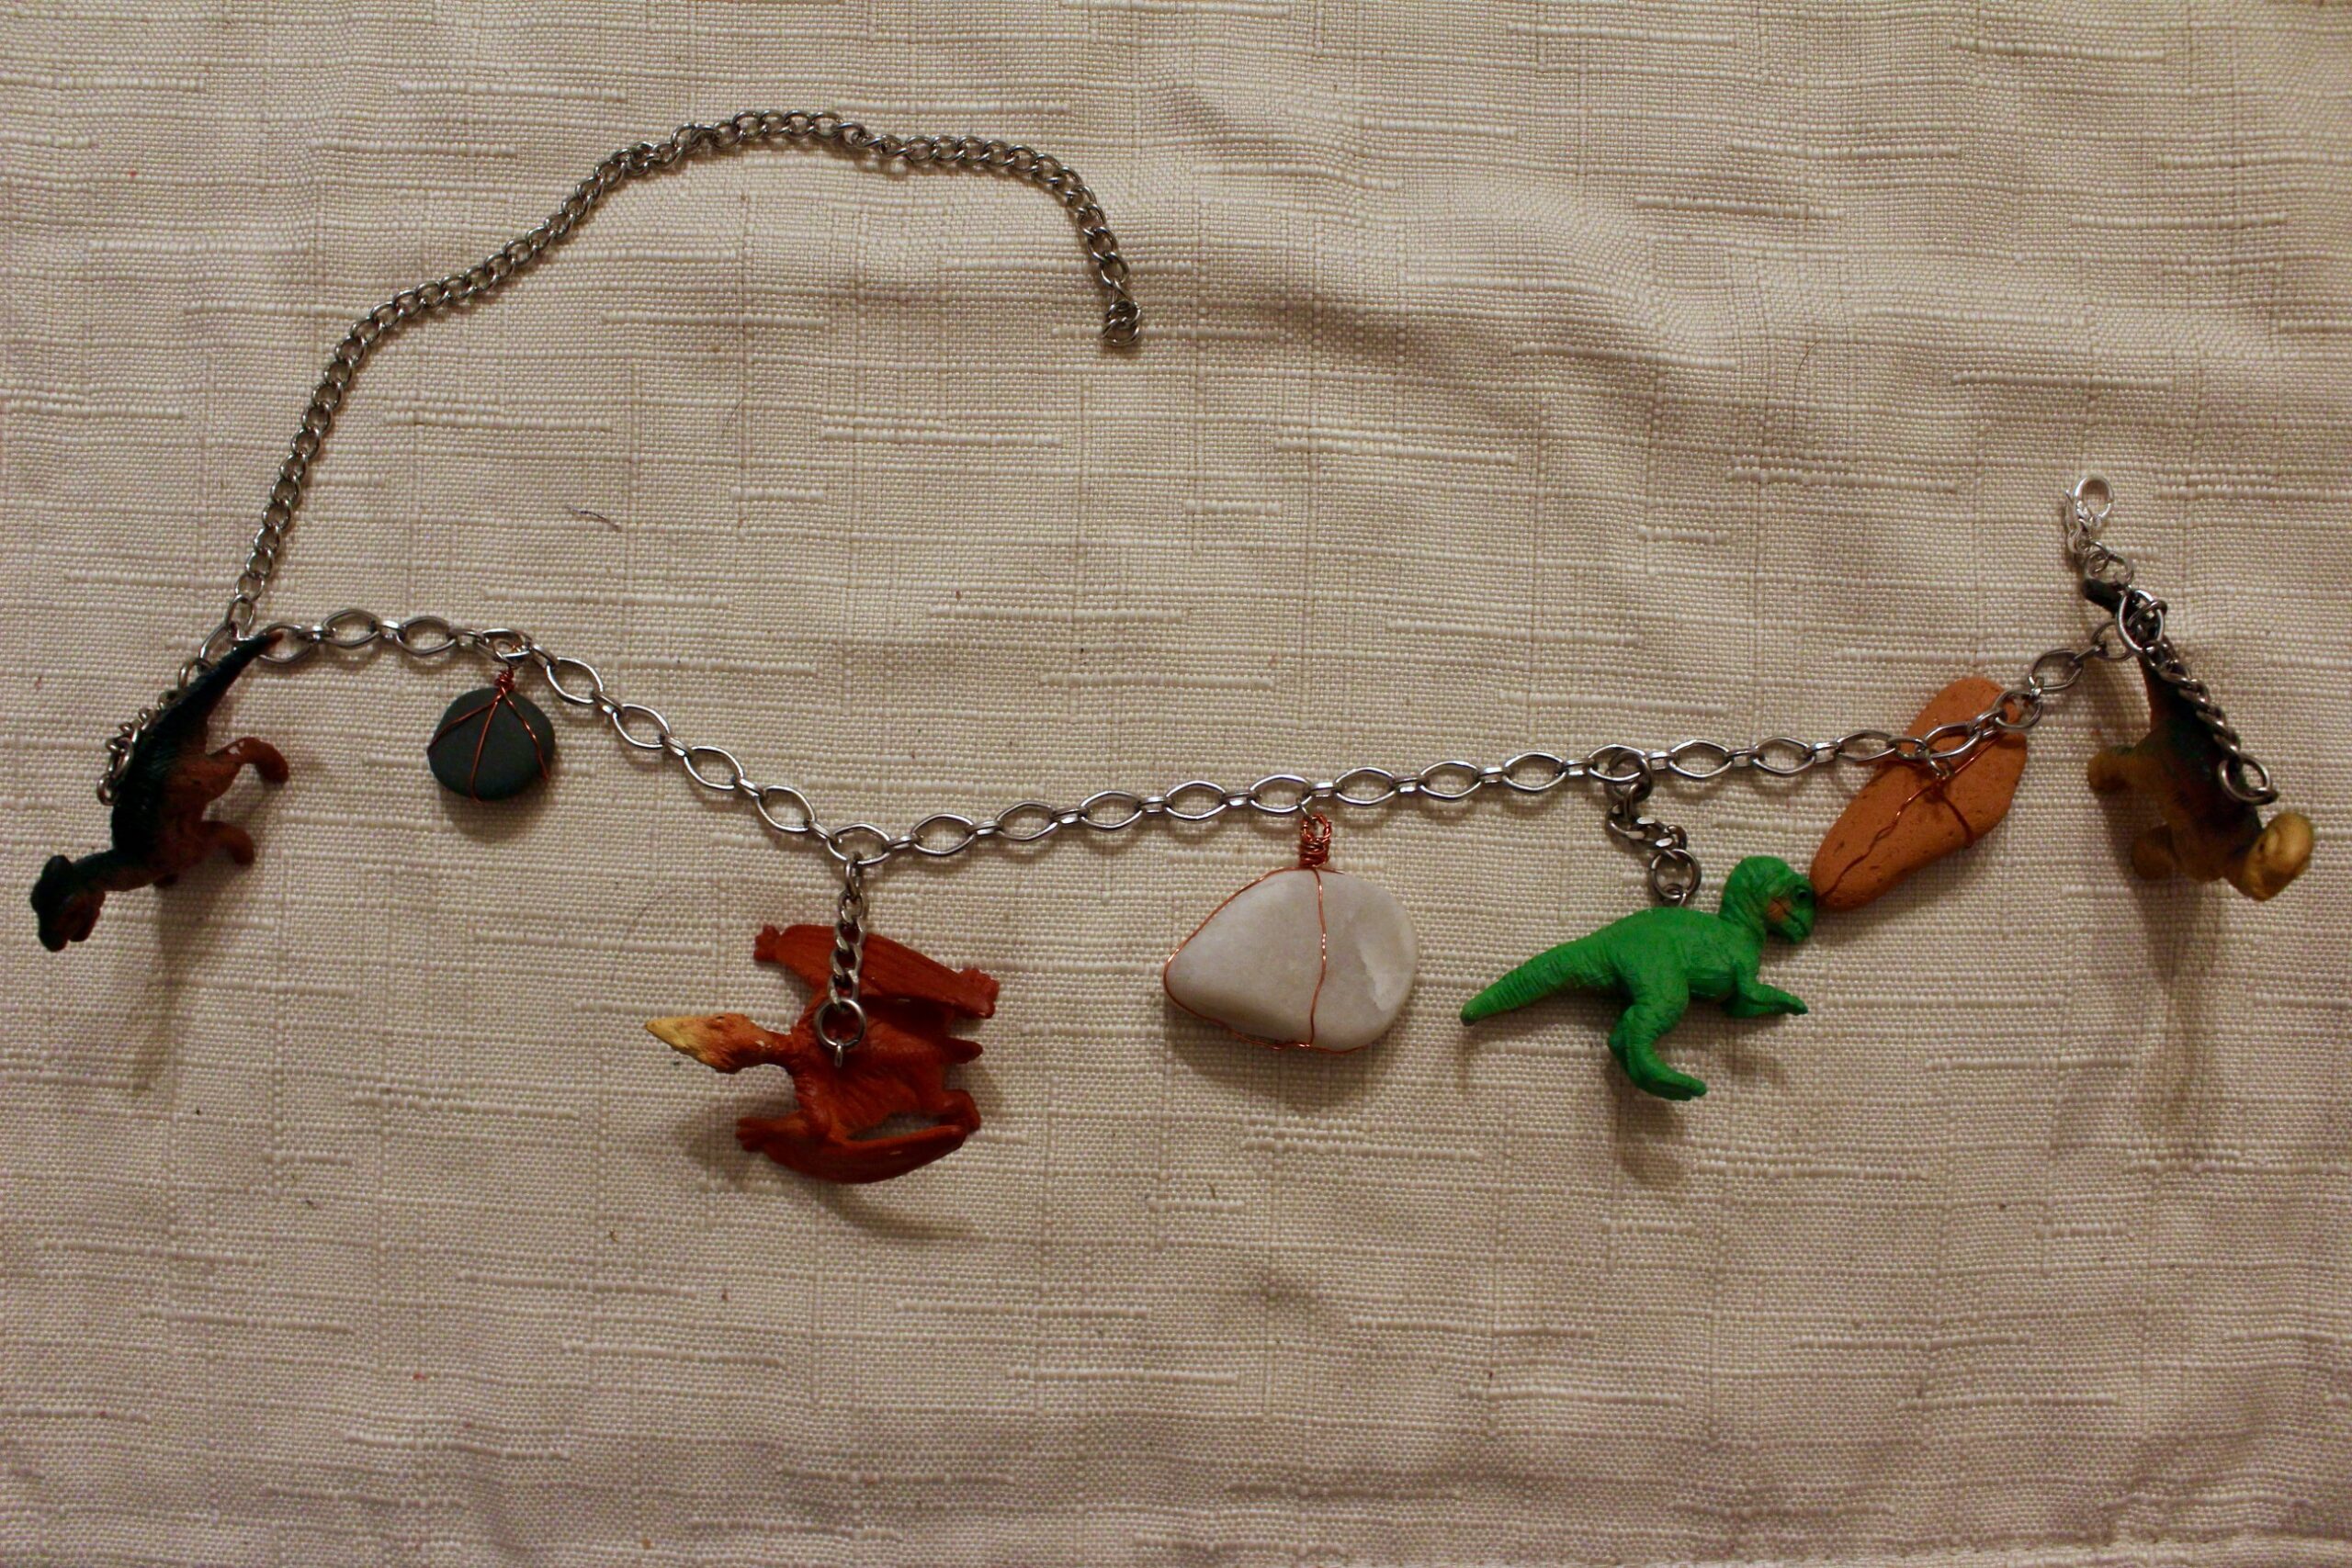
For my final project, I’ve been meaning to make a dinosaur charm necklace for a while, so today was the day! I’ve had these Dino key chains on deck for this project for a while, but wanted to add something extra. I found some cool rocks on the beach last time we went to Lake Erie, wrapped some wire around those and made loops at the top to attach them to chain with some jump rings. Then I laid out a pattern alternating beach rocks and Dinos. I might re-make this necklace with beads after a few wears. We’ll see.
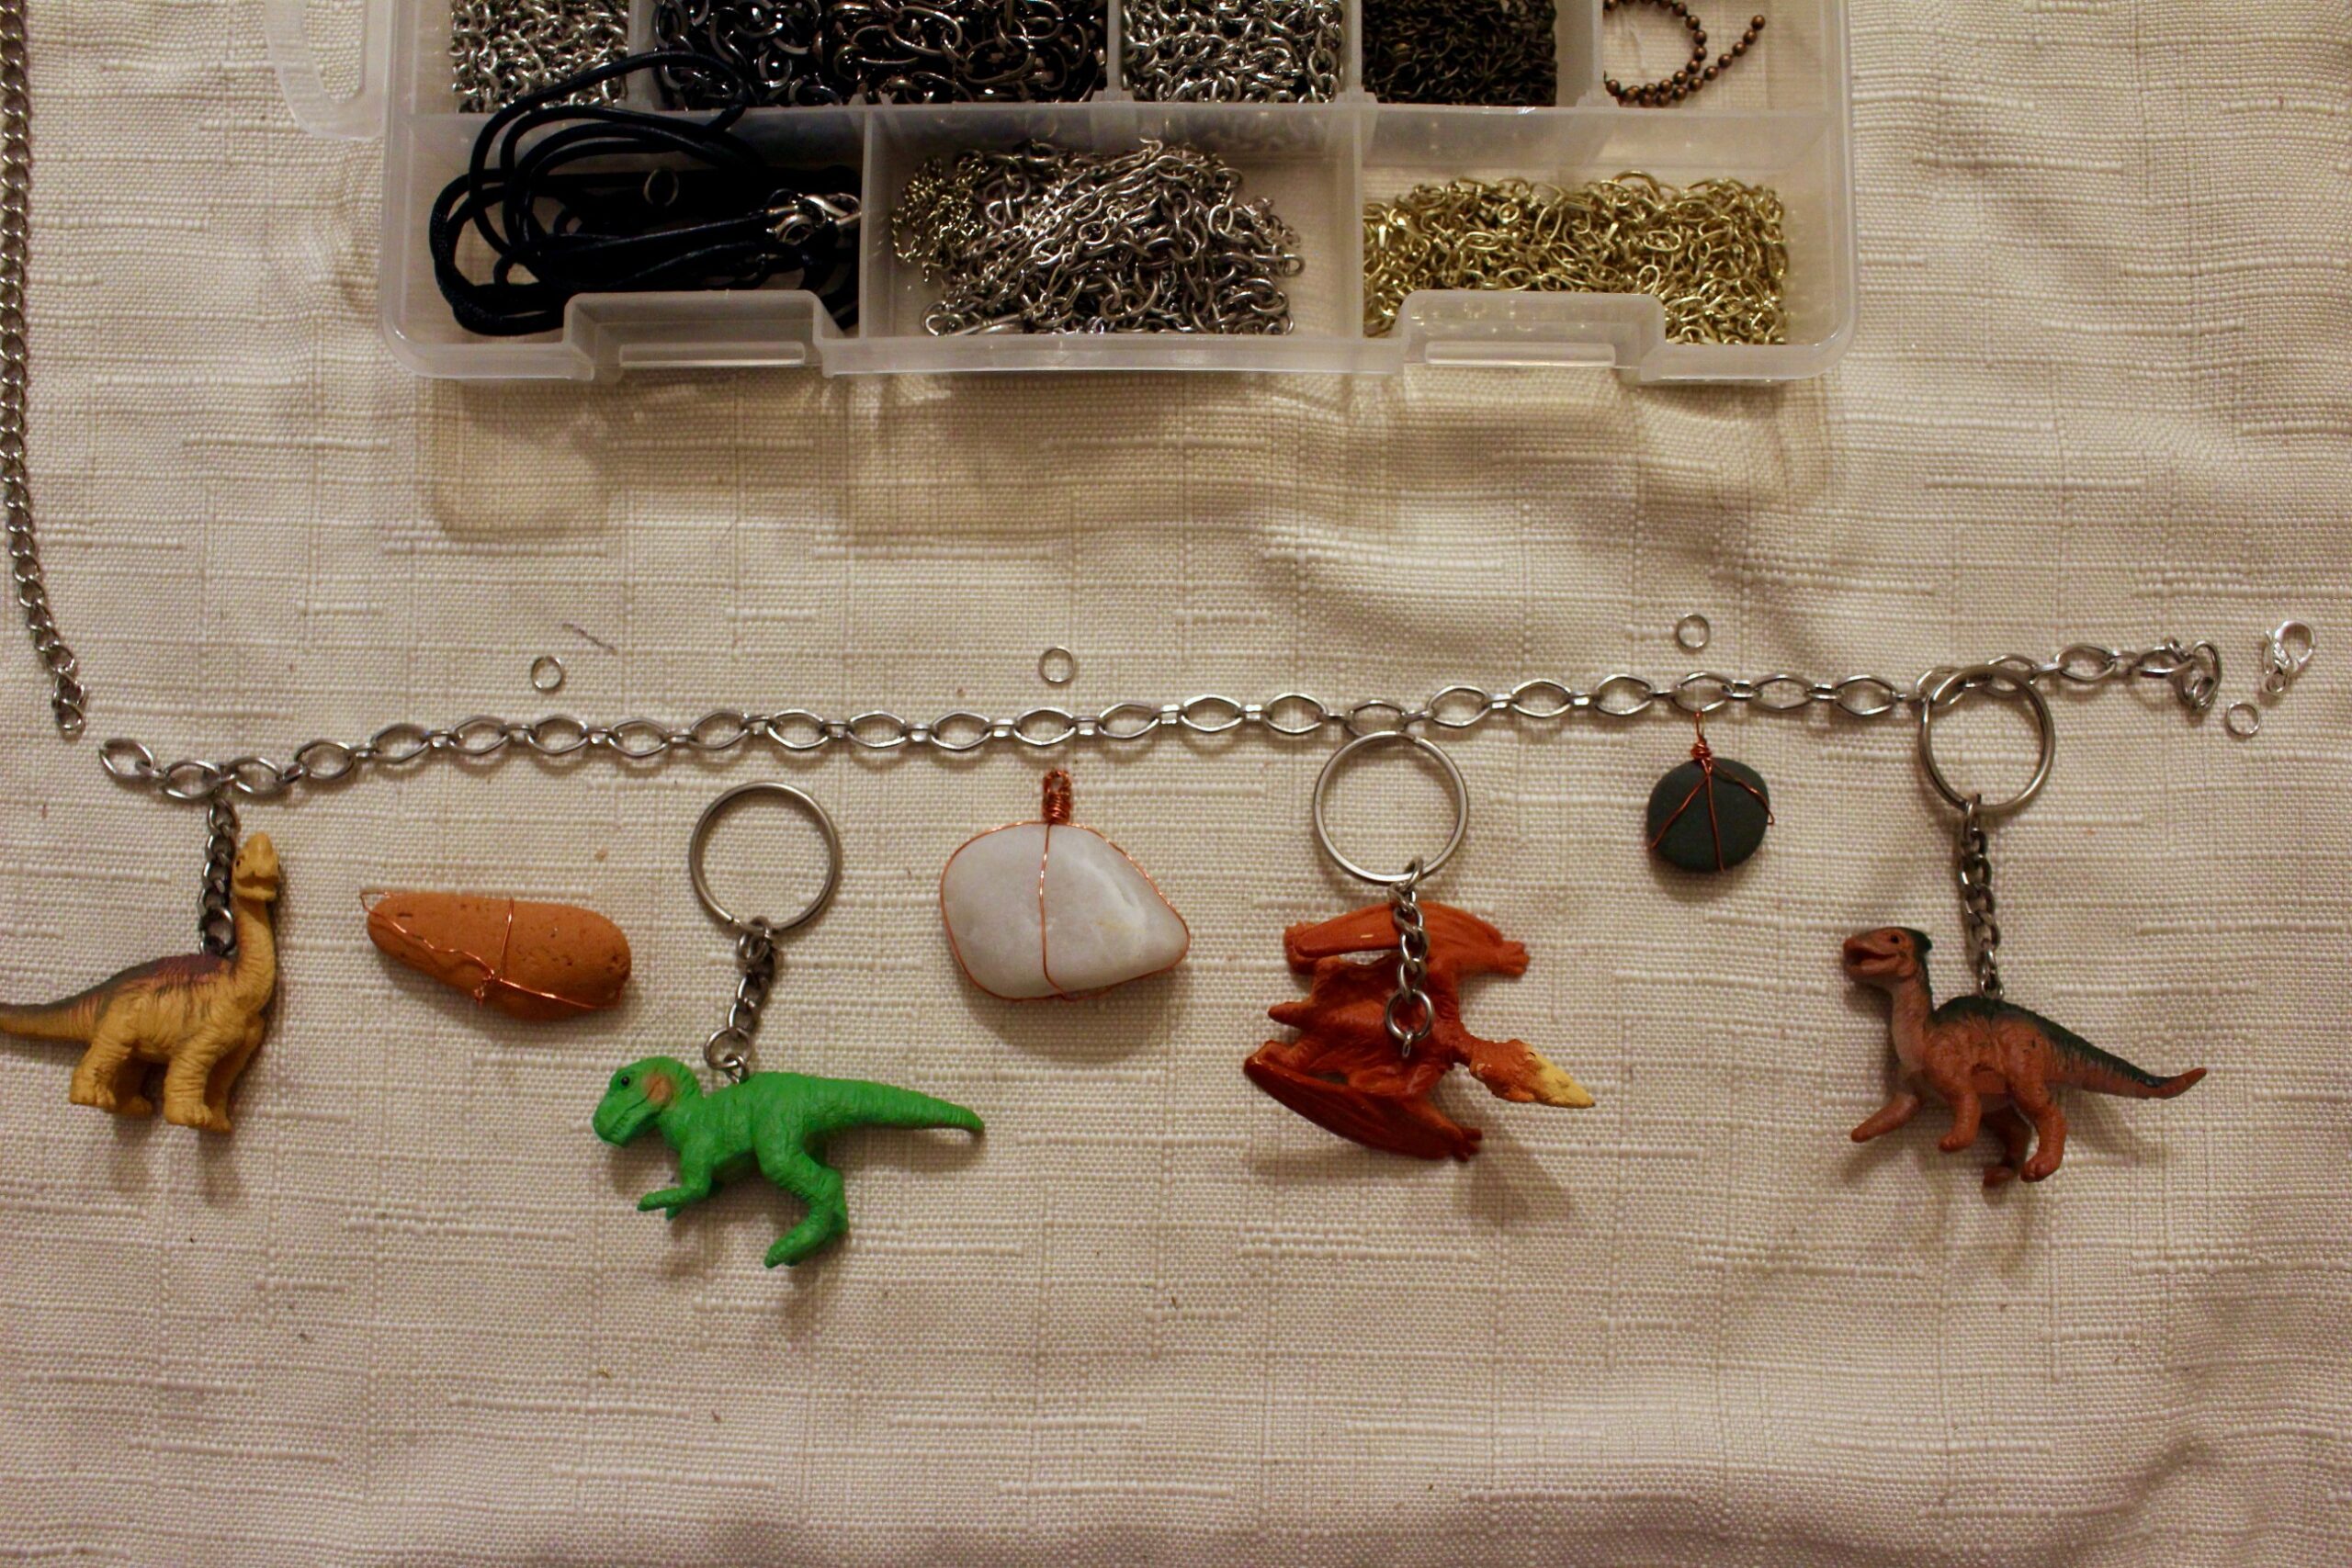
This project required two different chains because the main bit of chain I used wasn’t long enough for a necklace. Thankfully, I had another spare bit of chain that made the most perfect necklace extender.
I love these fun, new necklaces! As I was working through making them, I realized they were a cool way to display a little collection, and bring it along for all of your adventures for people to see!
What do you think? Will you make your own found object charms and jewelry? If you do, we’d love to see what creative creations you come up with! Share with us on social, @goodwillakron or @_abigaildrennen!
Happy New Year!
_Abby