
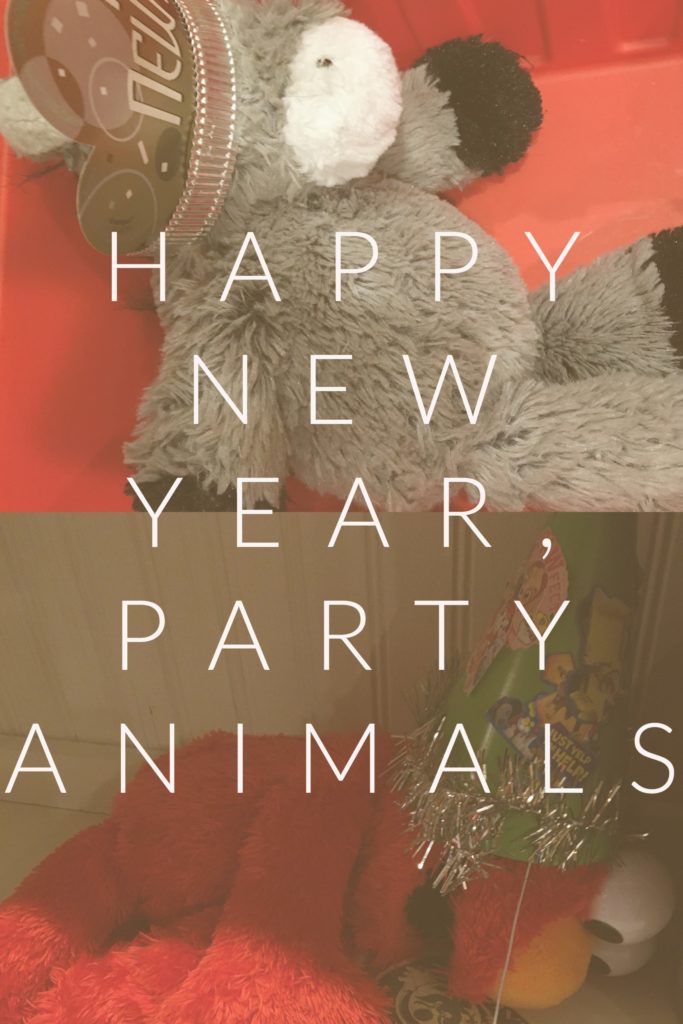
All dressed up and no where to go? That’s the plan! This year, your home is the perfect place to party to ring in the new year. And what a year it’s been?! Abby here with some ideas on how to celebrate NYE at home. None of these ideas will be new to those of you with kiddos, but hopefully they will help inspire a cozy celebra-tion at home.
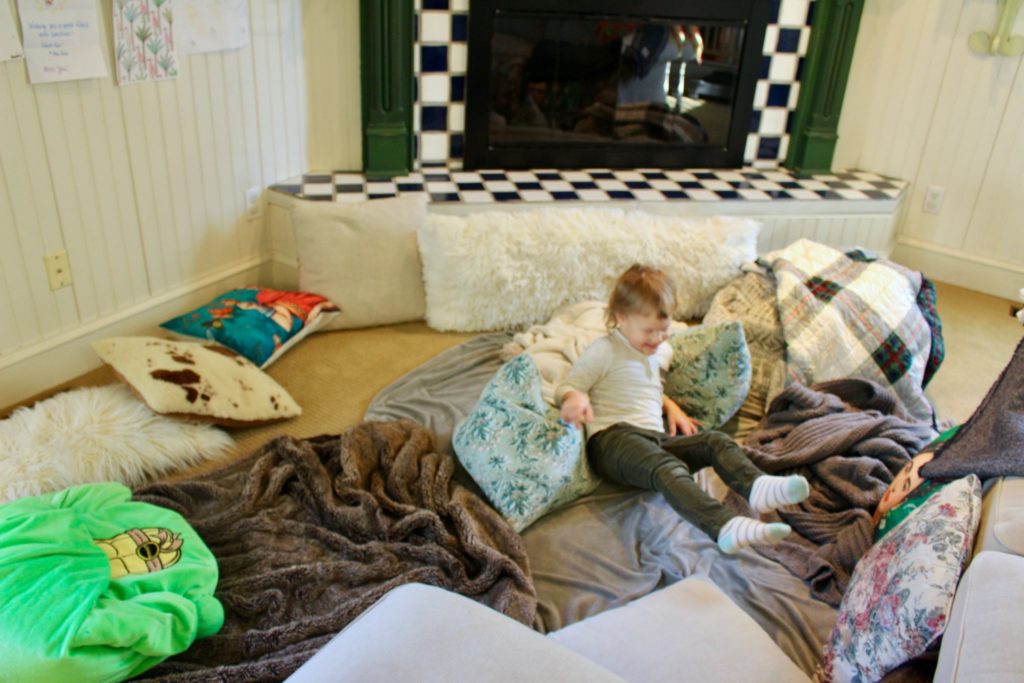
We’ve gradually been perfecting our NYE at home plan: it starts with lots of snacks (i.e. chips, cheese and crackers, pretzels, etc.), a pillow fort (or basically all of the couch cushions and pillows on a cozy rug and blankets), all the records for a dance party and maybe a “fancy” dinner. This used to mean my husband and I picking out some fun, different things from the grocery store to cook on NYE, but now we like to dig in on the kids’ favorites: Mac and cheese, broccoli, pizza, etc.
And instead of a store-bought party hat, why not dress up your fabulous stay at home NYE outfit with your own DIY version of a fun headband or party hat?! You can keep it simple and stylish with something you might wear again, or go loud and bold with an “NYE” headband. A few options, ideas and instructions are below, as well as ideas for what to source from your local Goodwill for your New Year’s Eve party at home!
For your own fun, fancy head gear, you’ll need:
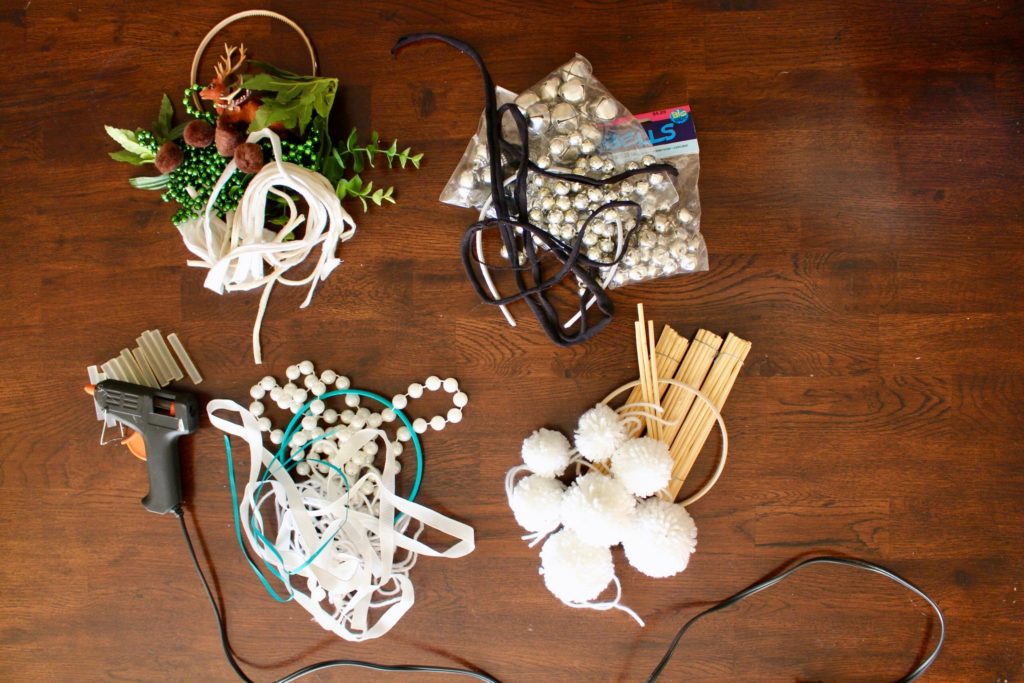
- Beads, fake flowers, wooden skewers/chopsticks, bells, felt, letters, mini leftover holiday ornaments, mini Disco balls, other fun, fancy, crazy decorations (as I’m writing this, I’m kicking myself for not figuring out a fun way to use all of the plastic silverware we’ve stocked up from ordering takeout this year)
- Hot Glue and glue sticks
- Headbands
Once you have all of your fun, fancy decorations and supplies gathered together, all you have to do is lay out how you want your head gear to look and hot glue or tie it all together! I didn’t want to use hot glue on all of my head bands, so I used some T-shirt yarn for a different take. If you need a refresher on how to make T-shirt yarn, check out this post from last year. Let’s get to it!
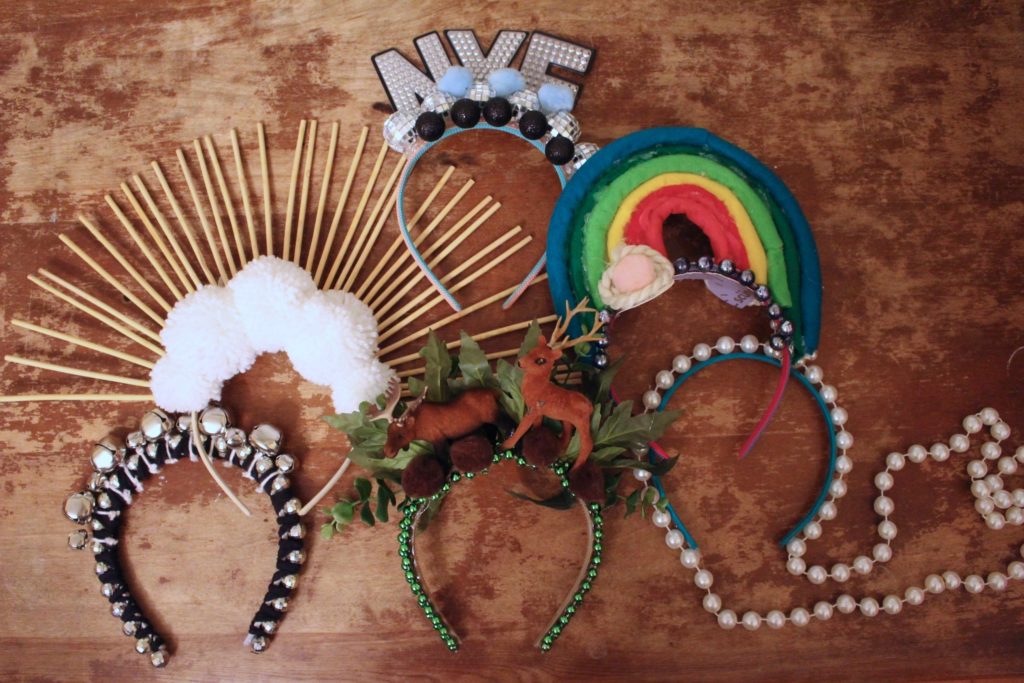
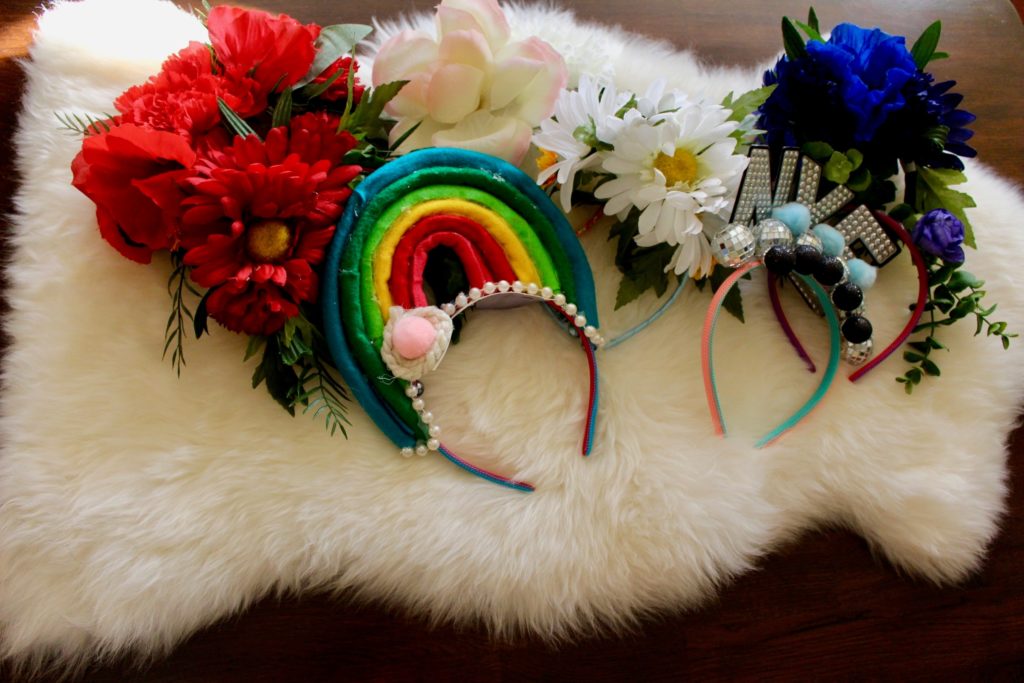
I started by dividing up my supplies into the various headbands I wanted to make. Below you’ll see four: A woodland creature headband, a bells headband, a simple pearl headband and a wooden skewer and pom-poms headband (simple how-to for making pom-poms in the previously mentioned post about making T-shirt yarn).
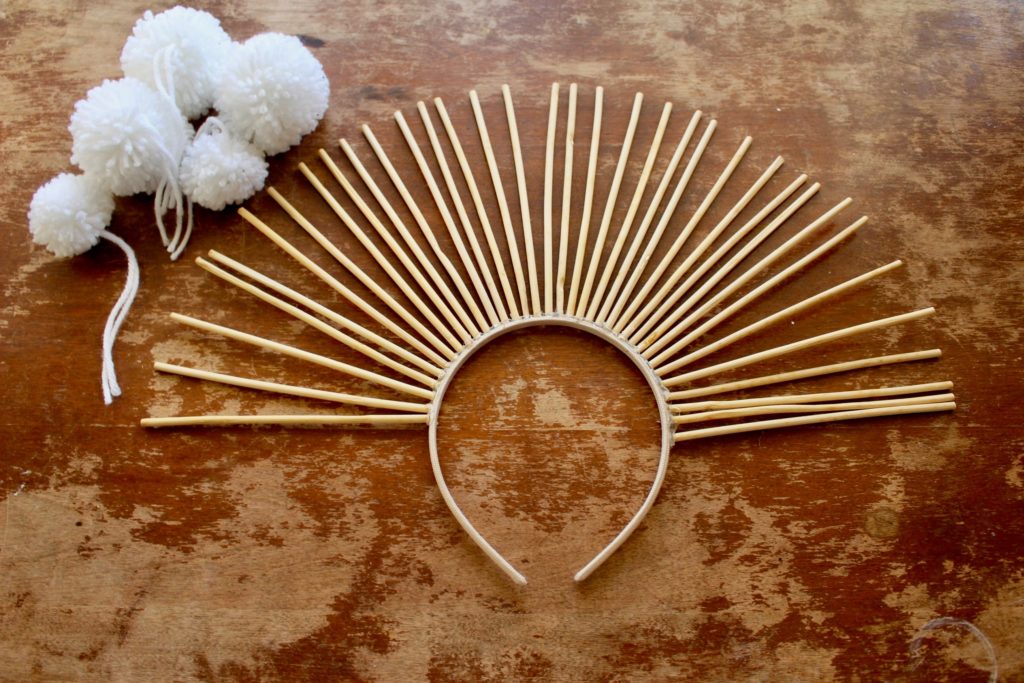
Then, I laid out each of my headbands how I wanted them to look. First up, was the one featuring wooden skewers and pom-poms (I think I was partially inspired by the Starburst Mirror I shared how to make a few weeks ago, or Cynthia from “Rugrats” 🙂 ).
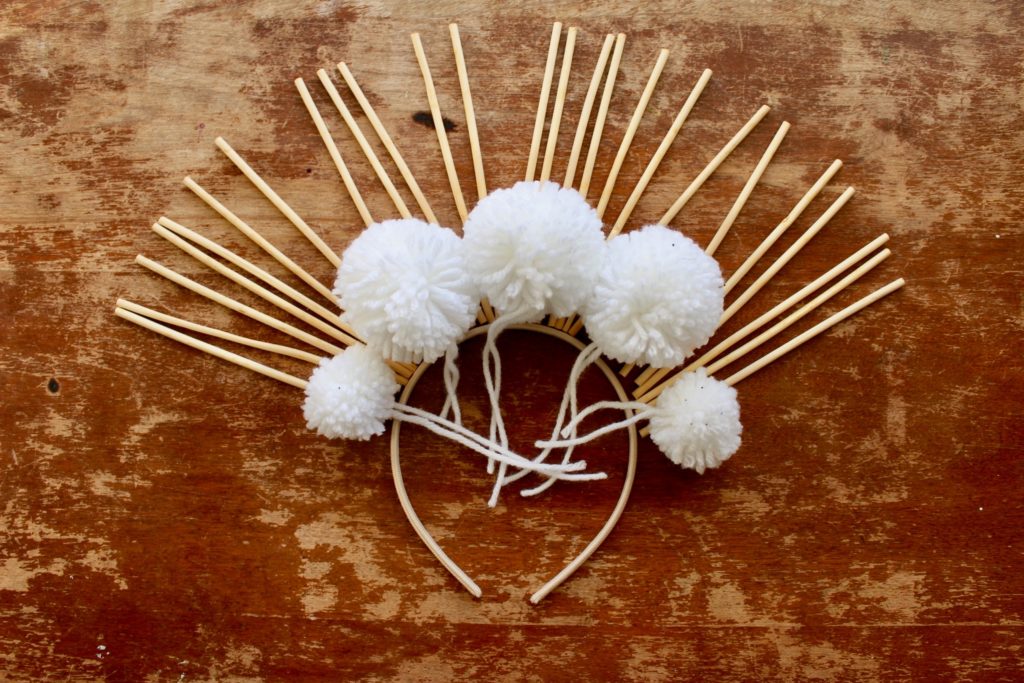
Once I was good with the general design, I glued the wooden skewers to the head-band and tied on the pom-poms. I considered spray painting the skewers, but liked how the natural wood matched the tan headband.
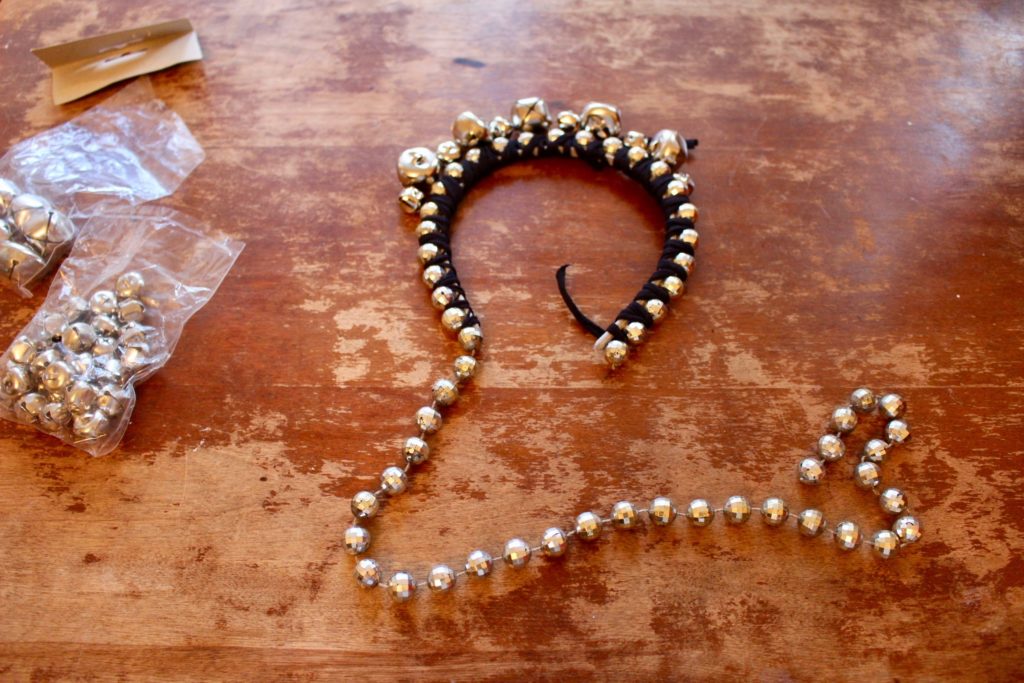
For the bells headband, I started by glueing some disco beads to a headband. Then, I wrapped the headband with T-shirt yarn and tied bells along the top with yarn.
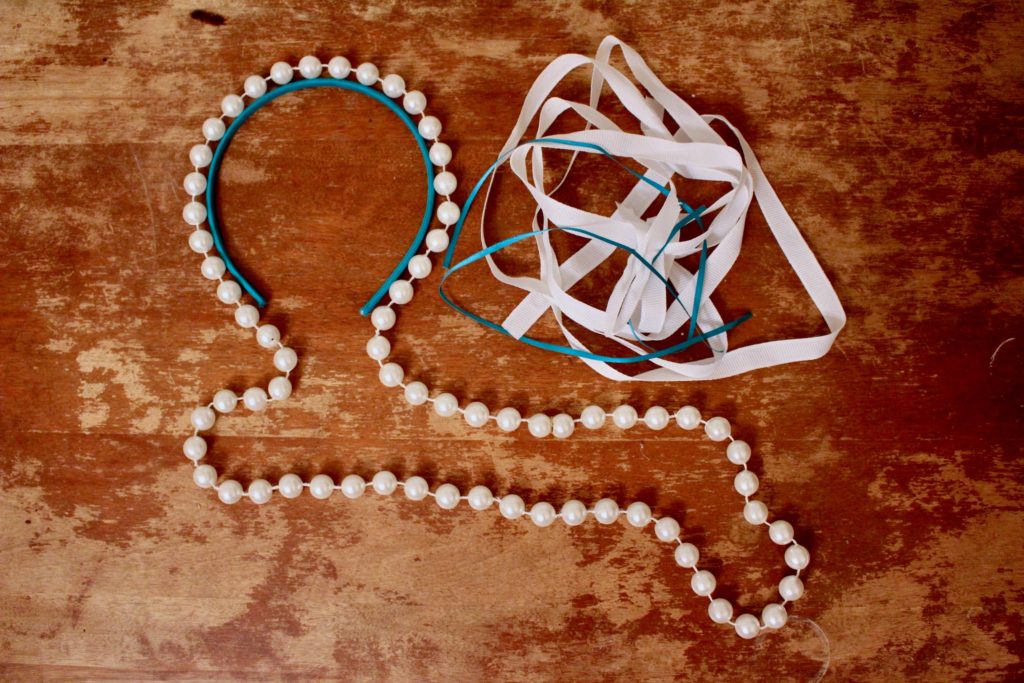
For the simple headband, I just hot-glued a strand of larger (fake) pearls to a headband. I was going to add ribbon embellishments, but ended up liking the pearls by themselves with the teal.
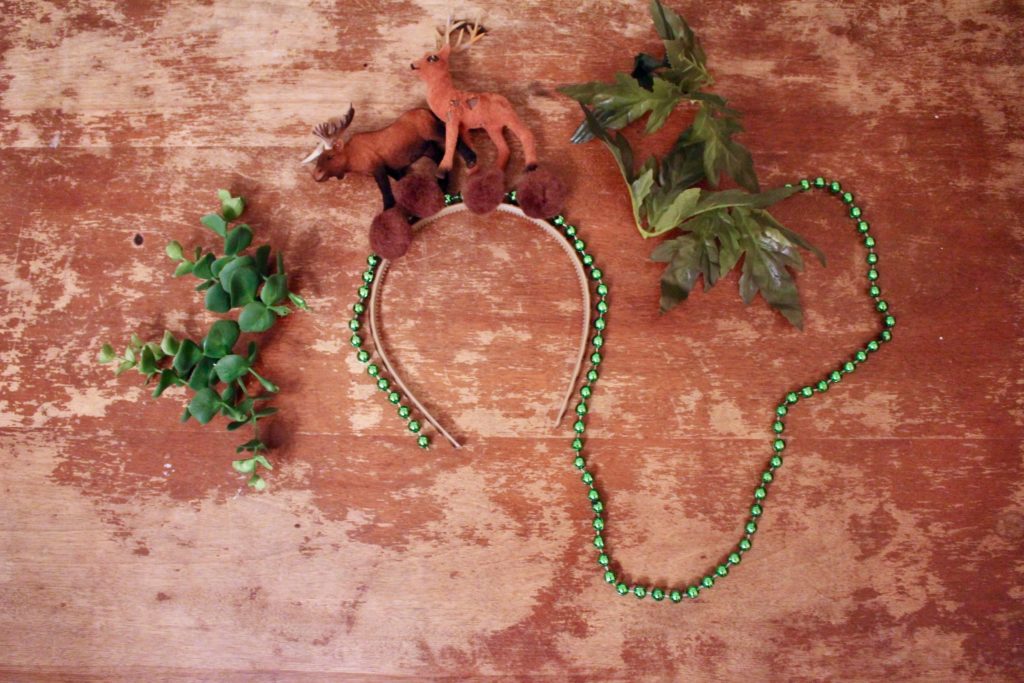
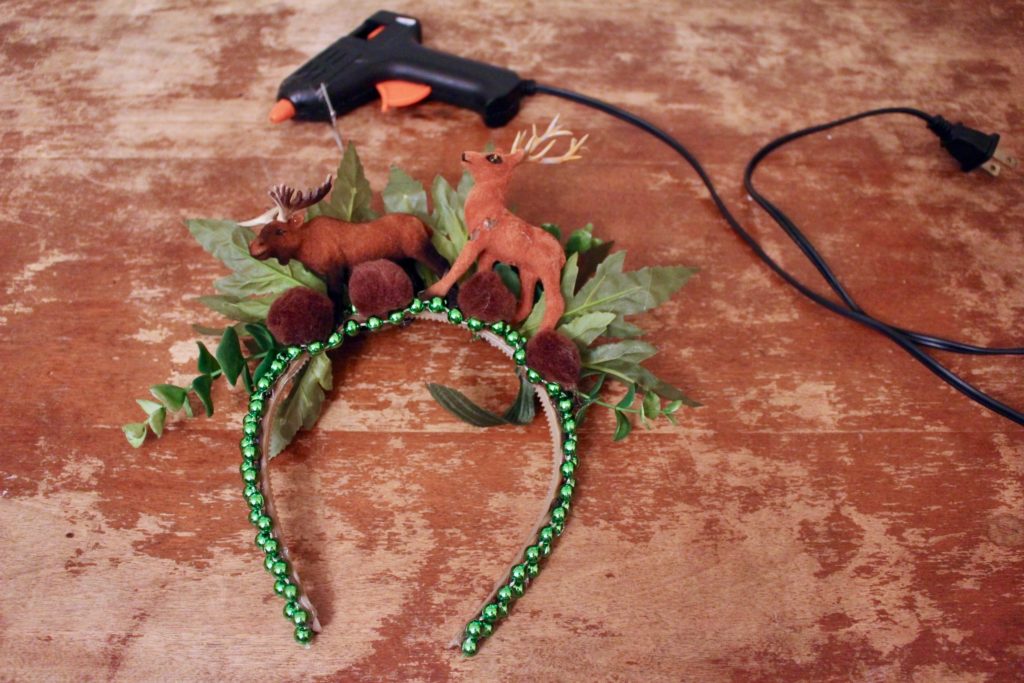
And finally, things got a little weird with my woodland creature-themed headband. I’ve had this mini decorative moose and deer around for years. I honestly have no idea why I ever bought them, but here we are (maybe a holiday-themed diorama?). I had some fake leaves left over from some flower crowns I made earlier in the summer, so thought I’d go all in on the forest-theme. I started with some green Mardi Gras beads, layered on the moose and deer, plus some brown fuzz balls and fake leaves, and I was all set. My oldest son is obsessed with this one.
And there you have it! A few, fun, fancy headbands to wear for your New Year’s eve celebrations!

Since I didn’t provide detailed instructions for the NYE headband and the rainbow headband, sharing some basic instructions here, but happy to answer any questions on how to make your own via social and the link above: The NYE headband was a rework of a headband my sister-in-law made for a party we had almost 6 years ago. It uses some cut-out cardboard letters and mini ornaments, glitter and disco balls, and some hot glue. The rainbow headband was something my son asked for custom, and includes felt, rope (that the felt is wrapped around), puff balls, string of beads and more rope (for the clouds). Basically, I wrapped felt around some strings of rope, and hot glued those to a headband. I added puff balls wrapped in skinnier rope for some clouds, and then glued a bit of cardboard underneath for some added stability. This one turned out too big, so there is a smaller version around the house somewhere.
And if you want to go the more “traditional” route, here are some flower crowns I made earlier this summer. Same general process and materials: lots of fake flowers and hot glue. The secret is keeping the leaves and greenery from any fake flowers – I love how the green breaks up the saturated colors of the blooms.
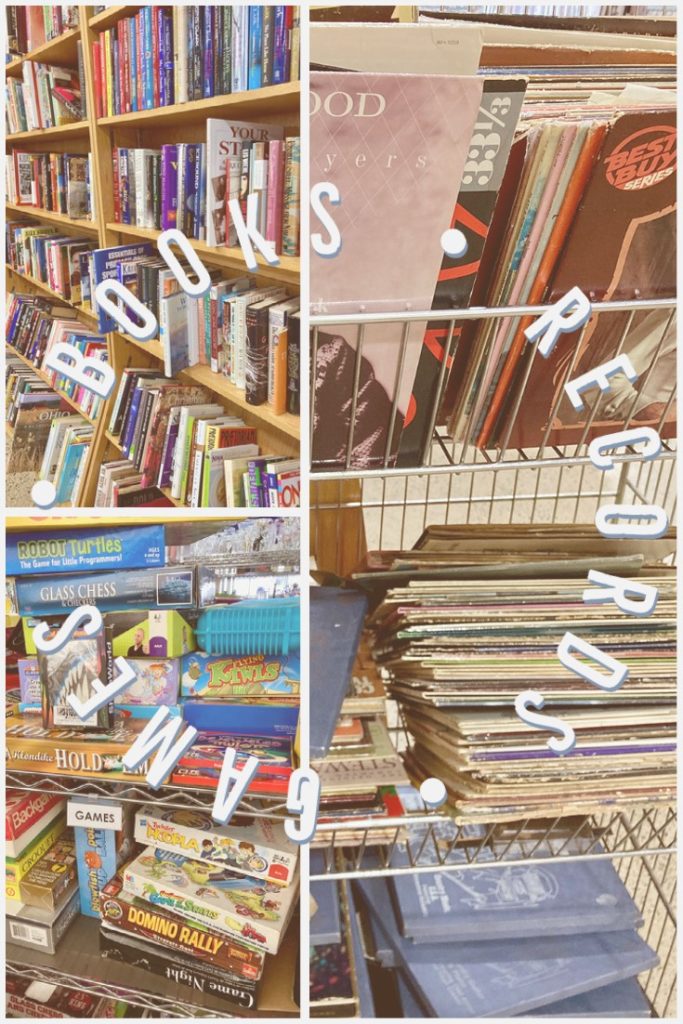
And if you need some ideas on party at home necessities, Goodwill has you set!
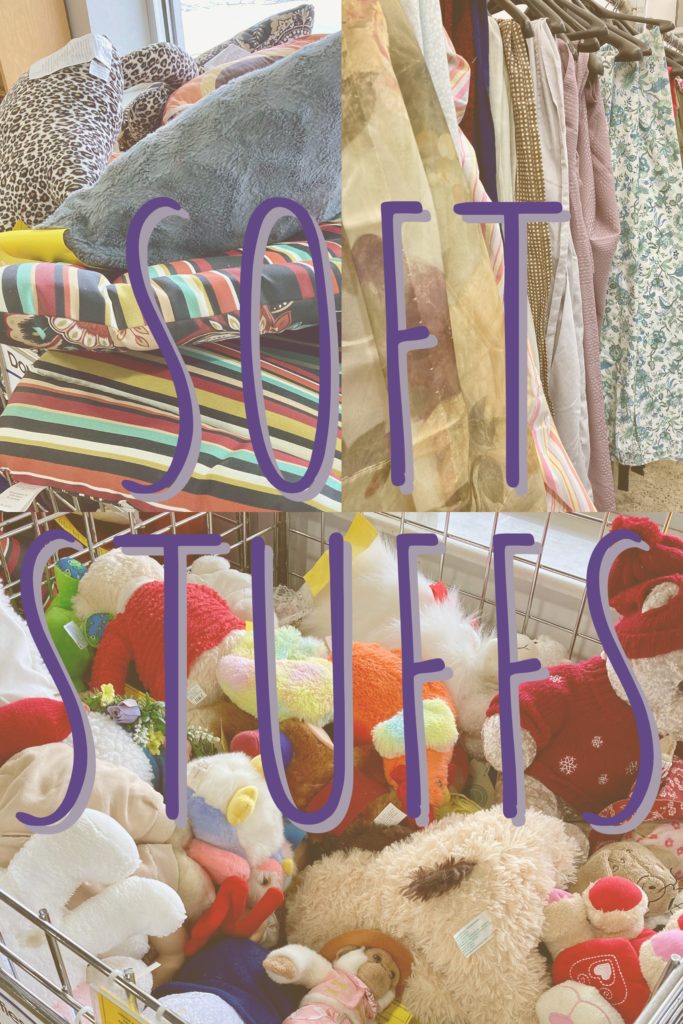
Soft Stuffs to build the perfect pillow fort! The easiest way to go is to grab all of the pillows, blankets and stuffed animals you have in your home and pile them on the floor with all of the couch cushions, but if you find yourself short on these items, Goodwill has you covered!
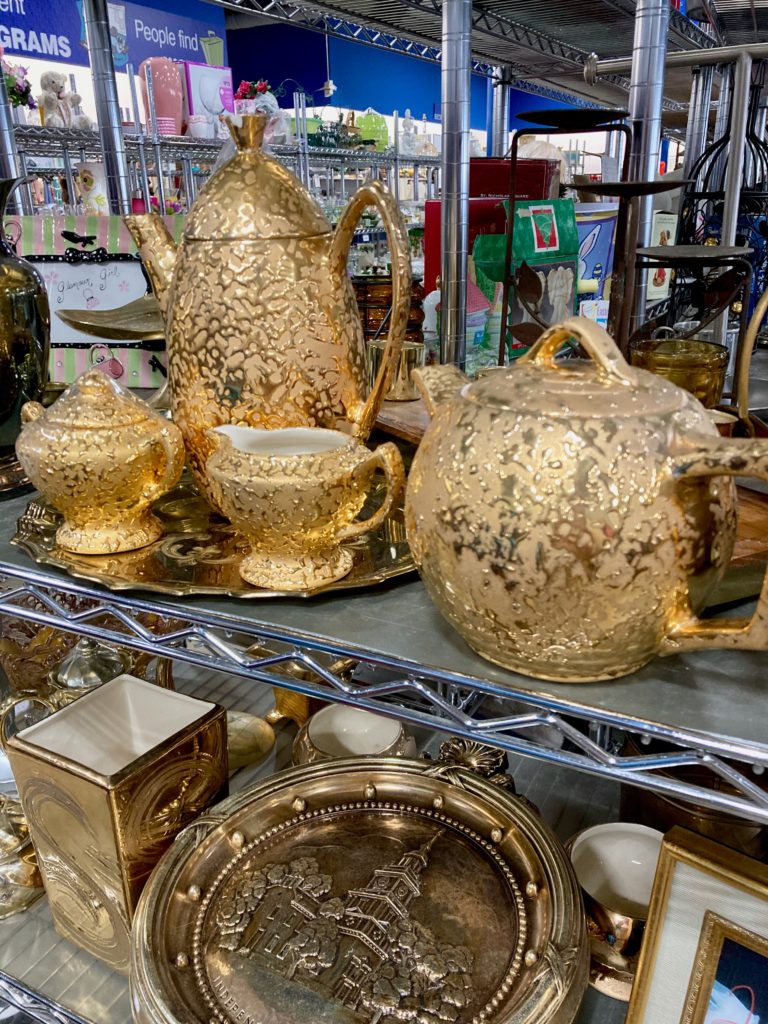
What’s a party without food? Like I mentioned before, we love cheese and crackers, cookies, cakes, really anything! Need something fun to serve your food on? Goodwill has you covered.

Once you are cozy in your pillow fort, crank some tunes, switch on a movie, or gather round for a good book (or several) and count down to midnight (or 8PM, when my boys head to bed).
However you decide to celebrate, feel free to share with us on social, @goodwillakron or @bottesdeleanor!
_Abby