
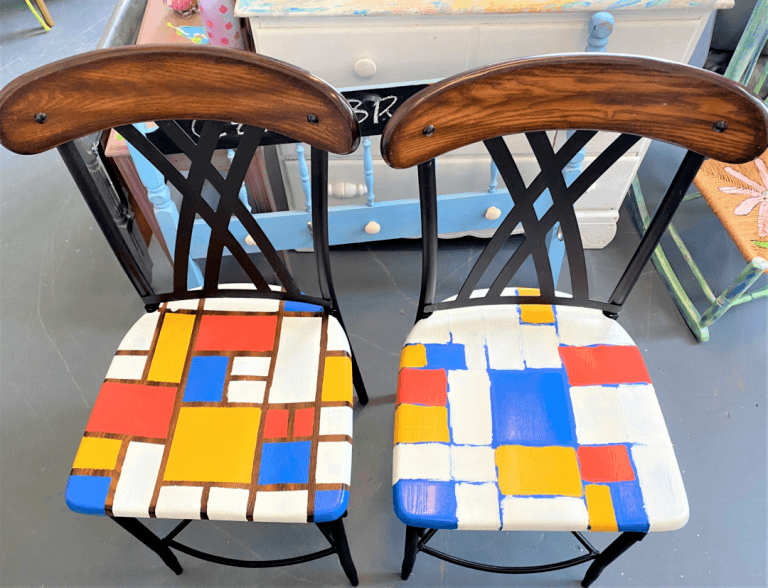
For your next upcycling project, consider tapping into the creations of world-famous artists as your design inspiration. For this blog, a run-of-the-mill pair of tall bar chairs was transformed into artistic pieces with the help of Piet Mondrian (1872-1944), a Dutch painter known for his abstract style. His paintings are simple, geographic and bold—and they look really cool in today’s spaces.
Supplies:
• Pair of bar chairs
• Blue, yellow, red and white paint
• Paint brushes
• Painter’s tape
• Scissors
• Polyurethane
1. Find your masterpiece at a local Goodwill store. Hit the section where furniture items await you and look for a pair of chairs to be upcycled for this painting project.
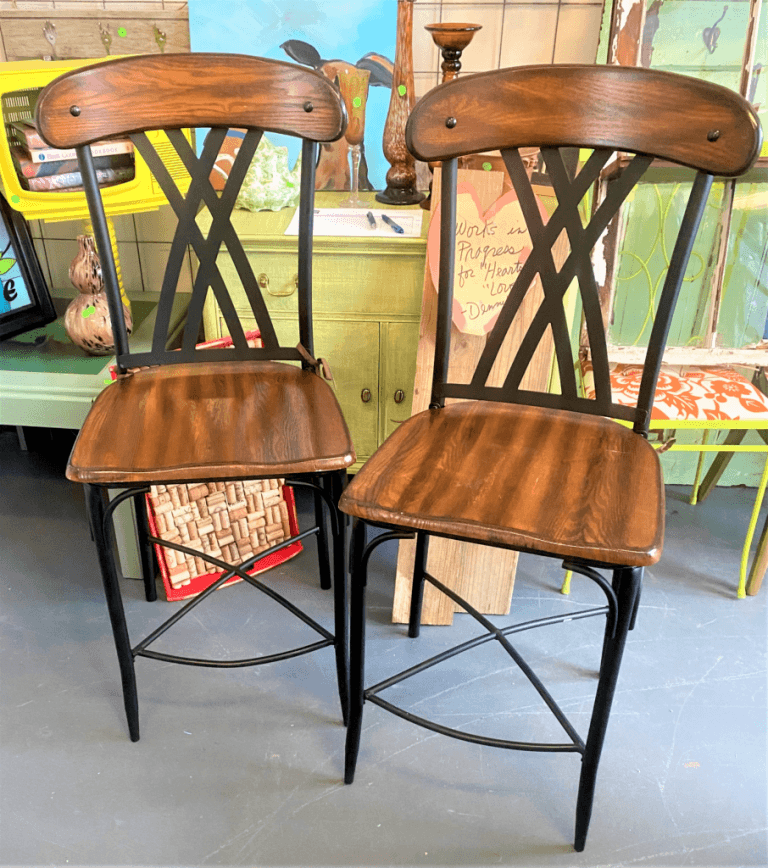
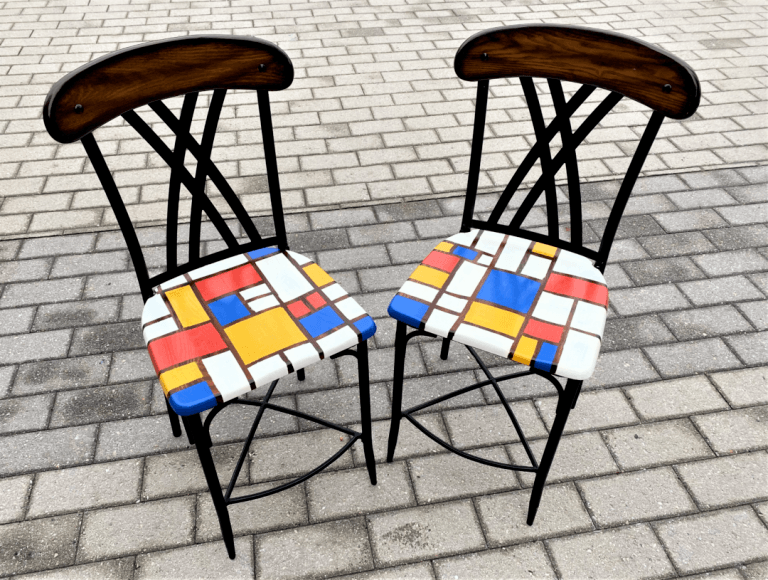
The tall bar chairs featured here were nice with a contemporary look that works well for this Mondrian-inspired transformation. The dark wood and black metal provided the great backdrop and “negative” space on which to add boxes of color. This artistic approach would look great on the top of a coffee table, dresser or pair of side tables. For this project, look for pieces that are sturdy with very simple and clean lines.
2. Create a dark backdrop
Mondrian’s color blocks are outlined in black. Given that the wood was dark on the chairs and that the metal parts were black, I was lucky that I didn’t have to do any prep work before painting. However, if your piece isn’t black or a very dark brown, consider painting it with several coats of black paint to make your artwork stand out.
• Prep your piece by buffing it up with a mid or coarse grade sandpaper, wipe it down when done then paint on several light coats.
• Place your piece on its back and sides to get all edges and parts.
• Allow time to dry between layers.
3. Cut through the red (actually, blue!) tape
Most painter’s tape, while thin, isn’t going to be slim enough for the look you want. Therefore, you will want to cut your painter’s tape in half as you go. Be careful as you cut so that the two thinner slices don’t touch and get stuck to each other. Honestly, this was a little tedious and was the hardest step. However, the final result made the time invested cutting all worth it!
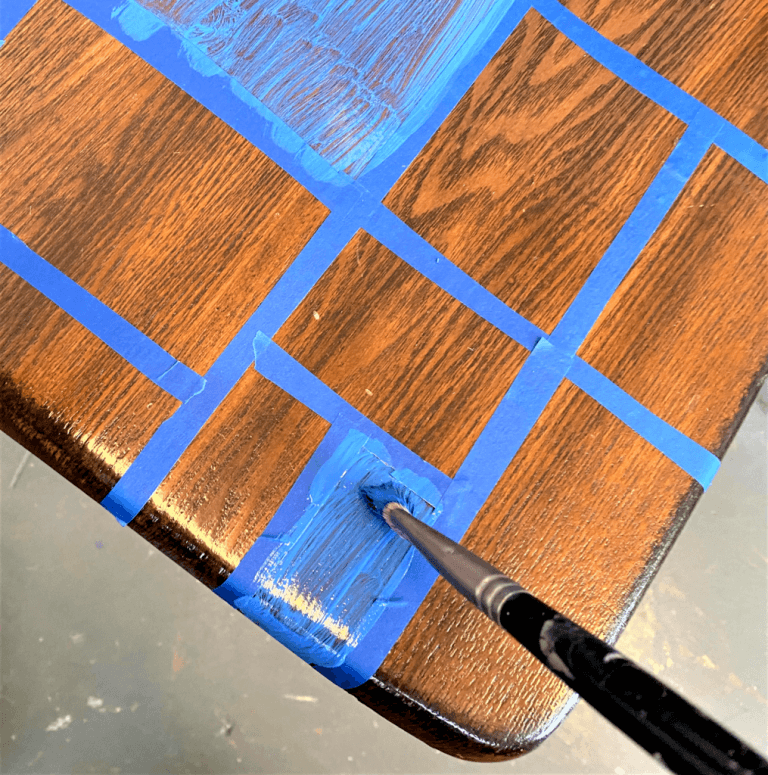
4. Lay out your lines
All of Mondrian’s lines are vertical and horizontal so model this as you lay things out.
• Carefully place your painter’s tape on the surface, starting with the vertical lines going from top to bottom.
• As you go, rub your fingers over the tape to ensure a tight fit that will keep paint from seeping.
• Once the verticals are in place, fill in with horizontal lines. While it does feel grid-like, you will want to leave some spaces to give a variety of sized squares.
• Use smaller pieces of the cut tape between lines to create smaller blocks of color.

5. Fill in with colors
Mondrian’s color palette was pretty simple; he often used white, red, yellow and blue with black lines.
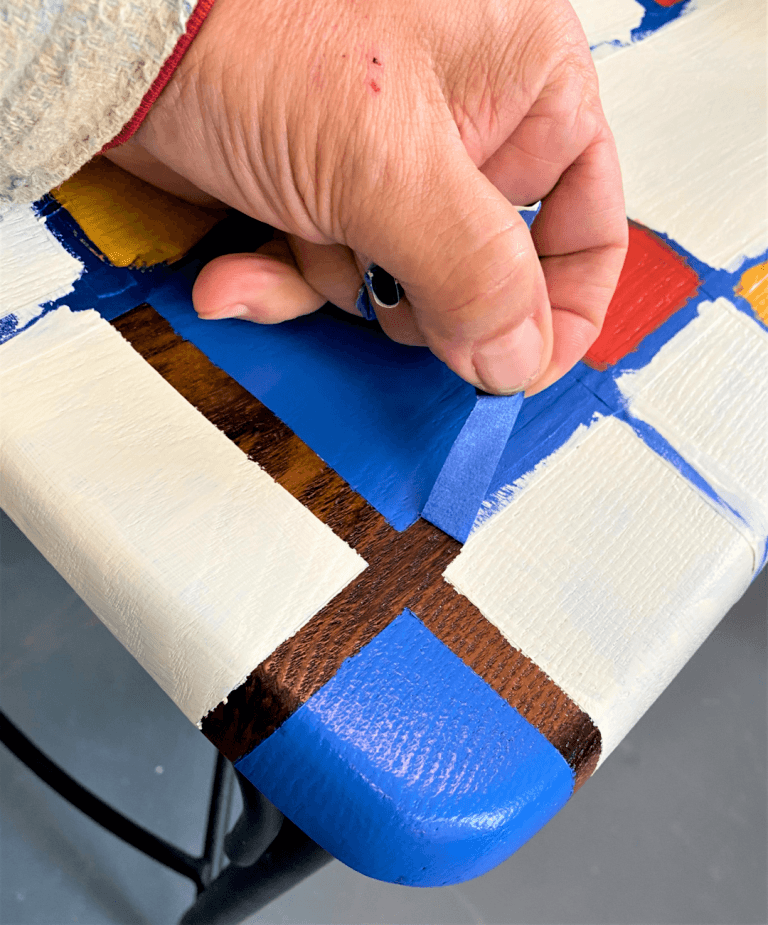
6. Remove the tape to unveil your masterpiece
This step was the most exciting for sure!
• Very carefully remove the painter’s tape from your pieces to see the dark lines below and how they provide a great outline for your blue, red, yellow and white color blocks.
• For my piece, the dark wood that showed through as the grid lines looked nice and provided a cohesive connection with the wood chair’s back rest.
Expert Tip:
Despite your best efforts to ensure the painter’s tape is securely and snuggly adhered to your piece, there might be some parts where the paint gets underneath.
If your piece has been painted black, then simply touch over those parts with black paint and using a small detail brush.
However, if your piece is dark wood like the bar stools featured here, you won’t be able to paint over any little flaws. My solution was to take the handle of a plastic spoon and gently scrap away the paint.
I dabbled on a little water first which helped to soften up the paint. Have a paper towel handy to remove the moistened and scraped paint. The plastic spoon handle was a better choice than the screwdriver I used a first because the screwdriver was too sharp and scraped away the dark wooden finish—not good!
7. Brush on poly to protect the paint
To give your design some special treatment and ensure it holds up well over years of use, brush on a light layer of poly. Poly adds a plastic layer which will help keep your pieces looking great and allow for easy clean up, too.
About our guest blogger:

Instagram: @TimKineArt (https://www.instagram.com/timkimeart/)
Tim Kime is an artist, life coach, connector. He is President of Kime Leadership Associates offering executive coaching, meeting facilitating and motivational speaking. He is also Chief Creative Force of Transformation Junkies which upcycles furniture and other household items into functional works of art. He combined his two passions—unleashing the potential in people and transforming items with the launch of the Art of Possibilities Workshops. These workshops are part upcycling, part dreaming, part goal setting.
(Blog credit: Goodwill of Greater Washington)