
So remember how I mentioned last month about things heating up around here – well, they are, and they continue to, but you know how some times, there is that cooler summer night, or a colder than should be normal indoor occasion (I’m looking at you, office spaces), well this craft is for these times!
Abby here again, and for this month’s post, I thought I’d let you all in a bit on my creative process. I’m not sure about you all, but I have a growing pile of clothes I want to edit just slightly to make them more wearable (at least for me). Items that I really love, but in their current condition, I just don’t wear them as much as I’d like. I guess this is similar to last month’s post, but instead of cropping (which TBH is what happens to a lot of my items), I’m going with a bit of a transformation today: turning an open-front sweater into a wrap sweater!
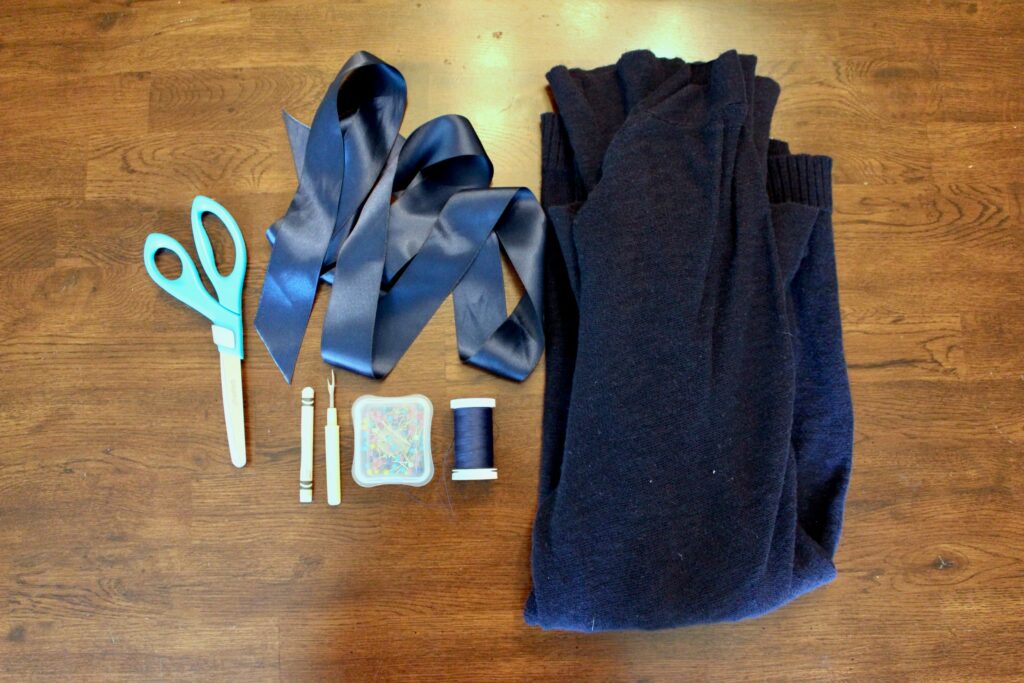
To create your own wrap sweater (or top), you’ll need:
1. An open-front sweater (a cardigan would work, just remove the buttons)
2. Scissors
3. Needle and thread
4. Ribbon or other form of a tie
5. Straight pins
6. A crayon or marker
7. Seam Ripper
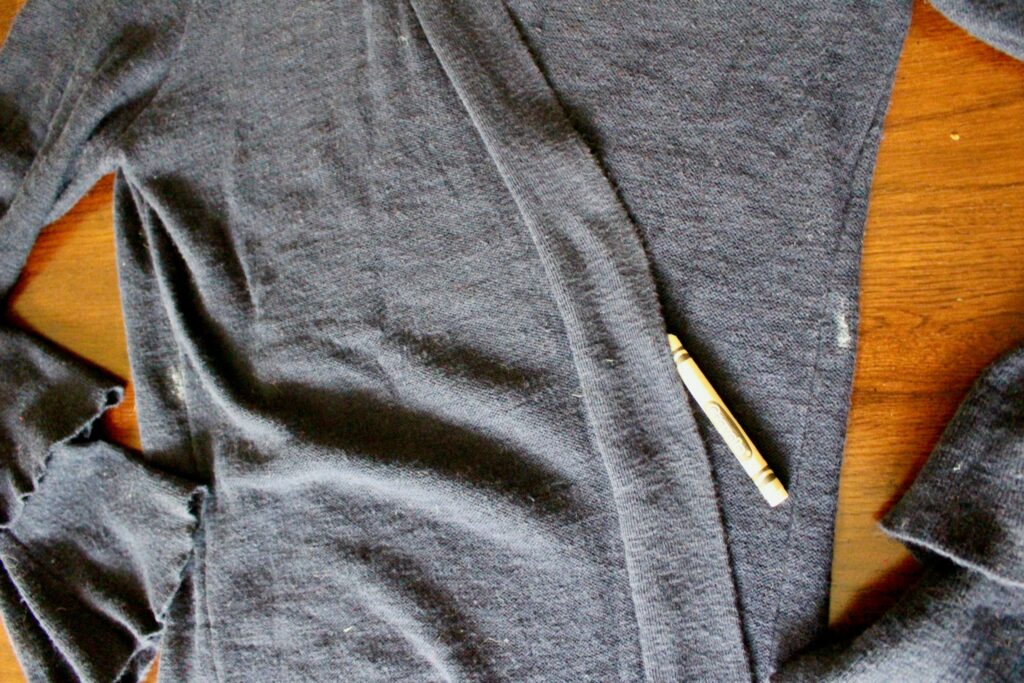
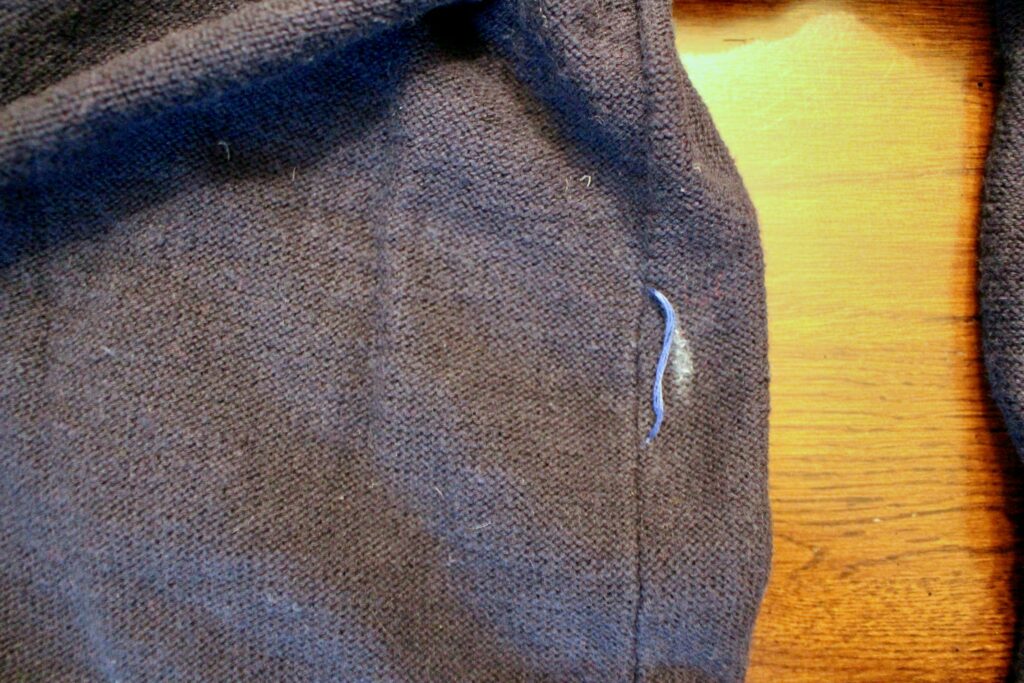
First up, you’ll need to mark where you want your ties to fasten. I’ll just stop right here and say if a wrap sweater is a bit intimidating (it was to me), you can 100% make this a no-sew craft and glue your ribbon to the front of your sweater for a simple, front tie. The technique that I’m going to share would also work if you wanted to make a wrap top out of other tops: T-shirts, button-downs, etc. But for my project, I used this sweater, because I just knew it would be better as a wrap sweater.
Once you have your spots marked, you’ll want to make sure they are wide enough for your ribbon or tie.
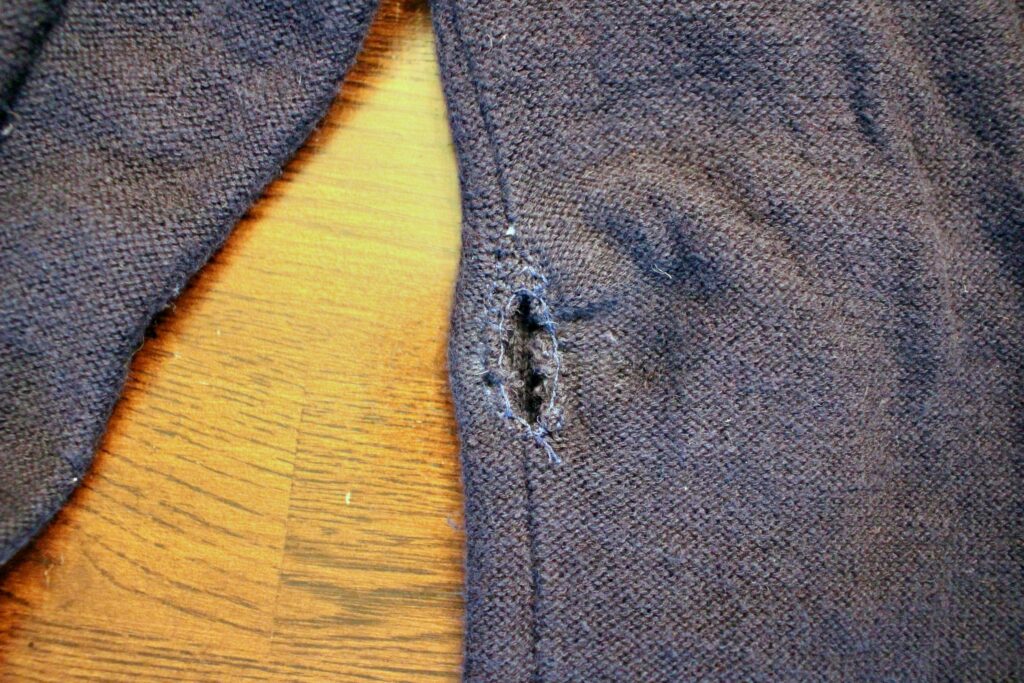
Then it’s off to the races! One of your spots will be a sort of “button-hole” that you will cut either into the seam (this was the route I went), or into the fabric. Before you do any cutting, you’ll need to sew a “button-hole” around your mark. I used a variation on the back stitch, catching the weave of my sweater to make a series of knots all the way around where my new “button-hole” will be, but if you have a sewing machine and are more comfortable going that route, a zig zag stitch is probably what’s more advised (I sewed mine by hand and made several go arounds to make sure my “button-hole” was very secure).
Once I had my “button-hole” sewn, I VERY CAREFULLY cut the strings on the inside of my “button-hole” with a seam ripper, along the seam of my sweater.
On the other side of my sweater, I sewed a bit of embroidery floss to the outside of my sweater to catch the ribbon on the other side of my wrap-around sweater. I cut a length of embroidery floss about 6 inches long, tied a knot on one end, threaded it through the in-side to the outside of my sweater, and pulled the other end through with a larger needle, knotting on the inside of the sweater.
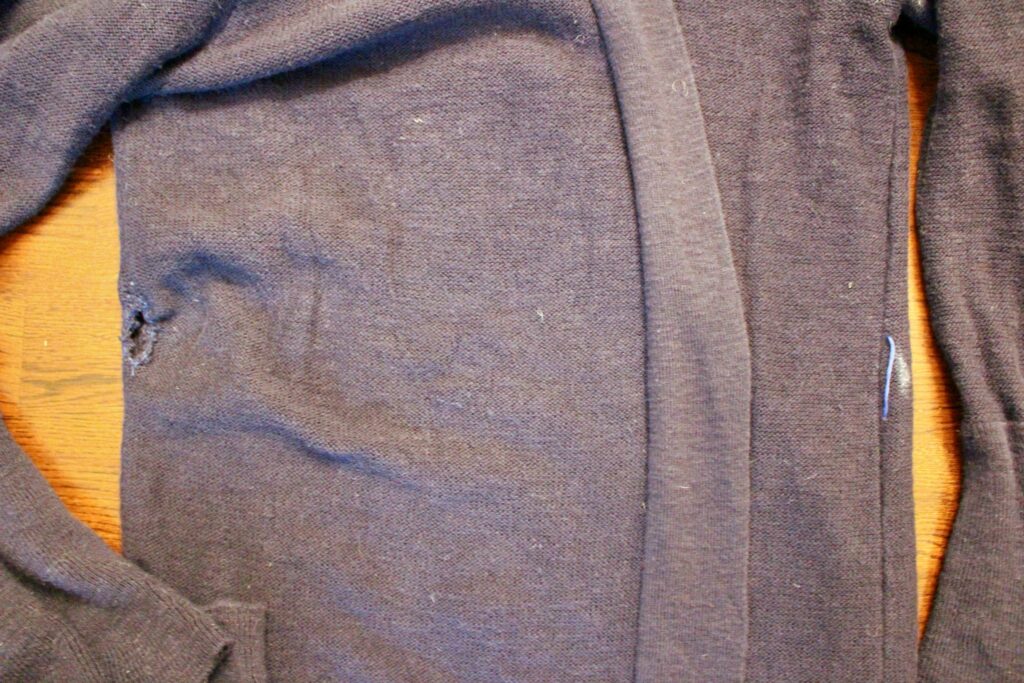
When I was done, I had my “button-hole” on one side, and my catch string on the other side.
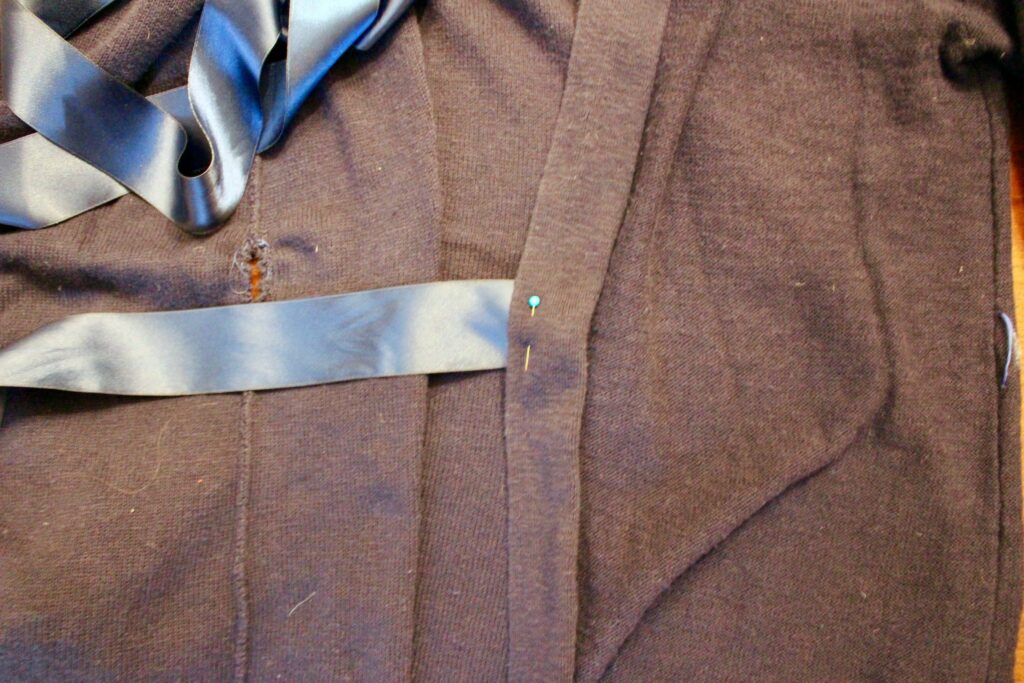
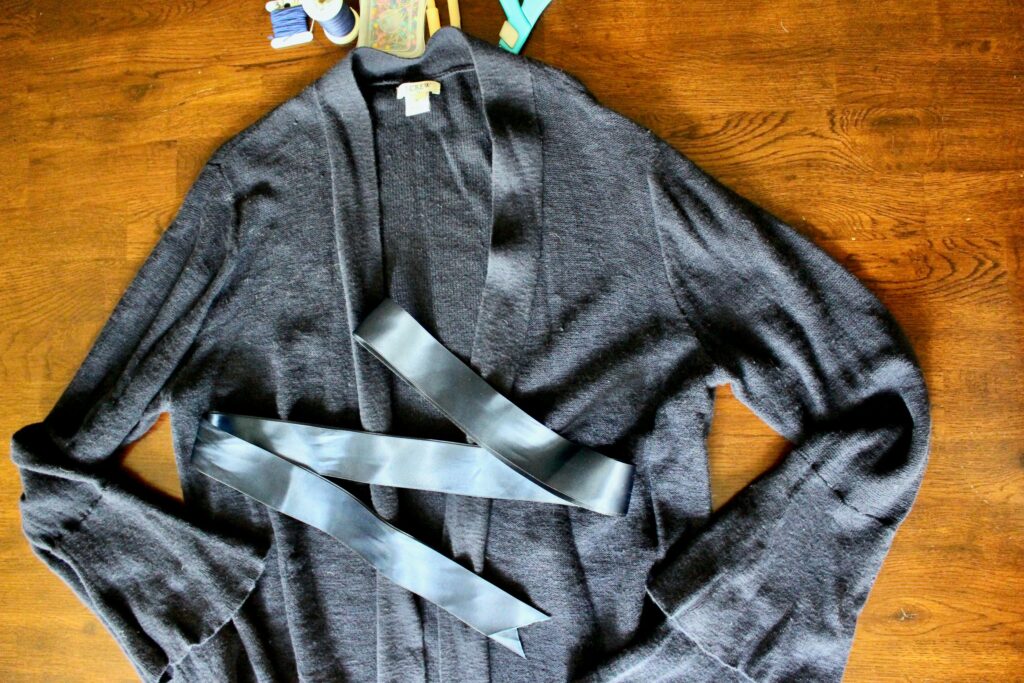
Next up, it was time to sew my ribbon on! I started with one really long bit of ribbon that I cut into two pieces. I forget the length, but probably about 5 feet – You’ll want enough ribbon so that one piece can go through the “button-hole” and around your body to the front of the sweater, and another shorter piece that will catch the longer piece so you can make a bow. I sewed the longer bit of ribbon on the front of the sweater on the opposite side of my “button-hole” using a back stitch a few lines deep to keep the ribbon extra super tight and sturdy on my sweater.

Then I threaded my sewed on ribbon through my “button-hole”, around my sweater and through my catch string to the front to line up my second, shorter bit of ribbon.
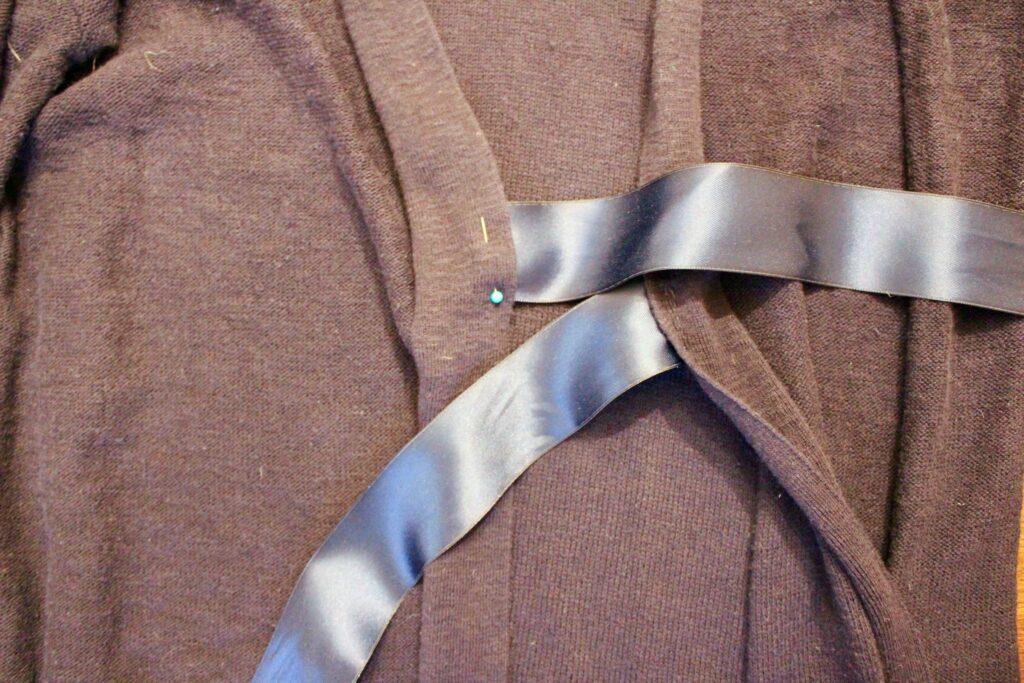
I pinned the second ribbon to the other side of my sweater and sewed it on with a back stitch, a few lines deep to match the other side.
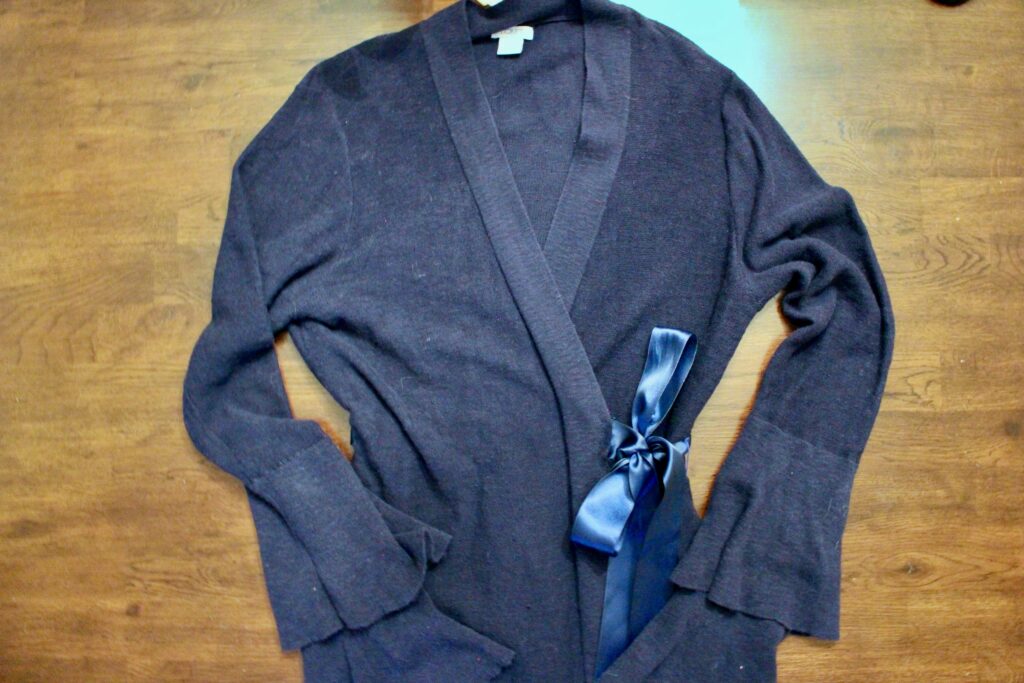
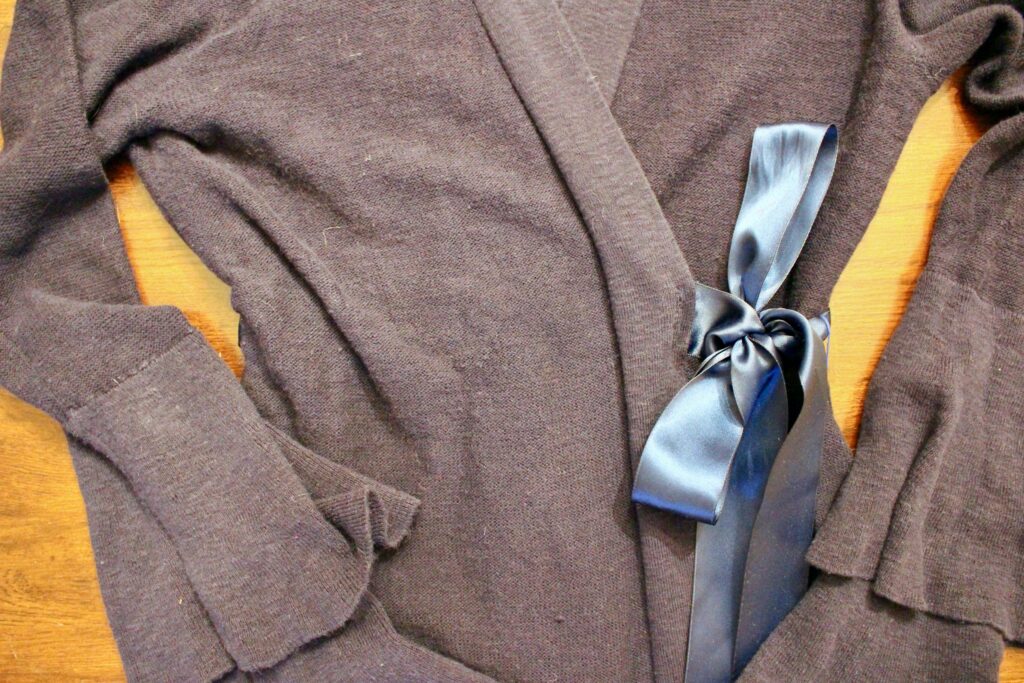
And that’s that! A wrap-around sweater from a previously only open-front sweater.
And because the styling is my favorite part after the making, here are three ways to wear your new wrap-around sweater!
1. Somewhere where multiple layers of ruffles are acceptable (and encouraged!)


2. A casual hang-out


3. A cooler, windy evening


What do you think? Will you make your own wrap-around sweater, or variation on it? If you do make your own, we’d love to see them! Share with us on social, @goodwillakron or @_abigaildrennen!
Happy transforming (and styling)!
_Abby