
How’s it going out there, friends? I hope the summer is still going well for you all. Abby here with another (hopefully) fun DIY for you. I heard a rumor that you all are making so many masks to keep us all safe, but you don’t know what to do with the leftover scraps! What a great problem to have! Read ahead for a few projects: something I’ve been meaning to do for a while with my leftover fabric scraps, something I thought of super randomly, and a compilation of some other easy, fun ideas!
To kick it off, let’s patchwork! I recently read this DIY after Erica shared her tissue paper tie-dye experiment on Instagram, and I wanted to learn more. Needless to say, I haven’t been able to shake it. Eventually, I’ll get around to patch-working on some denim, but in the meantime, I’ve been wanting to spruce up an old backpack I’ve been holding on to.
Same old story: this DIY is great because it’s another easy sewing project, but could also be no-sew, if you’d rather use glue or heat and bond tape (I found this one on Amazon). I will also continue to encourage you to explore different kinds of stitch tutorials online. I’ve included one basic stitch below in the instructions, as well as some alternatives, but I could see a lot of fun, different ways to stitch this project.
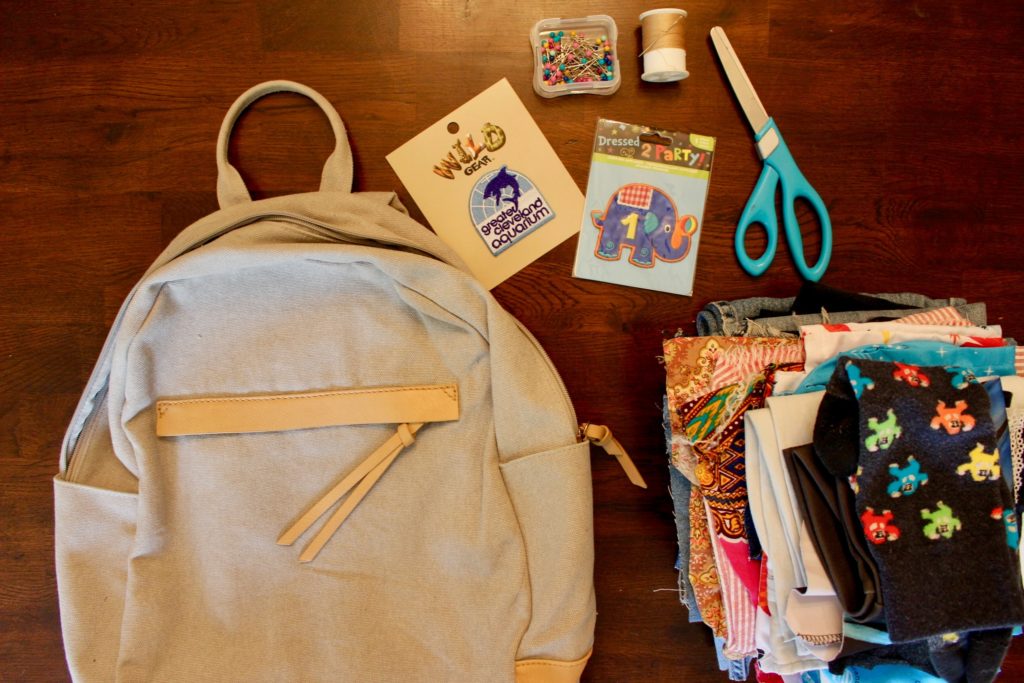
To make your own fun patchwork item, you will need:
- Fabric scraps
- Other fun patches or buttons
- Fabric scissors
- Needle, thread and straight pins OR glue or heat/bond tape
- Something to patchwork on!
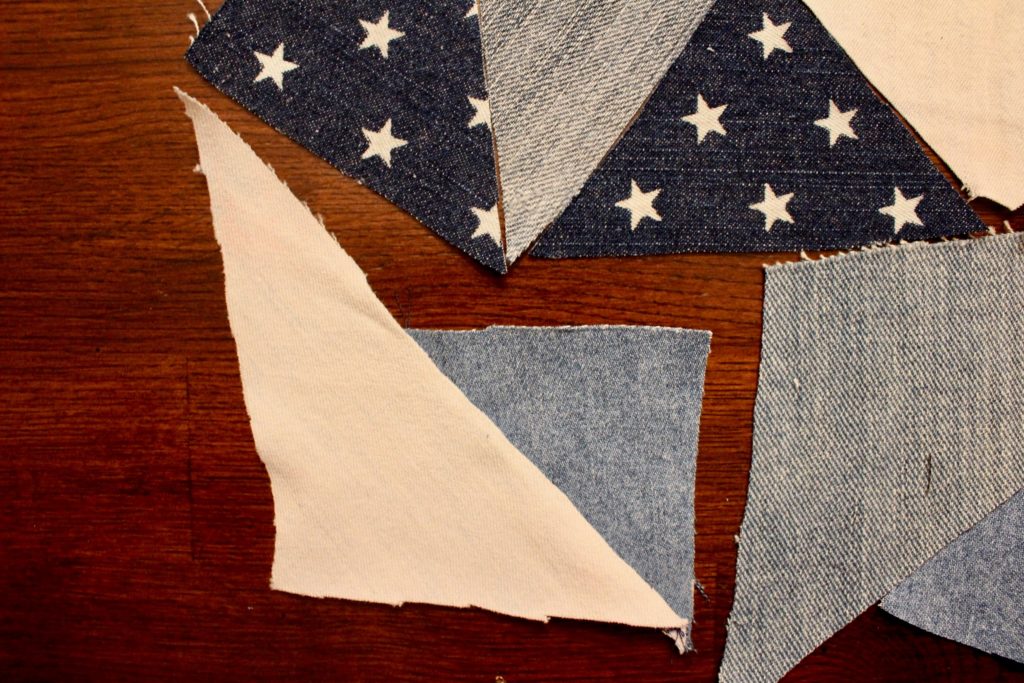
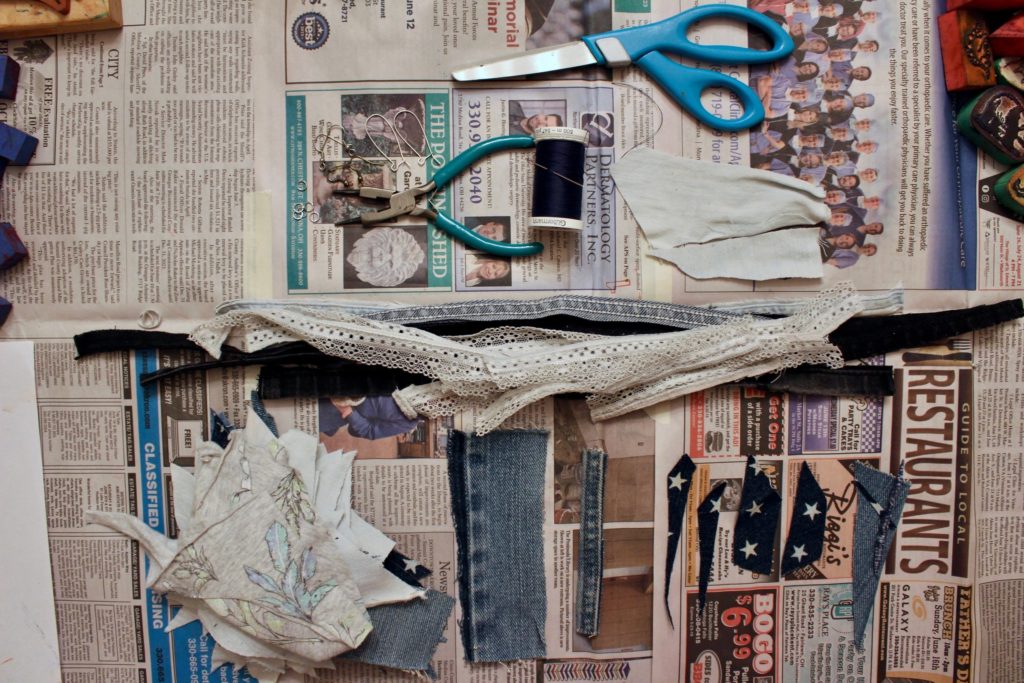
You’ll start by taking inventory. What color fabric do you have? What fun prints are on your fabric? Are your scraps in any specific shapes already?

Once you’ve landed on a color theme and/or pattern scheme, you’ll want to decide if you want to go the traditional square/rectangle route, or mix it up with something different. OR if you want to lean into the random shapes of your scraps and apply them directly to your item, as is. So many fun options! I went with triangles. Cut your fabric into as many shapes and sizes as you want.
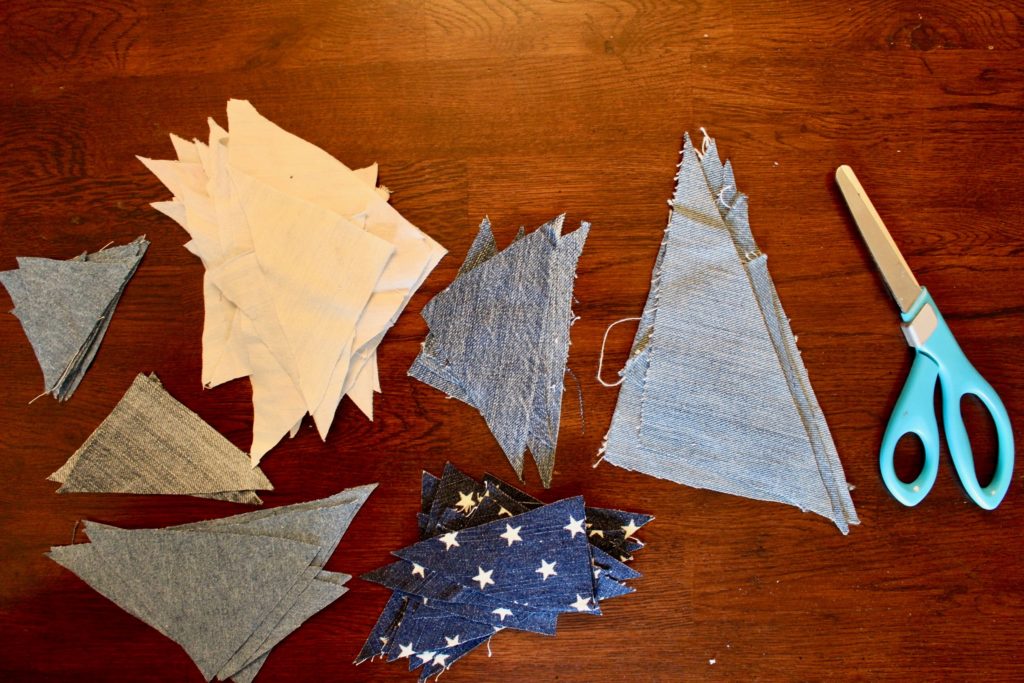
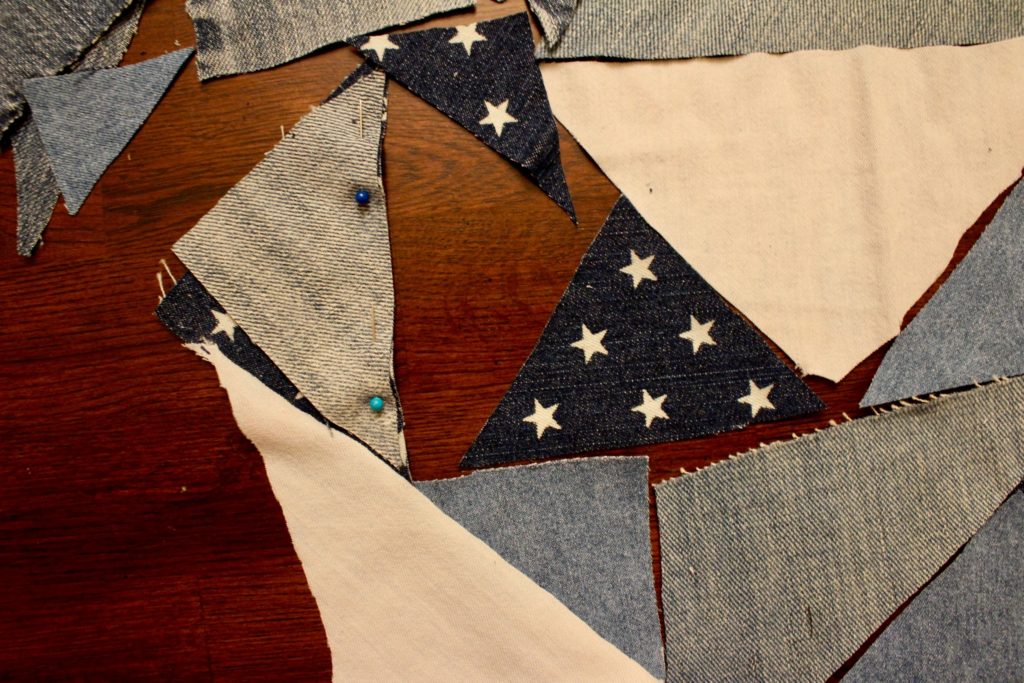
Then, the fun part – play around! Have you all ever played Tangoes? That is 100% what this project reminded me of. I wanted something random, but also a little bit orderly. Below is where I landed (but ended up not using all of it).
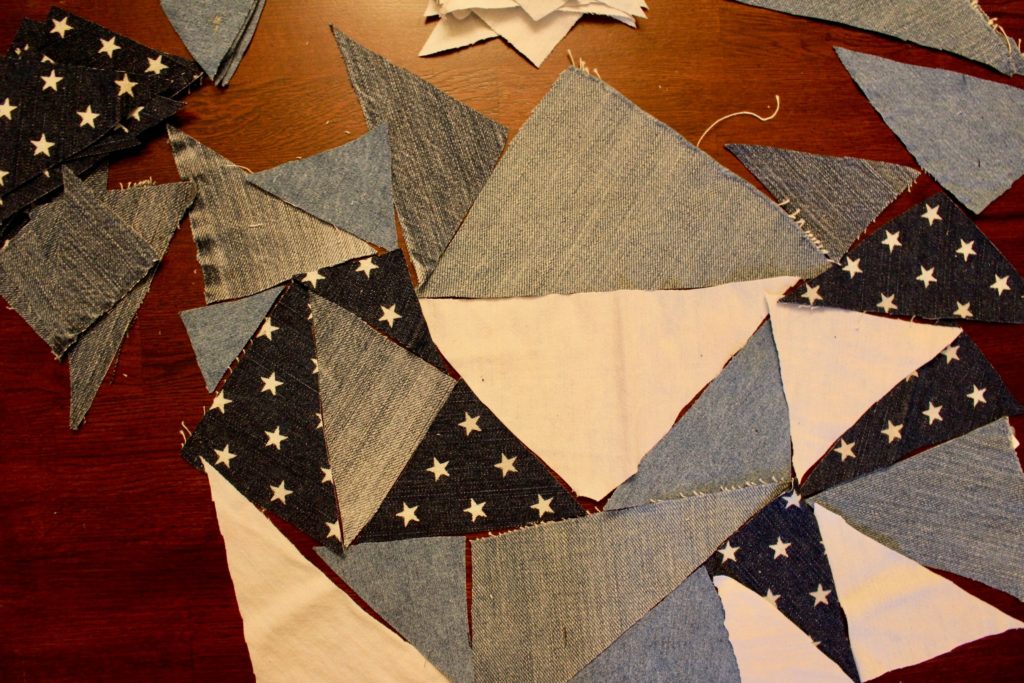
Once you’ve landed on the general outline of your patchwork, you’ll start sewing your pieces together. I put mine back to back and sewed a running stitch, two pieces at a time, but feel free to do this part however you’d like. I love that about this project – really anyway you lay out your scraps and either sew or glue them to your item will look great! If you’d like a refresher on different stitches, this link has all sorts of fun ones, but this video has an easy running stitch tutorial.

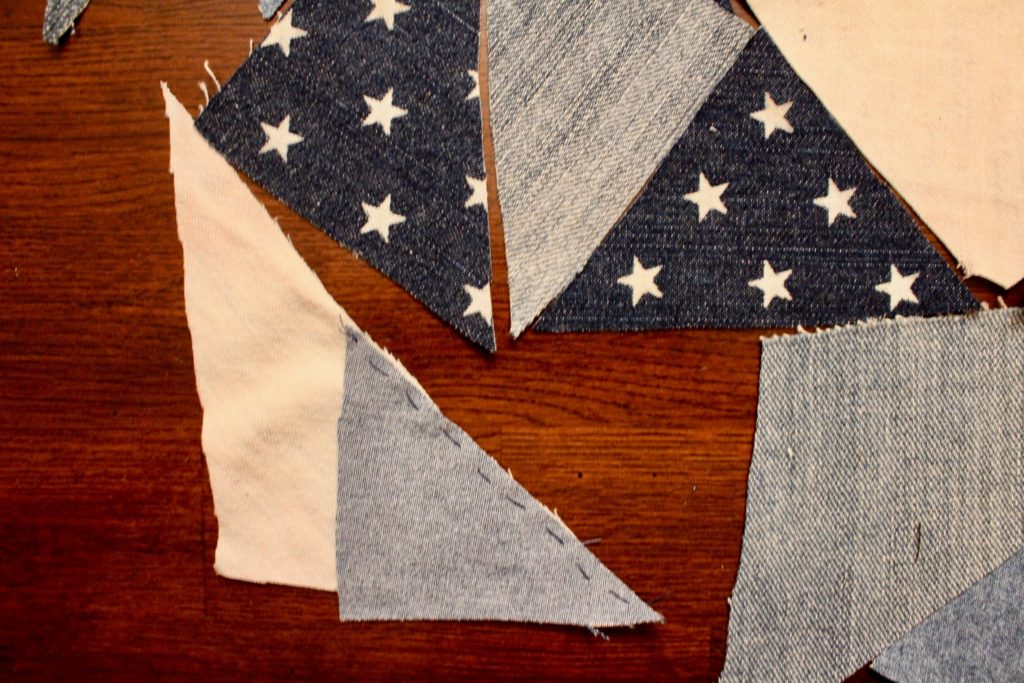
If you are going the traditional patchwork route, the next step is pretty important. Once you have two of your pieces sewed together, you’ll want to lay them flat, and iron them out.
Then keep adding and sewing your pieces together, until you have one huge patchwork (or a bunch of little ones, whatever you prefer).
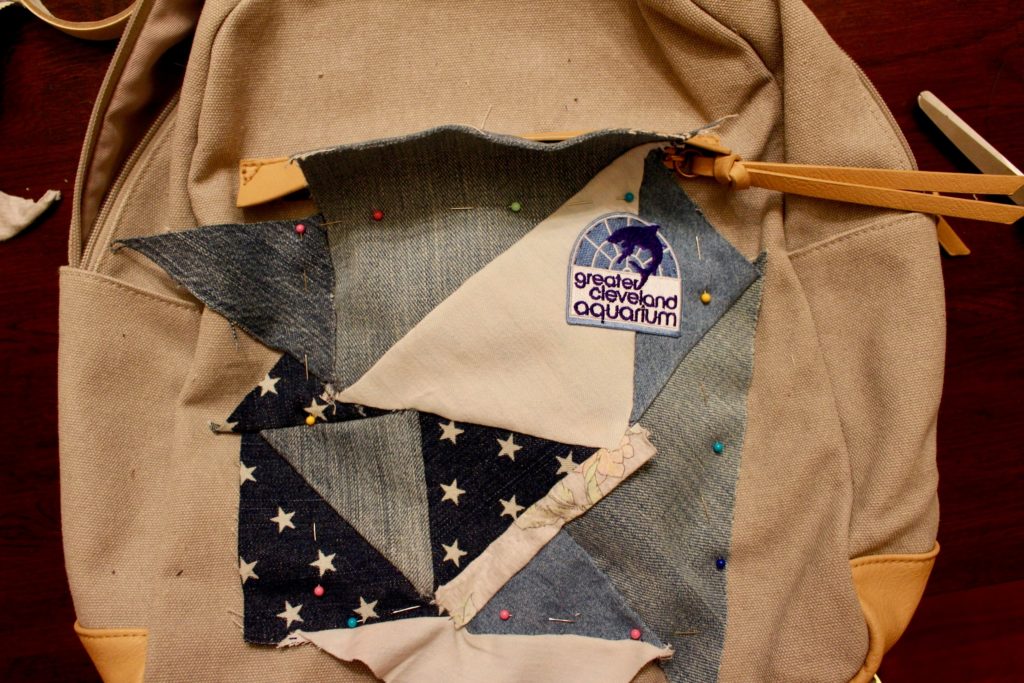
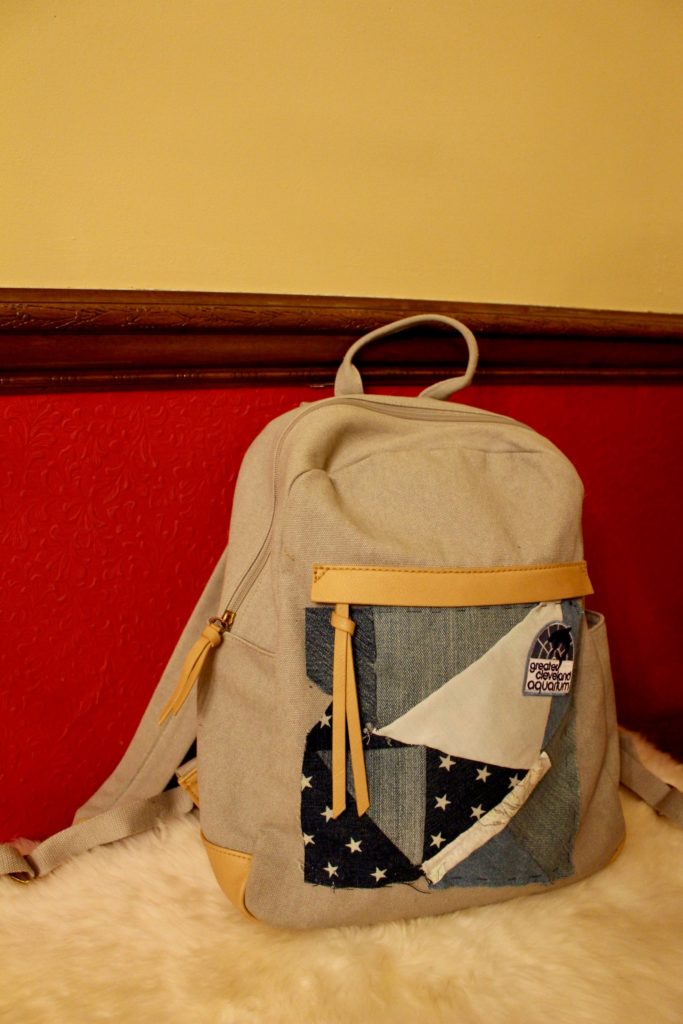
Because my son will be using this backpack, I wanted to add a patch that he would appreciate. We went to the Cleveland Aquarium last year for his 2nd birthday, and since this backpack will hold his swim stuff this summer, I loved the addition of the patch to my blue theme patchwork. He’s three this year, so likely won’t notice or care (beyond the dolphin), but I love a good theme.

Thankfully, this patch was an iron-on, so I sewed it on to my larger patchwork with a few stitches, and then ironed it the rest of the way on.
Once I had my final patchwork ready, I placed it on my bag, eyeing it until I liked how it looked. Then I pinned it in place and did a running stitch along the outside.
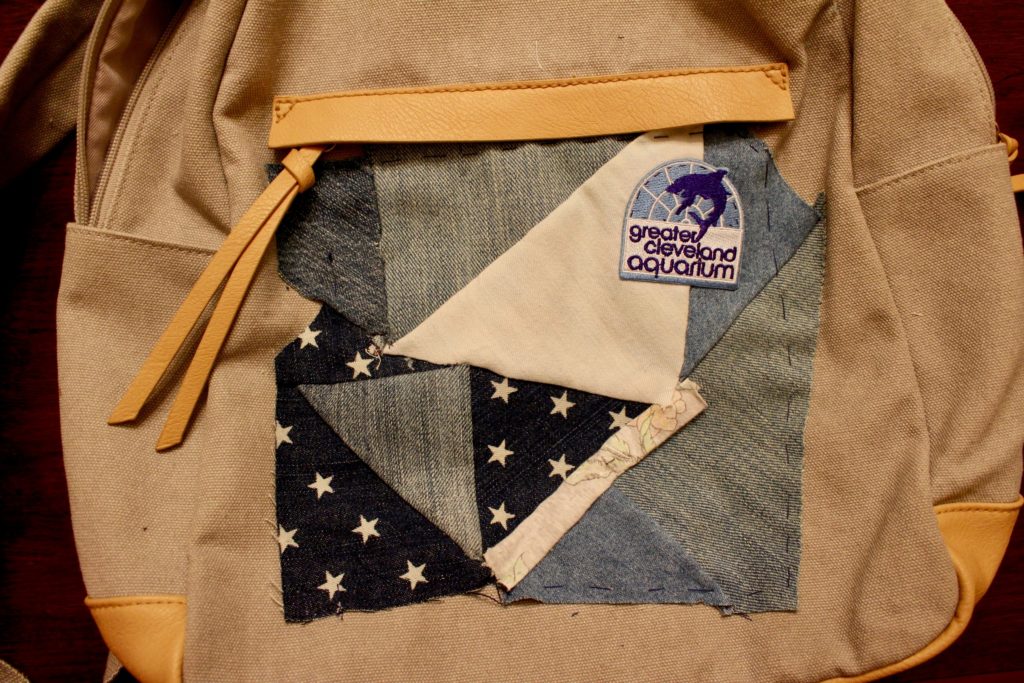
It’s not perfect, but I love the way it turned out. And hopefully, Harvey will love it too.
And because I can’t stop with just one project, how about a second? Fabric scrap earrings! Because my mind never stops running, I thought of this super randomly. A few ideas came to mind, but if you’ve ever watched “Fixer Upper” on HGTV, you’ll likely remember the leather “feather” earrings Joanna Gaines wore for what seemed like several seasons in a row. That was my inspiration for these earrings.
What you’ll need:
- Fabric Scraps
- Fabric scissors
- Earring hardware
- Jump Rings
- Needle nose pliers
I took over my son’s stamping work space, so that’s why this work space is a little messier than normal. When you gotta craft, you gotta craft!
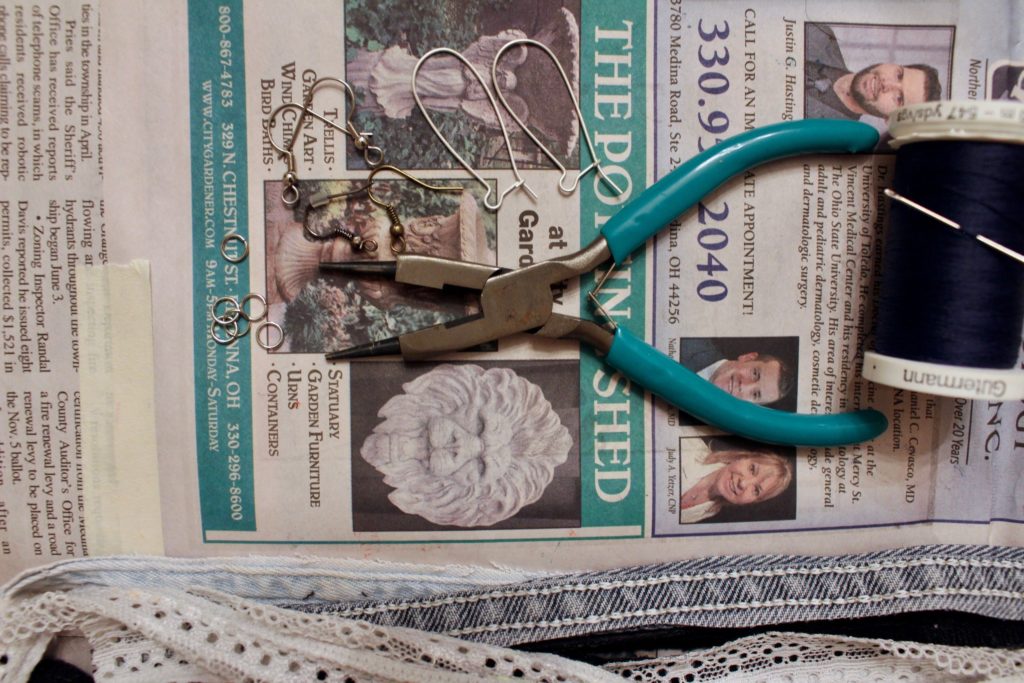
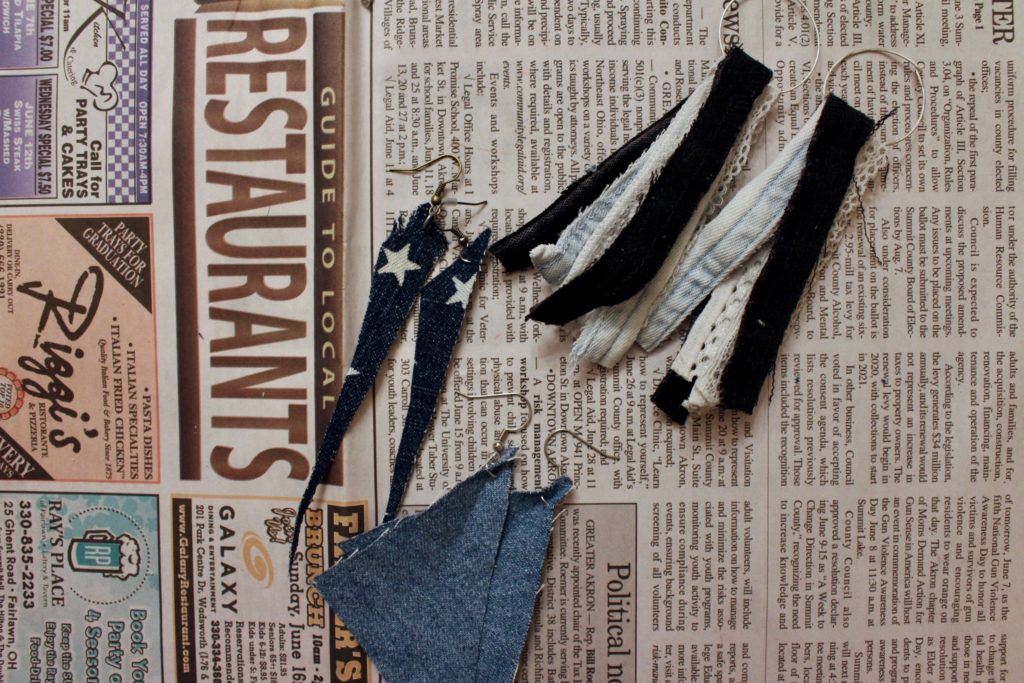
This one is super easy – cut your fabric scrap into whatever shape you want (triangle, oval, etc), thread your jump ring through the fabric, and through the earring hardware and close with needle-nose pliers. That’s it! I made two pairs like this.
I made a third tassel pair, as well. For this pair, you’ll just need a bunch of strips of fabric (cut super skinny), thread through a jump ring or your earring hardware halfway, and then wrapped with either another piece of fabric or some embroidery floss OR you can just sew it shut (that’s what I did). You can sew the wrap shut, or glue it, whichever you prefer!
And if you want some more inspiration for things to make with fabric scraps, check out this link! I grabbed some of my favorites below, but also did a quick google search and found lots of great videos and Pinterest boards.
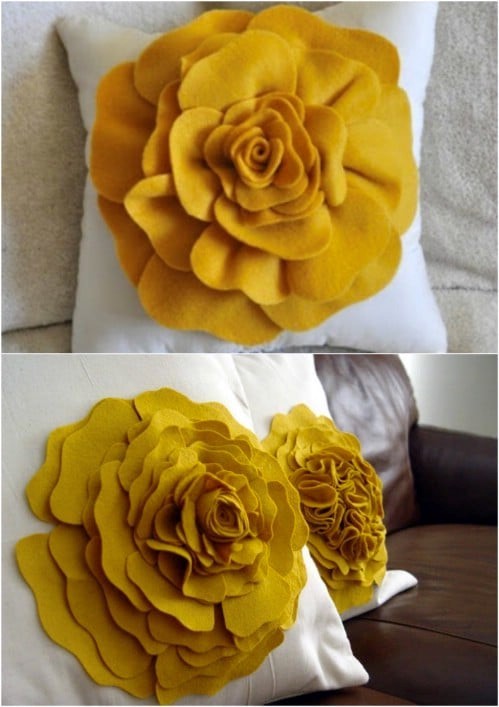
Flower Accent Pillow – Instructions here – The author shares a rose pattern for barrettes, which are super cute, as is, or I could see becoming a brooch or other accent (à la Carrie Bradshaw).
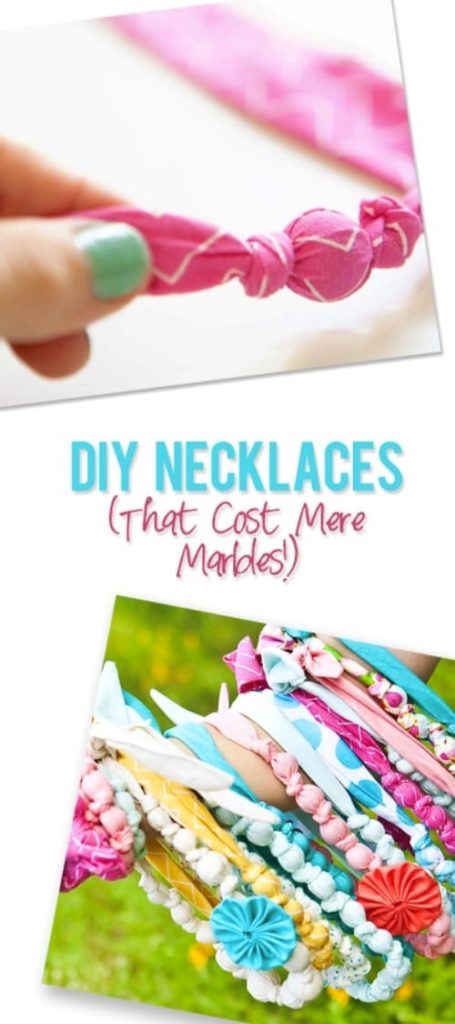
Marble Necklace – Do you have some extra marbles and fabric lying around? Make this marble necklace!
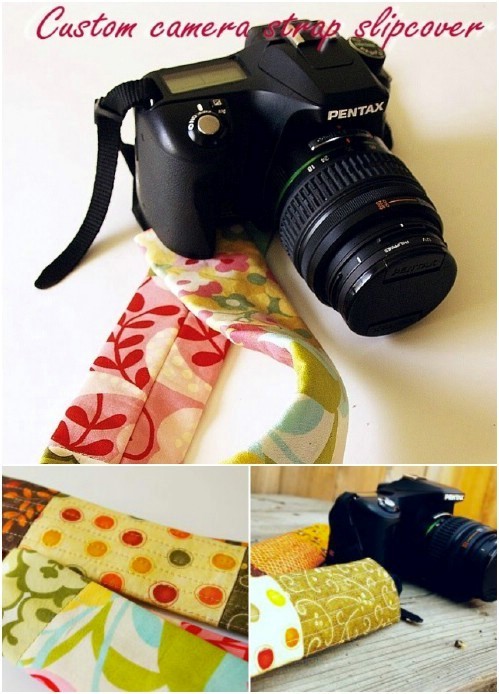
Looking for a custom camera strap that matches your mask? Try this DIY!
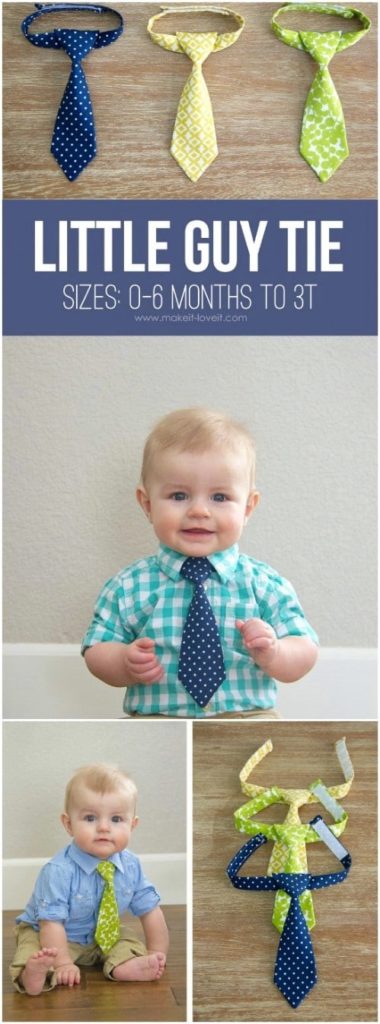
If roses aren’t your thing, what about bows?
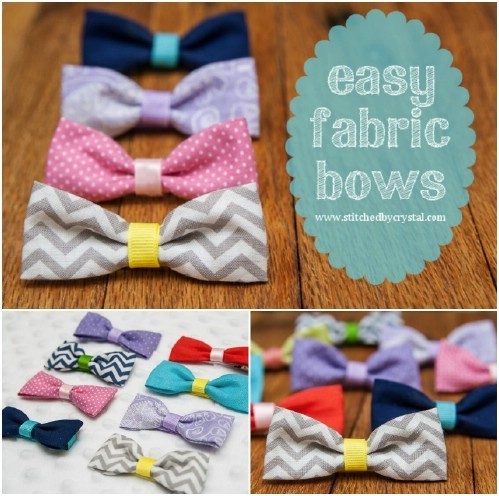
I recently learned that my oldest son (Harvey) doesn’t mind wearing a bow-tie, so will definitely be experimenting with this DIY
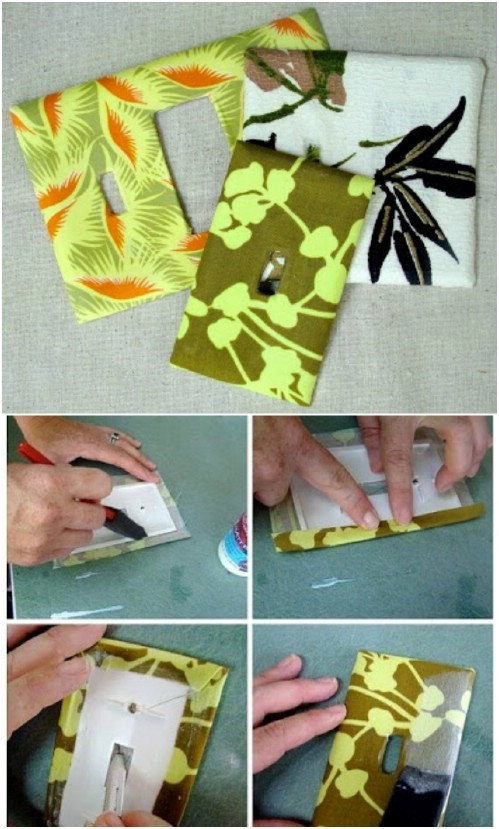
For something incredibly easy, check out this fabric covered light switch plate
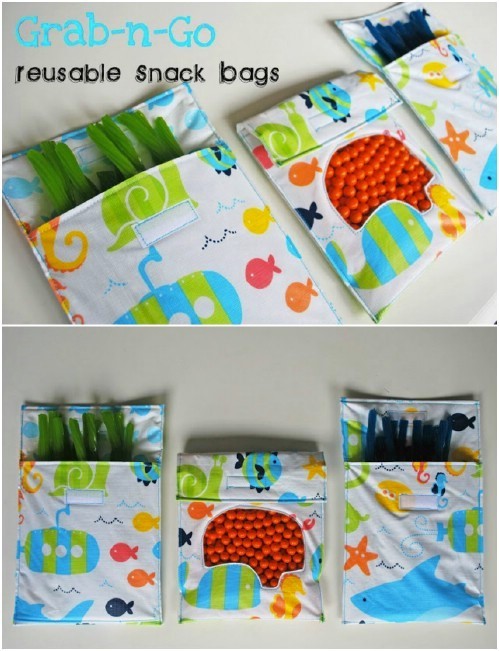
If you are working your way towards that zero waste lifestyle, here’s a fun snack bag DIY using old fabric scraps!
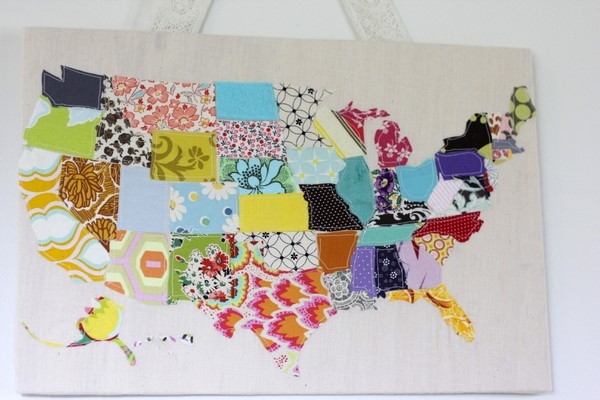
And for the pièce de résistance, check out this map of the US made out of fabric scraps!!
I’ve also done a few T-Shirt scrap DIYs over the years on the Goodwill Akron blog, so feel free to check those out!
I can’t wait to see what you all make! Please tag @goodwillakron or @bottesdeleanor if you share on social!
Good luck and happy crafting!
_Abby