What’s up, friends? Abby here again – I’m not sure what it is about this time of year, but I ALWAYS want to make jewelry for you all. Probably a combination of mid-winter blues and looking for shiny things to cheer me up, but hope you all are excited for another DIY jewelry blog post!
I recently was reading an old DIY book I have in my library, “The Big-A** Book of Crafts 2” by Mark Montano, and he shares this really cool resin and sequins statement necklace that he made using a juice bottle as the mold. I was really inspired by this idea of using recyclables as molds for resin jewelry, but really struggled to find resin online to craft with. So I did the thing I always do and searched through my craft supplies for something similar that could work. Low and behold, turns out hot glue makes a pretty good alternative for resin. (I experimented with fabric glue and nail polish before I realized that hot glue really was the way to go). It also has the least amount of smell and dries the fastest. Whoops.
The cool part about making pieces with hot glue is you can experiment and try different shapes and textures until you get what you want. SO if you want to make your own statement necklace out of hot glue and various jewelry-making supplies, read ahead!
To create your own hot glue charm statement necklace, you’ll need:
- Hot glue and glue gun to make your charms
- A mold, or piece of plastic to glue on
- Various jewelry-making supplies: I used some random metal pieces I had, jump rings, chain, etc.
- Glitter, Sequins, pom-poms, any other shiny accoutrement you like
- Clear nail polish
- Scissors

I’m going to start with sharing my failures, so you all can skip right to the good stuff! Like I mentioned at the top, I tried fabric glue – regular and clear. And mixed in/added nail polish, and my charms did NOT turn out as planned (or turned out exactly as I imagined they would, but had to see it for myself). They were smelly, sticky, and just not great. SO if you have some fabric glue you are trying to get rid of and are really into the blob shape, definitely go this route, but I would definitely recommend hot glue over anything else (unless you have resin on hand).
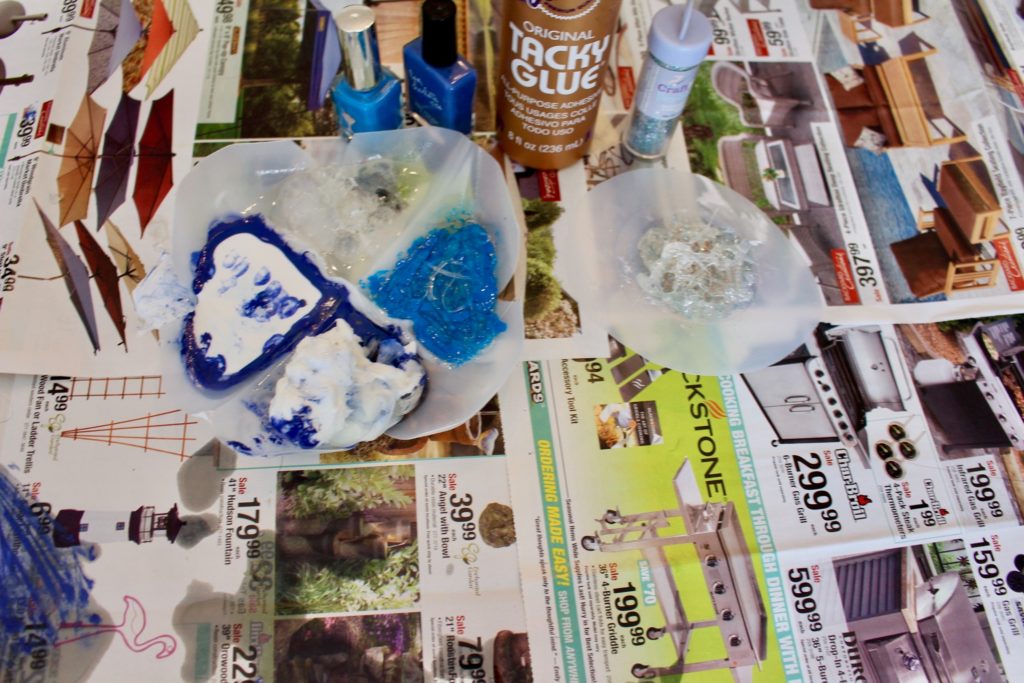
Now to the actual DIY part: I cut out some molds from a milk jug. Since I was originally aiming for a heart-shape charm (thought I’d try and recreate the heart of the ocean from “Titanic”), the bottom of the milk jug actually made for really fun heart shapes on it’s own, but I decided to cut out a circle shape from the side of the jug to mix things up. This hot glue circle shape is what I used for all my charms for my necklace.
I lined my molds with vegetable oil (because we didn’t have a spray option), but you can actually skip this step. Once I had my hot glue method worked out, the oil was totally unnecessary. I sprinkled some loose glitter into my mold and hot glued until it was filled up. I twisted the hot glue gun, moved it around and made a generally round shape. I made one big circle and then two smaller circles (because the rule of threes, you know?). I sprinkled more glitter on top before the glue dried, too. Then once dry, I painted a clear coat on my charms with clear nail polish (mostly to keep the glitter in place, but also to “seal” the hot glue charms).
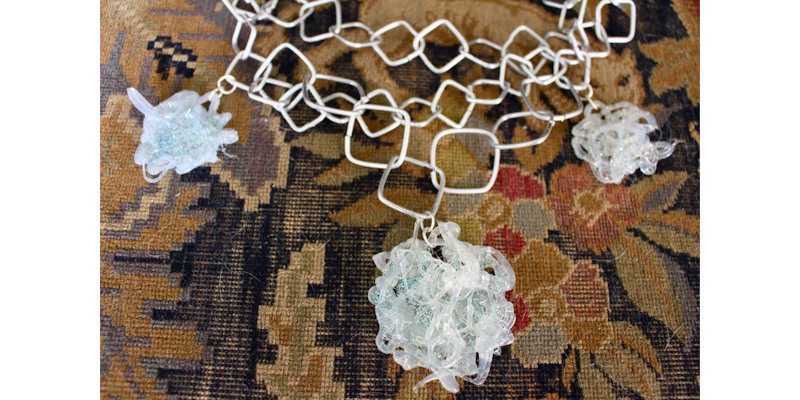
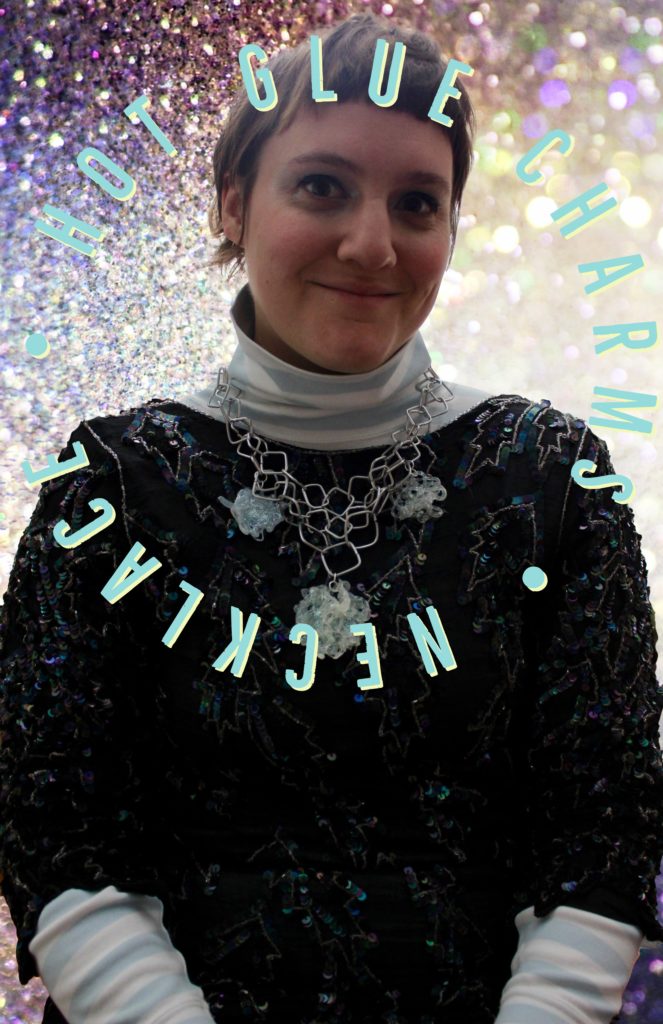
Once I had my hot glue charms all ready, I took some spare metal links I had and linked them all together to make a tiered chain. Then I connected my hot glue charms with jump rings to my necklace and was ready to go (where? I don’t know, but in general).

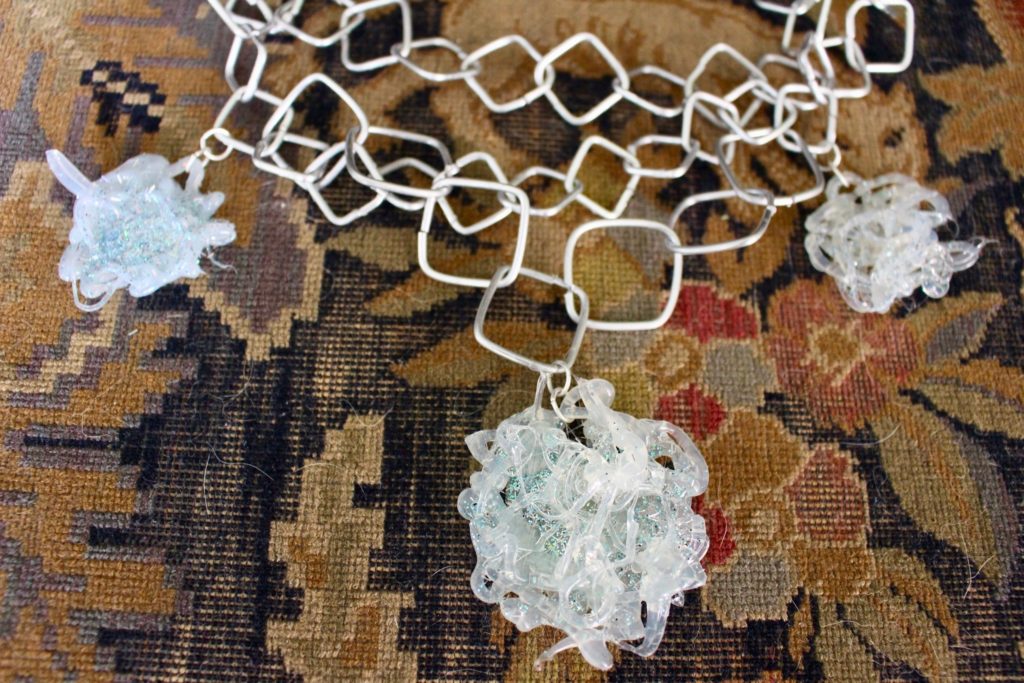
I actually think my hot glue charms turned out kind of like flowers, so that’s a pretty, happy accident.
Fun, different and super simple – What do you think? Will you make your own version? If you do make your own necklace, we’d love to see it! Share with us on social, @goodwillakron or @_abigaildrennen!
Happy jewelry-making!
_Abby