Hello everyone – Happy Back to School Season (like officially – we are in the swing of it now!)! Abby here with an upcycle project, plus a fun organization idea (at least I was very proud of myself for figuring this one out)!
This month’s post is brought to you by: CHAOS! We are officially in the swing of school season, and I was getting a little overwhelmed with all the ….. stuff. Not a ton, but just enough that I needed a solution for everything to have a place.
We have general spaces in our home that just collect our things/sort of make sense for where things should be, so I wanted to elevate these areas just a bit to help us stay organized as we move through this school year and beyond.
For my first project, I had thrifted this mirror with some hooks a few months ago for my seashell frame DIY but didn’t end up using it for that project. It’s been sitting around ever since, so I felt like it could definitely use a makeover and be a space, to help us get organized for the year. Read on for how I made it over!
To makeover your own mirror, you will need:
- A mirror or some other wall hanging or hooks
- Sandpaper
- Wet rag
- Spray Paint (or other types of paint and maybe a brush)
- Painter’s tape (if you need to tape off a bit or cover any bits up)
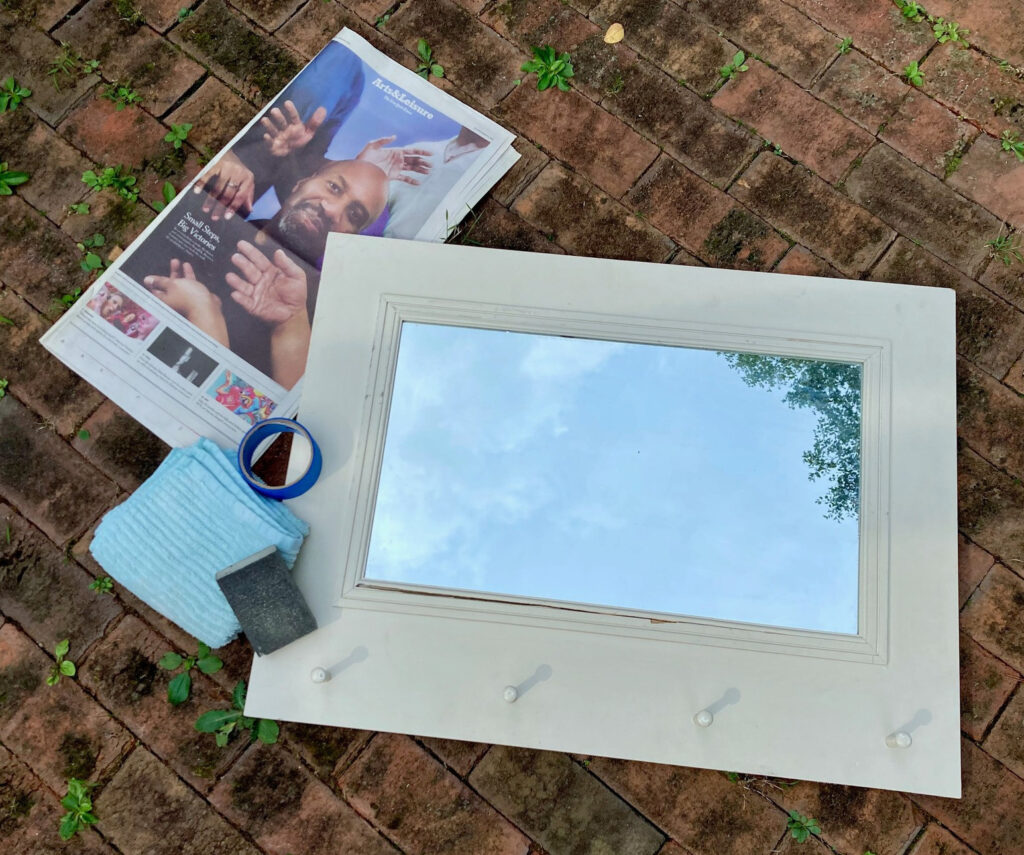
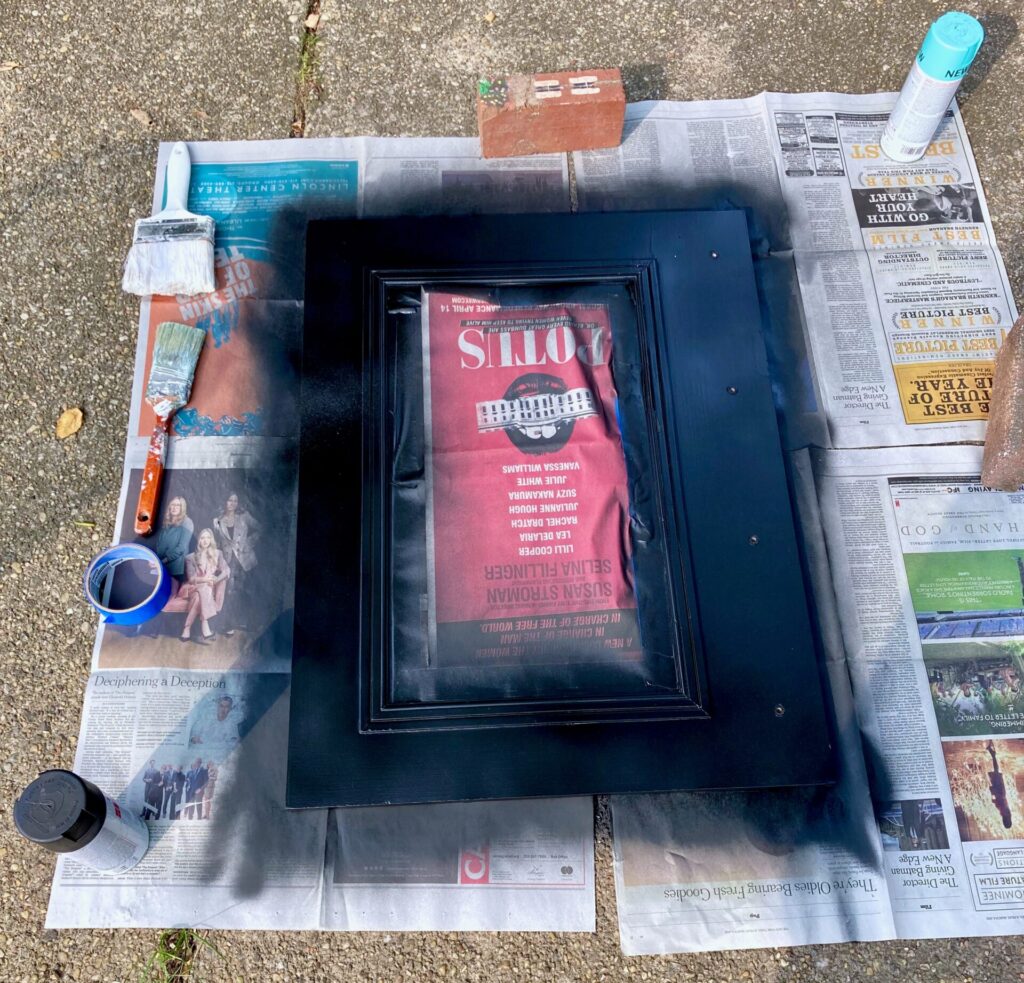
The first step is totally optional, but if you want, you can do a loose sanding of your mirror/wall hanging/whatever you are upcycling. Once you’ve sanded to your satisfaction, you’ll wipe all the loose bits off. Then you’ll tape off any areas you want to keep from getting painted (I covered the mirror and left the frame exposed). Next up is choosing your paint color – I polled my family to see what their thoughts were. We had a vote for blue, a vote for red, and a vote for black.


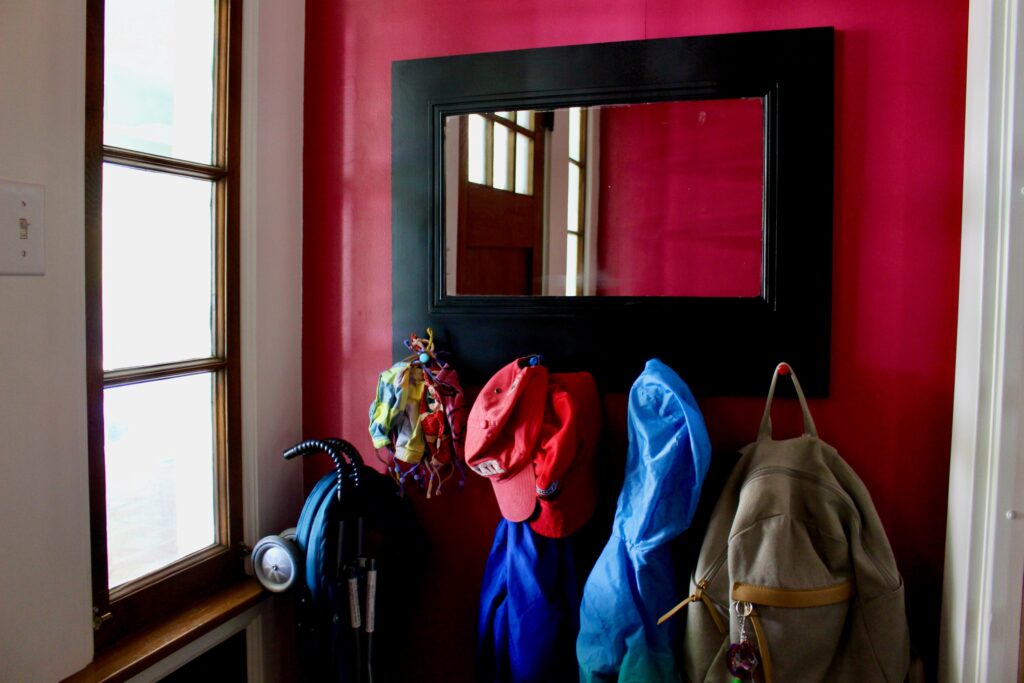
Then you paint everything – I ended up using all the colors we voted on!


Final step is to find a good place to hang your organization system that will hopefully help you reign in the chaos. We’ll see with ours!


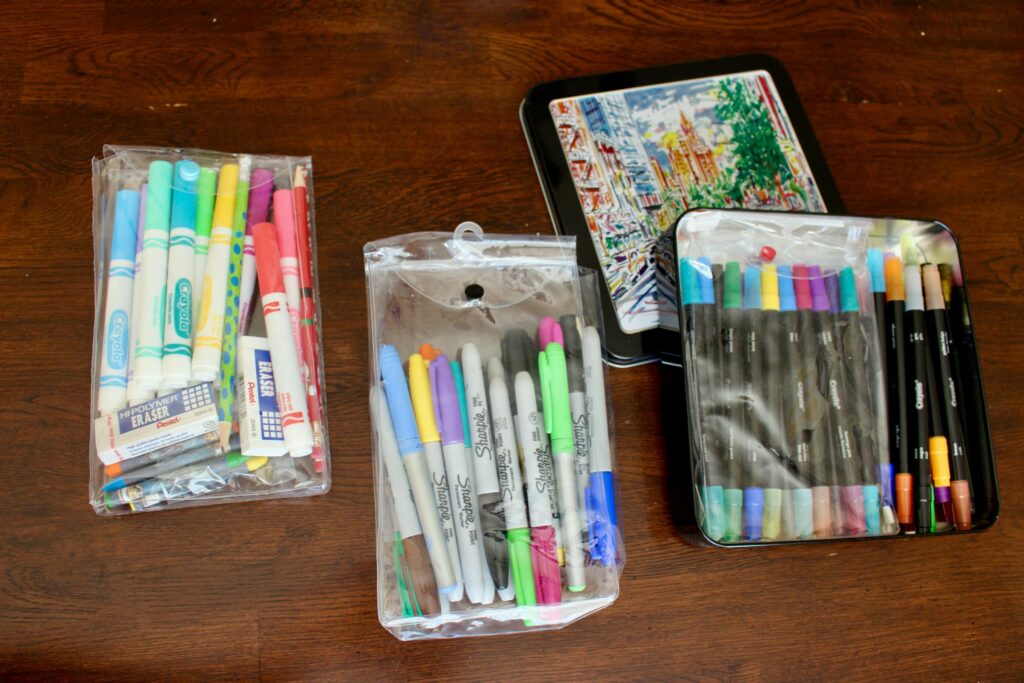
My next tip/brilliant idea: I was trying to figure out a way to store all of the random crayons, markers, pencils, pens, etc. that were collecting on our dining room table and being used for homework/after-school decompression. My child took their pencil box and pencil cases to school because that’s what the school supply list said, and we didn’t have a spare case at home, SO instead of buying new, I went searching through my craft supplies for something, ANYTHING that would hold these random things. And I found …… these plastic bags with snaps (I think kiddo socks came in them once upon a time). They were the perfect size for the random art supplies we had lying around. So, I used one for dry erase markers, one for permanent markers, one to separate the different kinds of pens/markers I got with a Crayola calligraphy kit, and another to catch all of my eldest’s pencils, crayons, markers, etc. that he uses for his homework after school.
What do you think? Will you upcycle your own tools to reign in the chaos? If you do, we’d love to see how you use things you already have to get yourselves organized! Share with us on social, @goodwillakron or @_abigaildrennen!
Happy organizing!
_Abby