
Hello thrifters! How’s 2022 going? Personally, I’m not sure how to answer that question, so won’t make you answer it either 🙂 Abby here, and I thought I’d ease us into a DIY with this fun and easy upcycled card and envelope project! I love making handmade cards and recently learned how to make my own envelopes, so hope you enjoy! This is a great project if you like sending snail mail, giving “Thank you” cards or even Valentine’s – Keep reading for how to make your own.
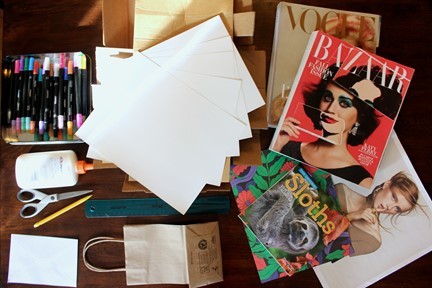
To make your own Upcycled Cards and Envelopes, you will need:
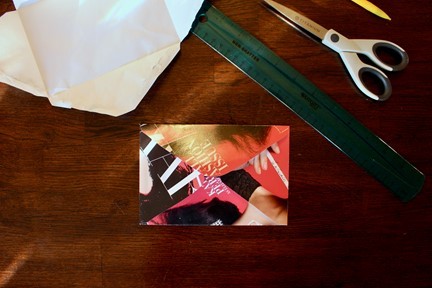
- Scrap card stock, paper bags, thin cardboard/cereal boxes
- Magazines, calendars, other thicker paper materials
- An envelope template – I deconstructed an envelope I had on hand, but a Google search will find you others if you don’t like the one you have on hand (or don’t have one on hand)
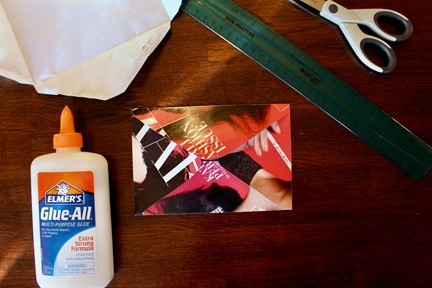
- Scissors, markers, glue, pen/pencil, ruler
- Any other embellishments: stickers, glitter, etc.
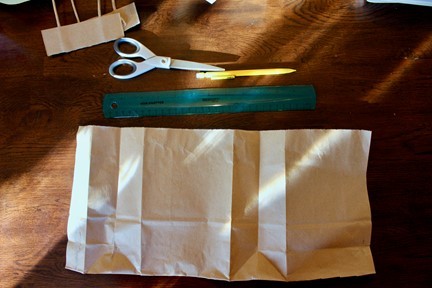
First things first, deconstruct your envelope and flatten it out.
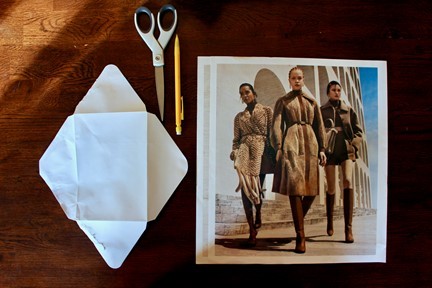
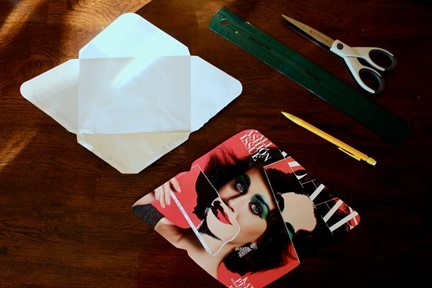
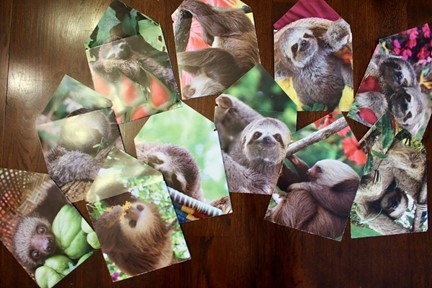
Next, trace your envelope template onto whatever you are using to make your envelope. I used some old magazine covers, calendars and thicker ads from our newspaper.
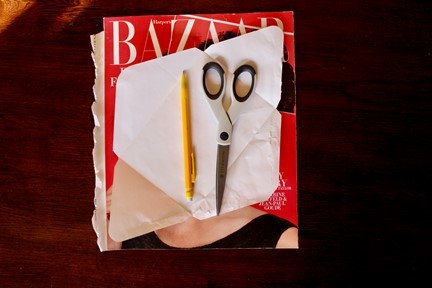
Once you have traced your envelope template, you’ll cut it out.
Fold your envelope over and onto itself. I folded my edges over a ruler to get a super straight, hard line and edge.
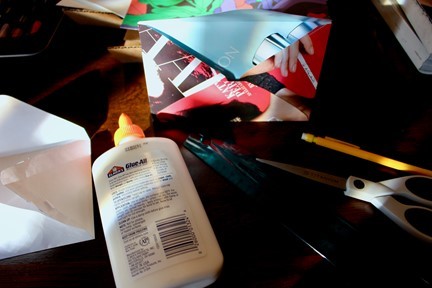
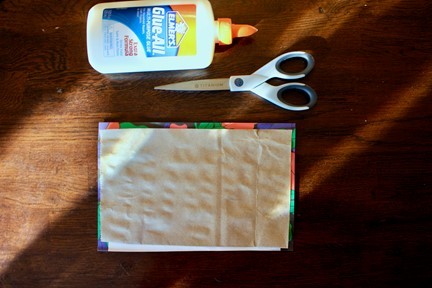
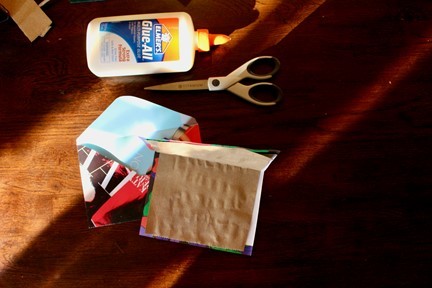
Then you’ll glue all your sides down and onto each other, EXCEPT the top flap.
Then you’ll let your envelope dry.
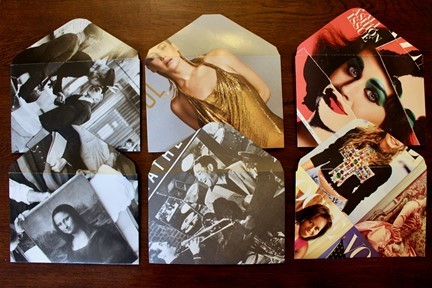
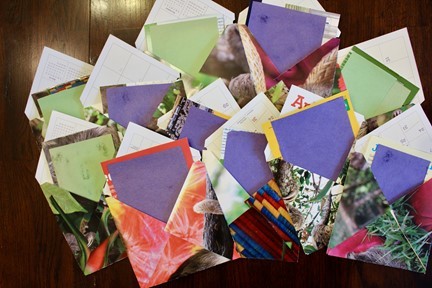
Next we’ll talk cards! I made a few different kinds: one with some leftover paper from an invoice and a paper bag, one with plain card stock, and the last out of a phone book cover and construction paper. All shared below!
I had an old invoice that was printed on a pretty piece of floral paper that was a little thicker than regular paper. I cut this in half and then cut out a bit of paper bag and glued it to the thicker paper. Then folded it in half.
Then I paired this card with a magazine cover envelope!
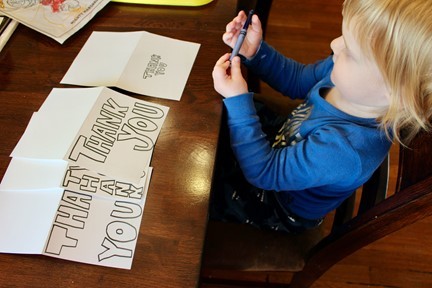
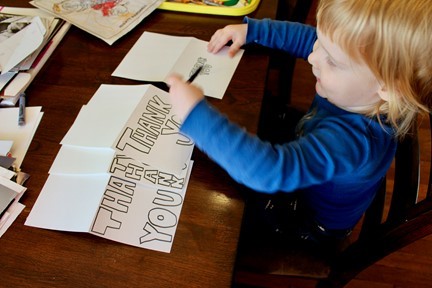
If you have some plain card stock on hand, take a sheet of that, cut it in half, fold it in half and then letter on it whatever you want to say. This is my favorite way to make “thank you” cards!

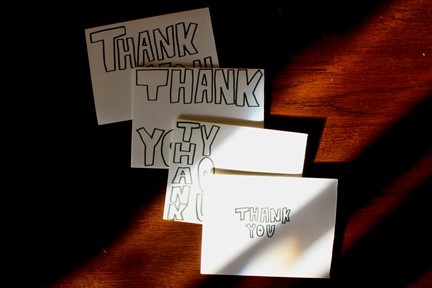
This is also a great option for getting kiddos involved OR just to exercise some extra creativity.
I paired these card-stock cards with some other envelopes I made for a really fun, unique little package.
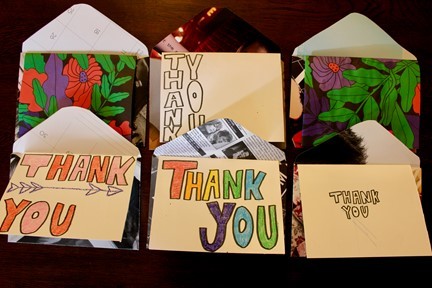
For the final set of cards, I took some scrap cardboard from old phonebook covers, cut them into smaller squares, and then glued some construction paper to the cardboard to go with these little square envelopes I made from an old calendar.
One note: I haven’t tried sending one of these envelopes through USPS as is, so I don’t know for sure that they will make it to their final destination without first double-checking with someone at the post office. However, I love them for including in a larger package or giving to someone in person.
If you make your own cards and envelopes, we’d love to see them! Share with us on social, @goodwillakron or @_abigaildrennen!
Happy mailing!
_Abby