
Happy New Year, Thrifters – I hope 2022 is off to a good start for you! Abby here, and like last month, I’ve got another project that I’ve been gearing up to share with you all for the better part of…..a few years :): Upcycled tassel garlands! I’ve had this DIY saved for years – it’s perfect: it takes a few of my favorite things and merges them into the ultimate DIY! I’m a sucker for a good garland, tassels/fringe, and have a small stockpile of ruined tights hanging around, so was so glad to find this DIY. Keep reading for how to make your own!
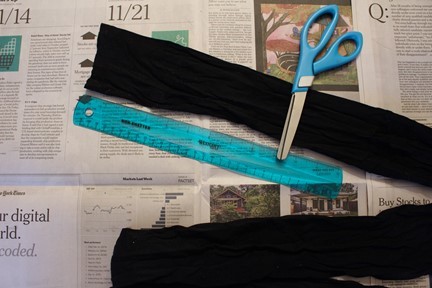
To make your own Upcycled Tassel Garland, you will need:
1. A few pairs of ruined/ripped Tights
2. Scissors
3. String – we used T-shirt string (make your own using this tutorial, OR use anything you might have lying around, maybe some ribbon from gifts??)
4. (Needle and Thread – I thought I needed needle and thread, but I ended up not using it)
5. Ruler
6. Any extra decorations you want to add/layer with your garland – beads, pom poms, ribbon, etc.

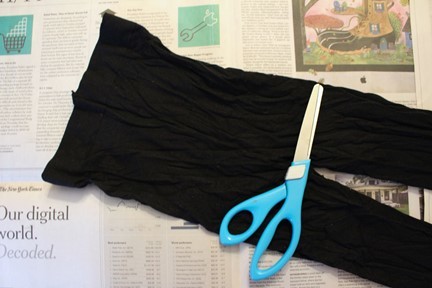
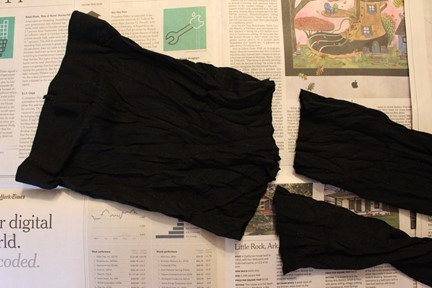
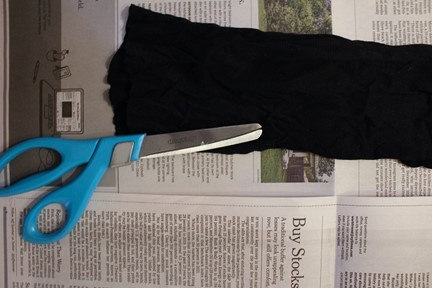
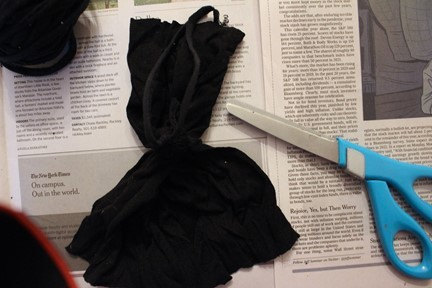
First, start by cutting the hips/top of your tights off, as well as the footie part at the bottom.
Here is where you can choose your own adventure. There are a few different ways to make tassels. Below are two different options that I used.
First option: cut your tight legs into sections – I started with a 9” section, but then changed up the section size to create different sized tassels.
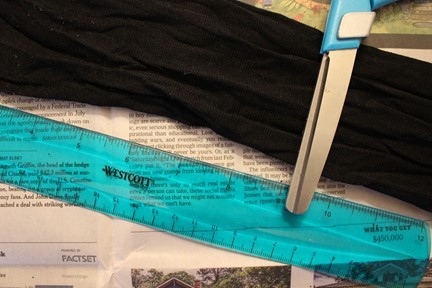
Cut up one side of your tube (tight leg), all the way to the top, so you open up the tube.
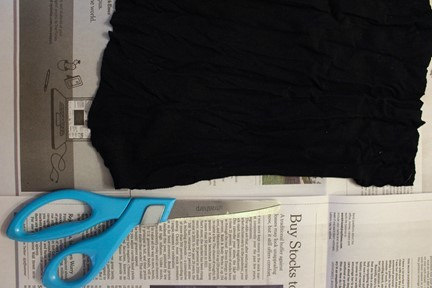
Take your piece of cut open tight, lay it flat, and measure out some string/t-shirt yarn/ribbon/whatever you are using. I made my string just a little wider than my flat bit of tights – this will be the string you’ll use to tie your tassel to wherever you want your tassel to live.
Fold the flat bit of tights over your bit of string, and tie the string around the folded part of the tights.
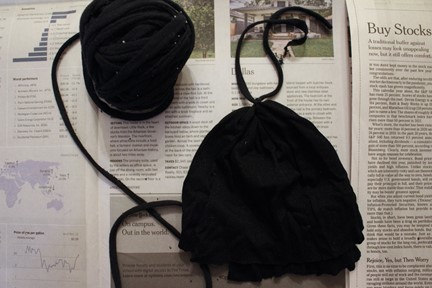
Cut another little bit of string and tie it about an inch down from the top of your tassel. You can make this bit as big or as little as you’d like.
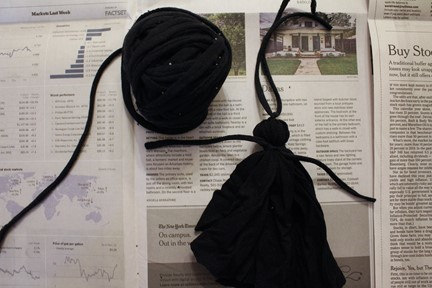
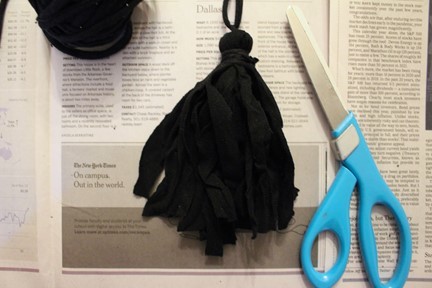
Now, you’ll cut strips all the way up your tassel to where you just tied off the top of your tassel. Again, these can be as wide, or as narrow as you’d like!
Et voilà! You have a tassel!! My older son loves them and started calling them squids, but they also reminded him of our ghost garland.
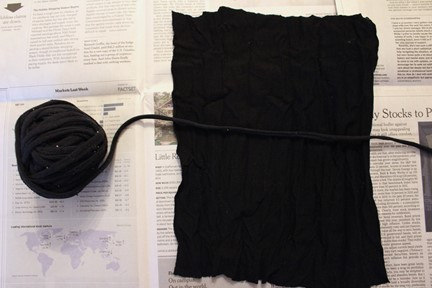
Second option for making tassels: Remember how we made T-shirt yarn last year? It’s OK if you don’t, instructions are here, but below I have a quick reminder.
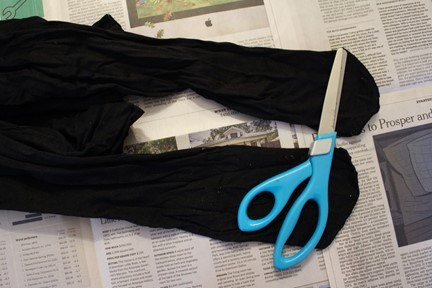
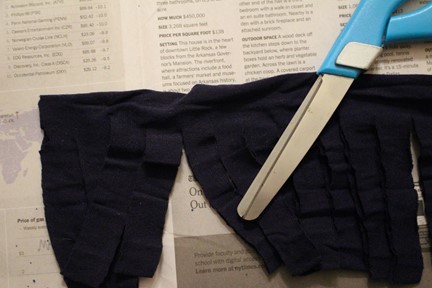
First, lay your tight leg horizontally in front of you. Then, make little cuts up to one of the folded sides, but NOT all the way through the top, but through both layers of tights.
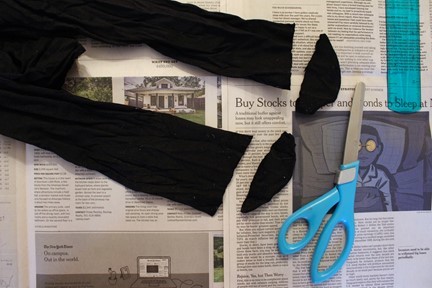
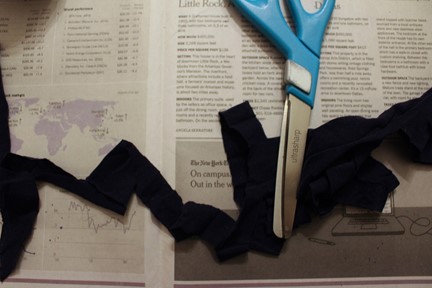
This next part I needed a quick refresher on: at the folded side of your tights, you’ll cut diagonally from one slit to the next. For me, it was easier when I started with the second slit in from the far left end and cut diagonal to the third slit. Then I went back and cut diagonal from the far left end to the other side of the first slit. Do this all the way to the end of your tights until you have one long piece of tights “yarn”.
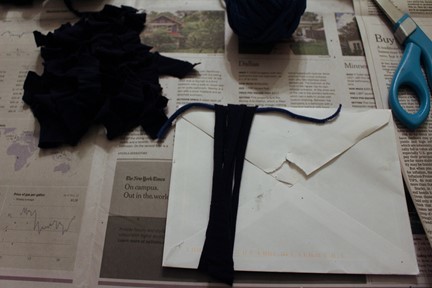
Once you have your long piece of tights yarn, take a bit of cardboard (I used a holiday card) and wrap your tights yarn around the envelope until your tassel is as thick as you’d like it. I experimented with different tassel thickness so my final garland would have some variation, but you can make all your tassels exactly the same.
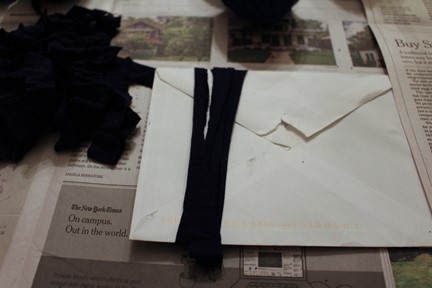
Cut a small bit of t-shirt yarn/string/etc. so it’s just wider than your wrapped bit of tights yarn and slide it through the middle of your wrapped tights yarn.
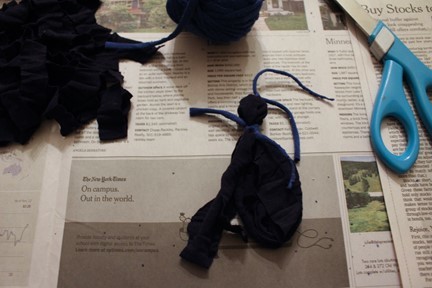
Pull it tight and tie it into a knot. Slide your tights yarn off the cardboard, and then tie another bit of t-shirt yarn/string an inch down from the top of your tassel. Finally, cut through the folds on the bottom of the tassel.
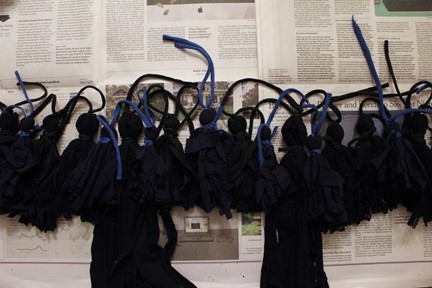
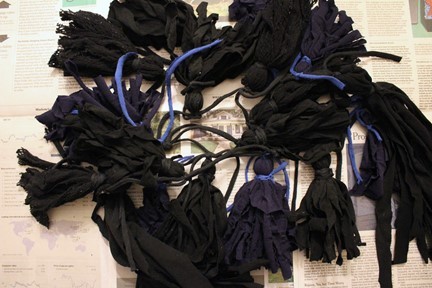
Pick whichever tassel technique you prefer, or do a bit of both, and make as many tassels as you want/have tights for!
For the last main step, line up your tassels in the pattern/order you like and tie them to a longer bit of t-shirt yarn/string as close together or as far apart away as you’d like.
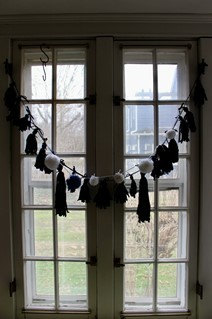
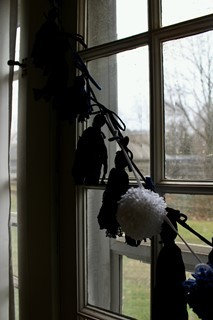
Hang them up and decorate with your new tassel garland! I have to find a final spot for mine, but kind of like them draped against the windows in our dining room. Good spots for garlands: mantles, bookshelves, windows, anywhere you like!
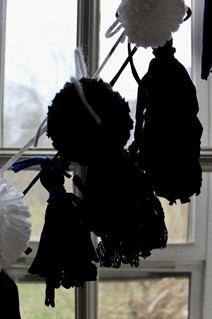
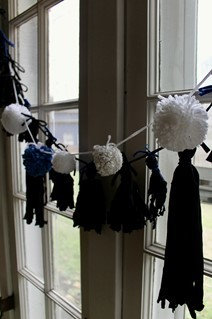
I had some leftover pom poms lying around, so I added those to some string to layer with my tassels and to break up all the dark colors. I’ll probably go back and add a beaded layer, as well as another layer of pom poms, but really love how it came together!
This is a project you can definitely have the kids help with, or if you want some zone out time, this is good for that too! I’d also be curious what other textiles you have lying around that you could upcyle into pom poms or tassels for garland.
If you make your own tassel garland, we’d love to see it! Share with us on social, @goodwillakron or @_abigaildrennen!
Happy New Year!
_Abby