
Hello everyone – Happy officially summer! Abby back with another upcycle project for you all!
Ever since I wrote this post a few summers ago about upcycling scrap fabric, I’ve been wanting to try my hand at a larger patchwork project to use up scrap pieces of denim I have left over from other projects, but wasn’t sure exactly what to make them into. Bucket hats are super popular right now, an apron could have been a good choice, but somehow I landed on a bag. Like a fairly large tote.
If like me, you have some scrap fabric lying around, as well as some spare time (i.e. no sewing machine), this is the project for you (or if you need to zone out after a long day doing whatever you do that takes up your time and energy).
Read on for how to make your own patchwork bag!
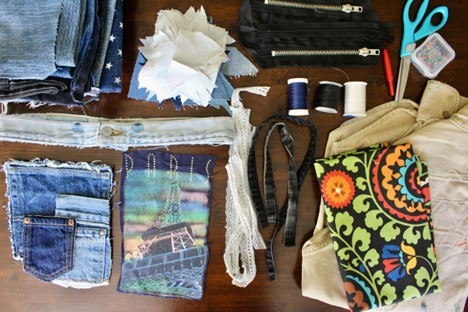
To make your own patchwork bag, you will need:
1. Scrap fabric – I used denim, but any fabric would work (just depends on what you plan to carry in your bag)
2. Needle, thread, straight pins
3. Scissors
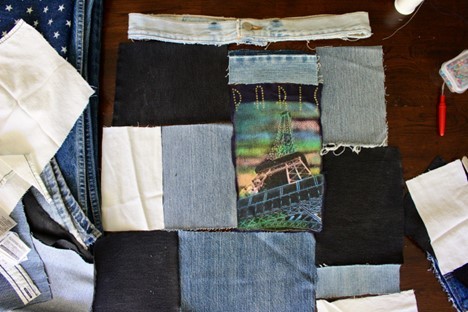
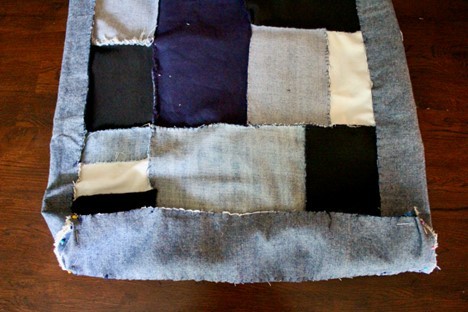
First things first, you’ll want to lay out your scraps for the base of your bag. I was originally going to use a waistband from an old pair of jeans as the top of my bag but ended up not. It definitely worked as a good guide for how wide I wanted my patchwork base to be.
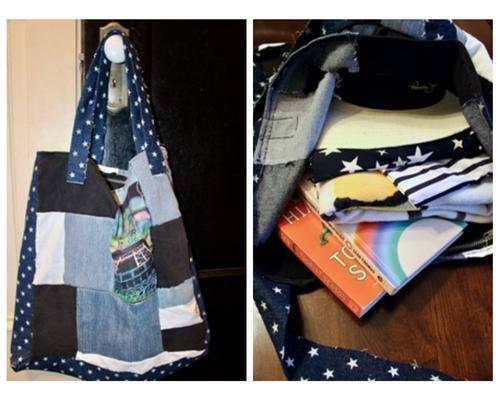
To build out one side of my bag, I used a cut-out bit of an old t-shirt as the middle, focal point.
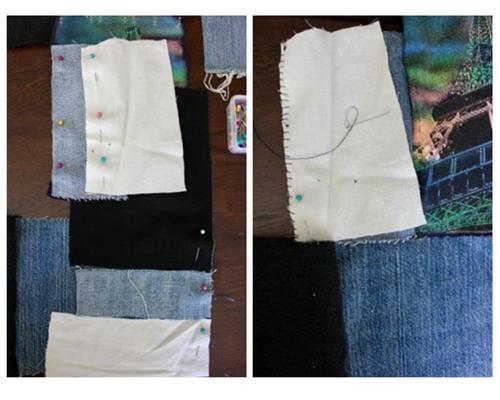
I did one side of my bag at a time, so once I had the general look of the one side, I sewed all of the patchwork pieces together. I placed them good sides in, and did a whipstitch along the edge to connect them all.
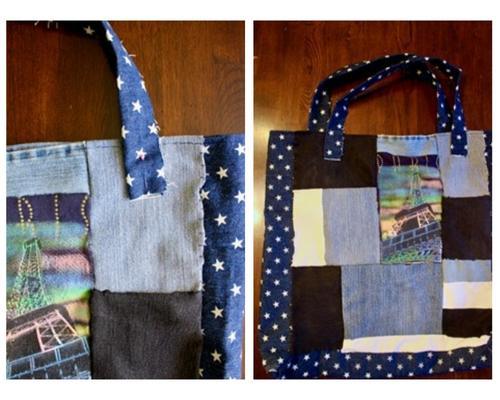
Once I had a good-sized piece of patchwork for the one side of my bag, I laid out the other side. For the other side, I used a back pocket from a pair of jeans as the middle, focal point and then sewed patchwork around it.
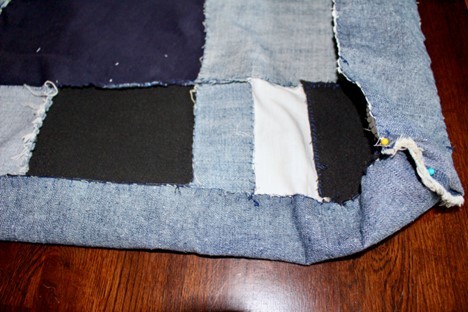
Next up are the sides and bottom of the bag. You can skip this part and sew the two sides of your bag directly to each other. Just line them up good sides in, pin, and sew around three sides, leaving the top open. But I wanted to give my bag some depth, so I cut three three-inch wide strips of scrap denim fabric to sew between the two sides of the bag that I patchworked.
Finally, it’s time for handles or straps (you can hem the top of your bag if you like, not a requirement)! At first, I thought I wanted my bag to have the strap go all the way to the bottom of the bag on both sides, but then landed on a more normal strap. You just need two strips of longer fabric whatever width you think you’ll like. You can do a cross body strap, a shoulder strap, no strap and use your bag as a clutch. Just pin those straps in place and sew them on!
And you are done! Fill that baby up with whatever you want and go on your way!
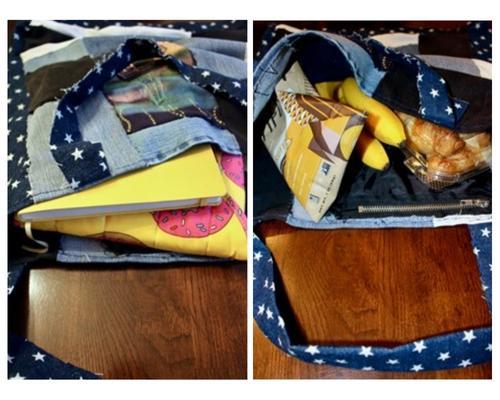
Get creative with your leftover supplies! Don’t let anything go to waste! Have fun! (I had an old zipper attached to a pocket I took out of a jacket that disintegrated in the wash, so used that on the inside of my bag; just sewed it into the hem at the top of my bag.
What do you think? Do you have some scrap fabrics lying around you might use for a similar project? Is this something you think you’ll try out? If you make your own patchwork bag, we’d love to see them! Share with us on social, @goodwillakron or @_abigaildrennen!
Happy zero-waste crafting!
_Abby